Servicing Memory 81
b. Grasp the top corners of the DIMM, and lift and remove it from the server
module (panel 2).
c. Place the DIMM on an antistatic mat.
4. Install a replacement DIMM.
See “Install a DIMM” on page 81.
Related Information
■ “Install a DIMM” on page 81
■ “DIMM Configuration” on page 77
▼ Install a DIMM
1. (If needed) Prepare the server module for service and remove the faulty DIMM.
See “Preparing for Service” on page 51 and “Remove a DIMM” on page 80.
2. Unpack the replacement DIMM and set it on an antistatic mat.
See “DIMM Handling Precautions” on page 79.
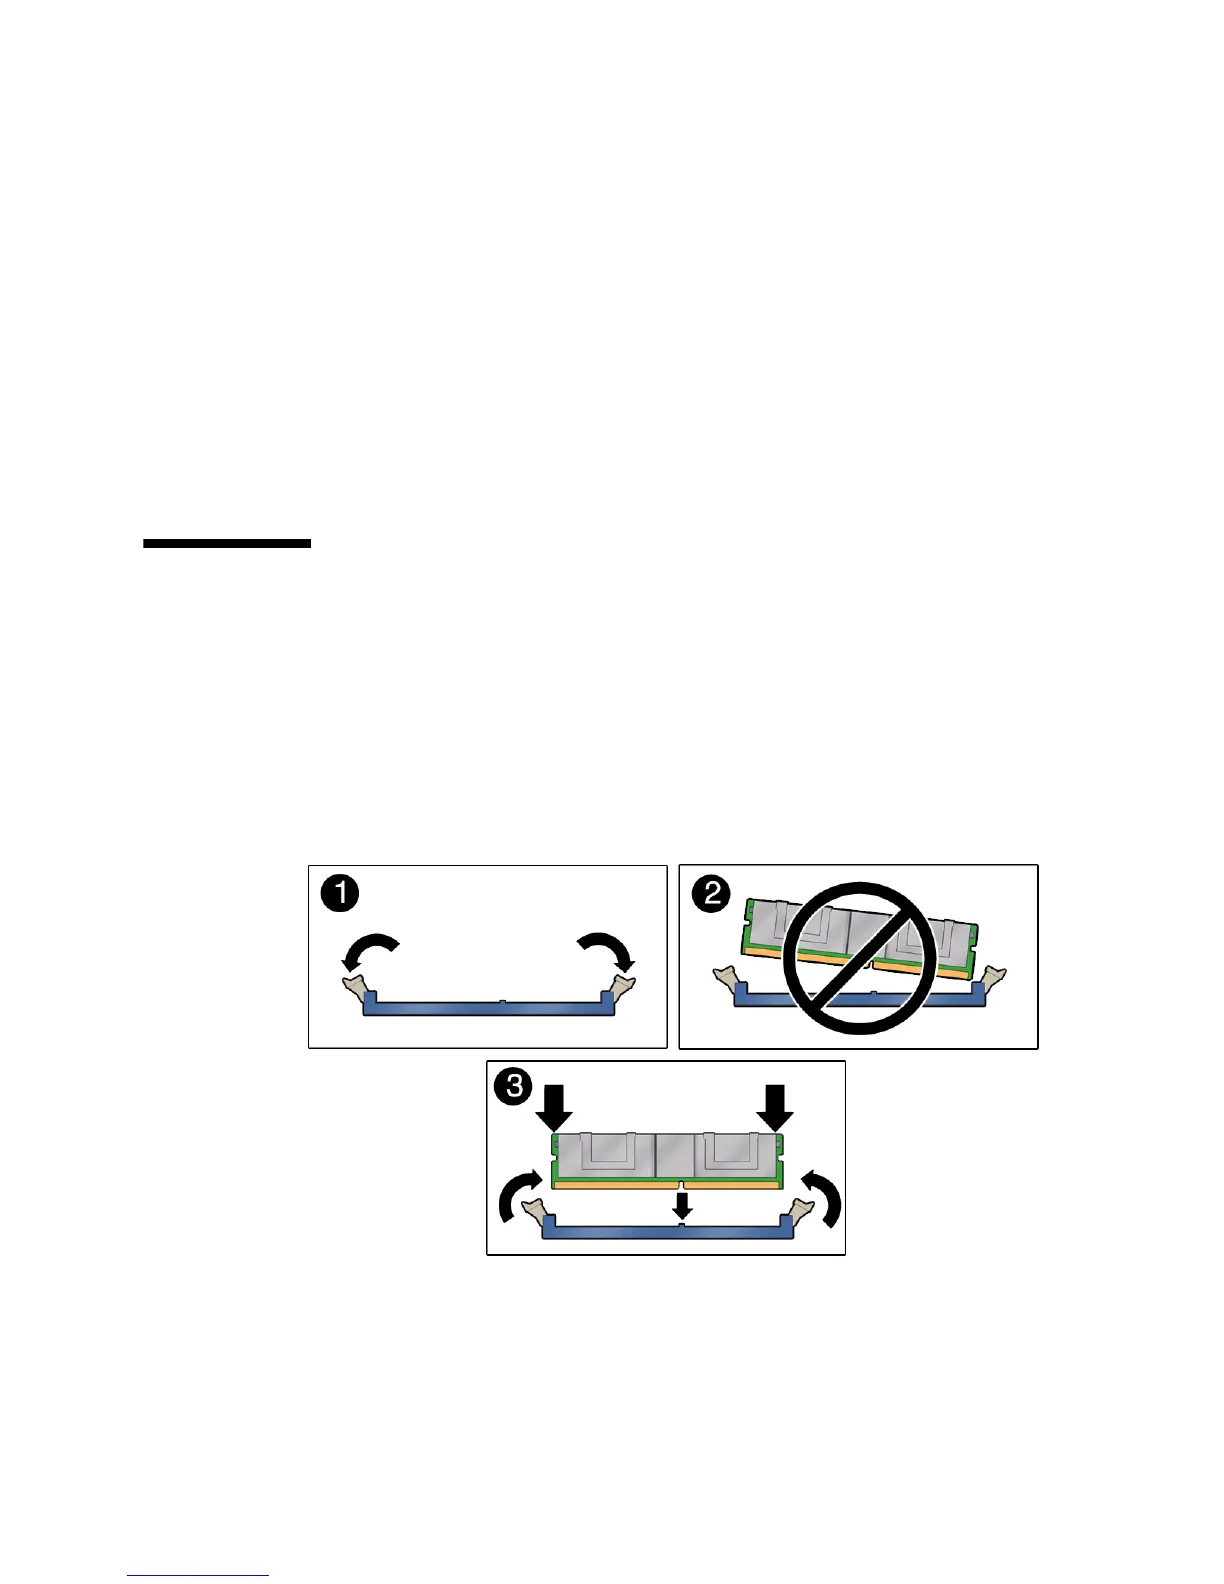
3. Ensure that the DIMM ejector tabs are in the open position (panel 1).
4. Line up the replacement DIMM with the connector.
Align the DIMM notch with the key in the connector, as in panel 3. This action
ensures that the DIMM is oriented correctly. Panel 2 shows an incorrect alignment.

 Loading...


