Install the Cable Management Arm
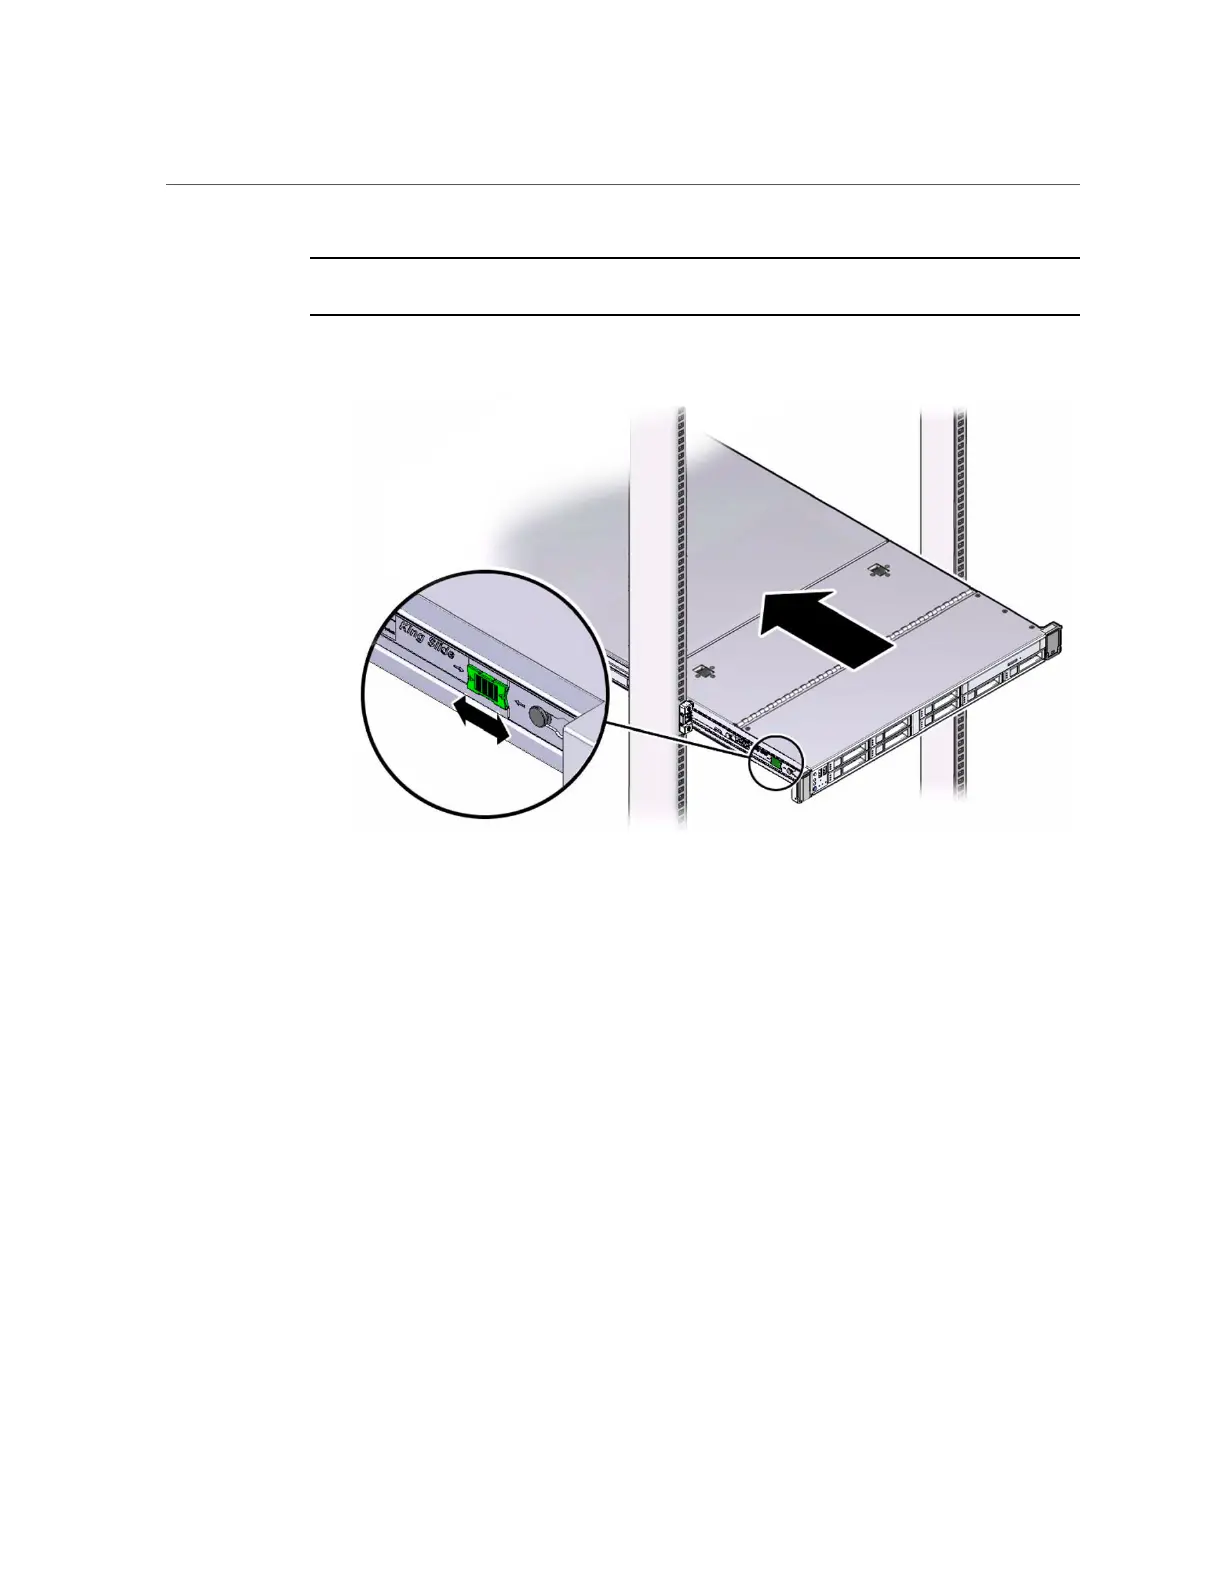
Note - To pull the green release tabs, place your finger in the center of each tab, not on the end,
and apply pressure as you pull the tab toward the front of the server.
b.
Continue pushing the server into the rack until the slide-rail locks (on the
front of the server) engage the slide-rail assemblies.
You will hear an audible click when the server is in the normal rack position.
15.
Connect cables to the server, as required.
Instructions for connecting the server cables are provided in “Cabling the Server and Applying
Power” on page 75.
16.
Open the CMA cable covers, route server cables through the CMA's cable
troughs, close the cable covers, and secure the cables with the six Velcro straps.
Route the cables through the cable troughs in this order:
a.
First through the front-most cable trough
b.
Then through the small cable trough
68 Oracle Server X5-2 Installation Guide • January 2021