Operation
4
18
chaPter 4
Operation
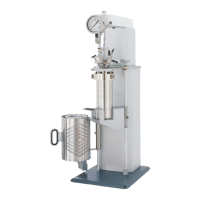
Initial Fill
When you first fill the calorimeter with water the
main reservoir will be filled. There is also a cool-
ing water reservoir that is filled from the main
reservoir. Once the calorimeter has been filled with
water and all external connections made:
1. Turn on the calorimeter.
2. Once at the MAIN MENU go to the CALORIM-
ETER OPERATION screen and turn ON the
heater and pump. Water should start to circulate
in the tubing.
3. Press ESCAPE to get back to the MAIN MENU.
Then go to the DIAGNOSTICS menu and then
select I/O DIAGNOSTICS.
4. Use the side arrow keys(< >) until the descrip-
tion reads H2O Cool.
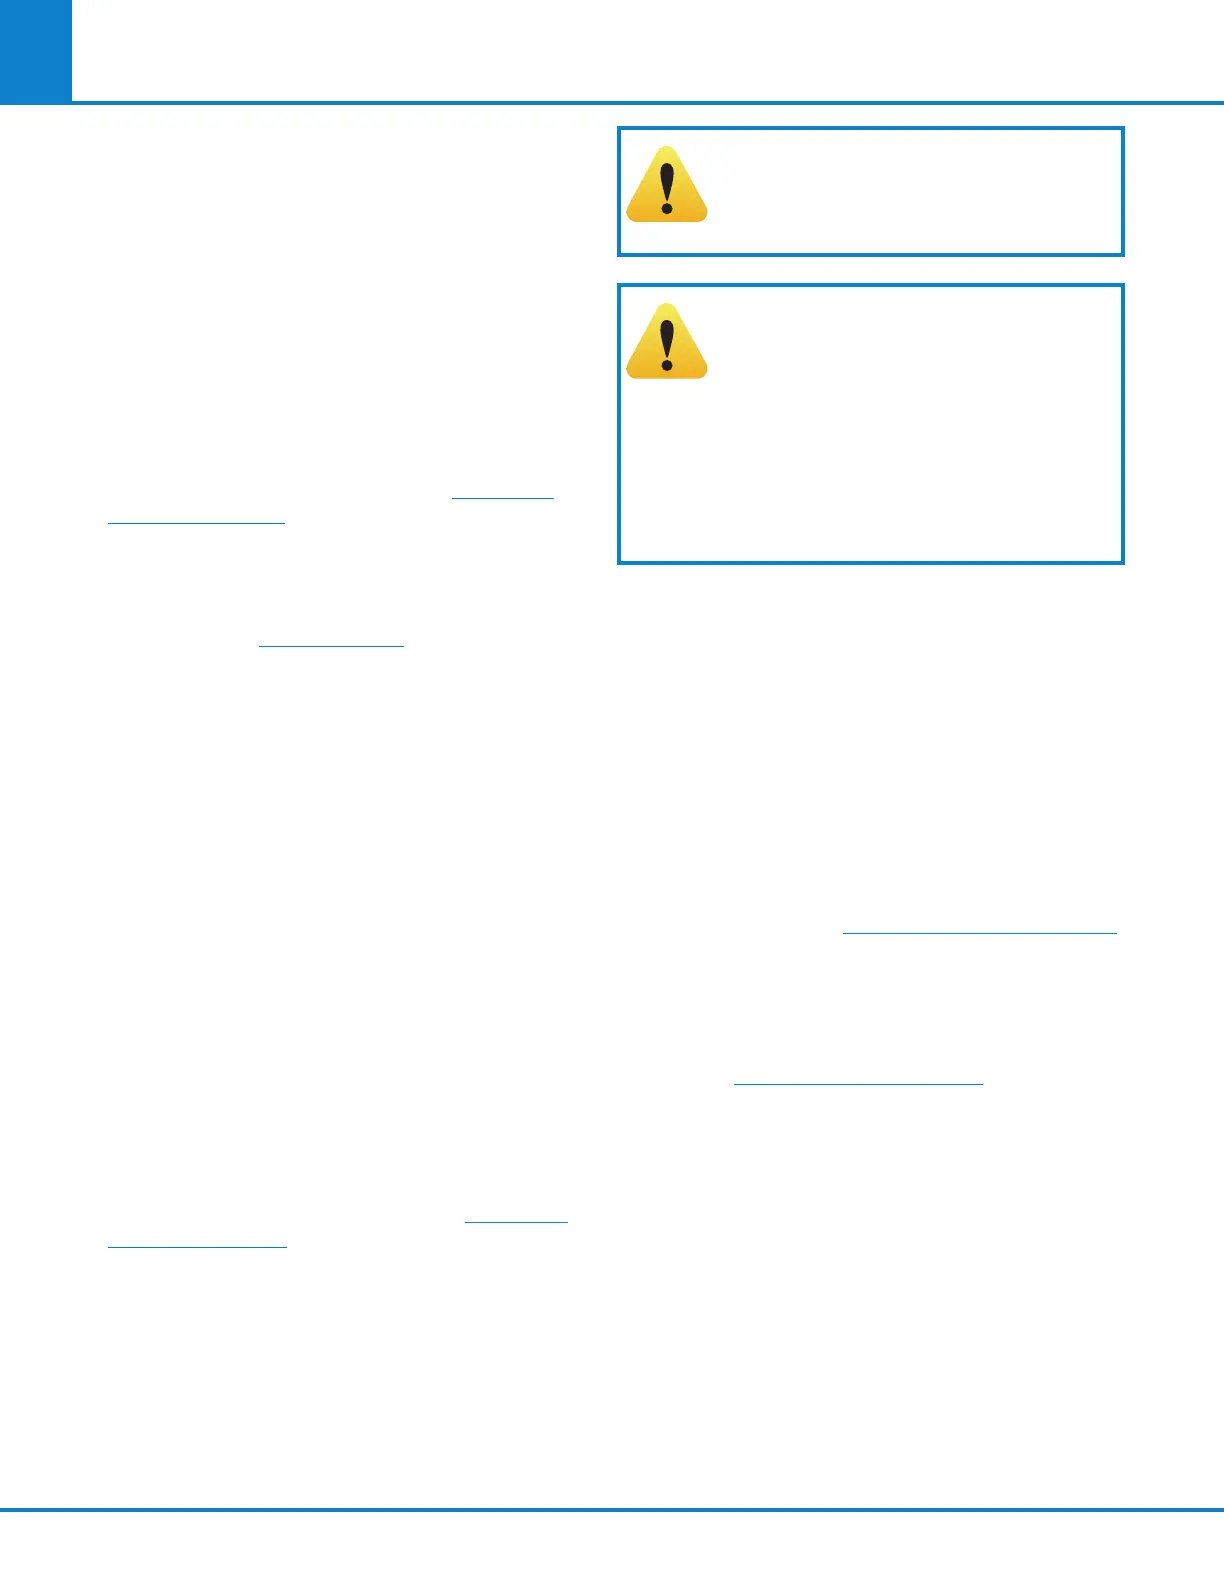
5. Unlock and remove the vessel head.
6. Press “1” to turn on the H2O Cool. You should
hear a click and then gurgling coming from the
combustion vessel cylinder.
7. Once the gurgling stops turn off the H2O cool
by pressing “0”.
8. Refill the main reservoir through the elbow at
the back of the calorimeter.
The above procedure will only need to be done
when the calorimeter is first filled with water after
receiving it.
Quick Start
1. Turn on the heater and pump in the CALORIM-
ETER OPERATION menu. Allow at least 20
minutes for the calorimeter to warm up.
2. Initiate a pretest to run the calorimeter through
the fill and cool/rinse cycles. This function is
used to pre-condition the calorimeter if it has
been sitting idle for an extended period of time
(greater than 15 minutes).
3. Prepare and weigh the sample to 0.0001 g.
CAUTION! Do not exceed the rec-
ommended energy release. Exceed-
ing 8000 calories released per test
could result in catastrophic failure.
CAUTION! Do not test samples
containing metal using the 43AS
Stainless Steel sample cups. Ignit-
ing samples with metal components
could ignite the stainless steel
sample cup and interior components
of the vessel and damage the vessel.
Samples containing metal can be
tested with the 43A3 Fused Silica/
Quartz crucibles.
4. Gently tap capsules that contain powdered
samples to compact the material. (Pellets are
easier to handle than loose samples and they
burn slower in the combustion vessel, thereby re-
ducing the chances for incomplete combustion).
5. Carefully place the capsule into the capsule
holder, attach 10 cm of ignition thread and
install the vessel head in the calorimeter.
6. Close the calorimeter cover making sure that
the latch is engaged.
7. Select determination or standardization as
appropriate on the CALORIMETER OPERATION
page, by toggling the OPERATING MODE key.
Press the START Key. The calorimeter will now
prompt the operator for sample ID number,
Bomb ID number, sample weight and spike
weight in accordance with the instructions set
into the DATA ENTRY CONTROLS menu.
8. The calorimeter will now take over and conduct
the test. During the time it is establishing the
initial equilibrium, it will display PREPERIOD on
the status bar. Just before it fires the combus-
tion vessel, it will sound a series of short beeps
to warn the user to move away from the calo-
rimeter. Once the combustion vessel has been
fired, the status bar will display POSTPERIOD.
The calorimeter will check to make certain that
a temperature rise occurs and will then look for
the final equilibrium conditions to be met. If it
fails to meet either the initial or final equilibrium
conditions, or if it fails to detect a temperature
rise within the allotted time, the test will termi-
nate and advise the user of the error.