BRAKES
9.7
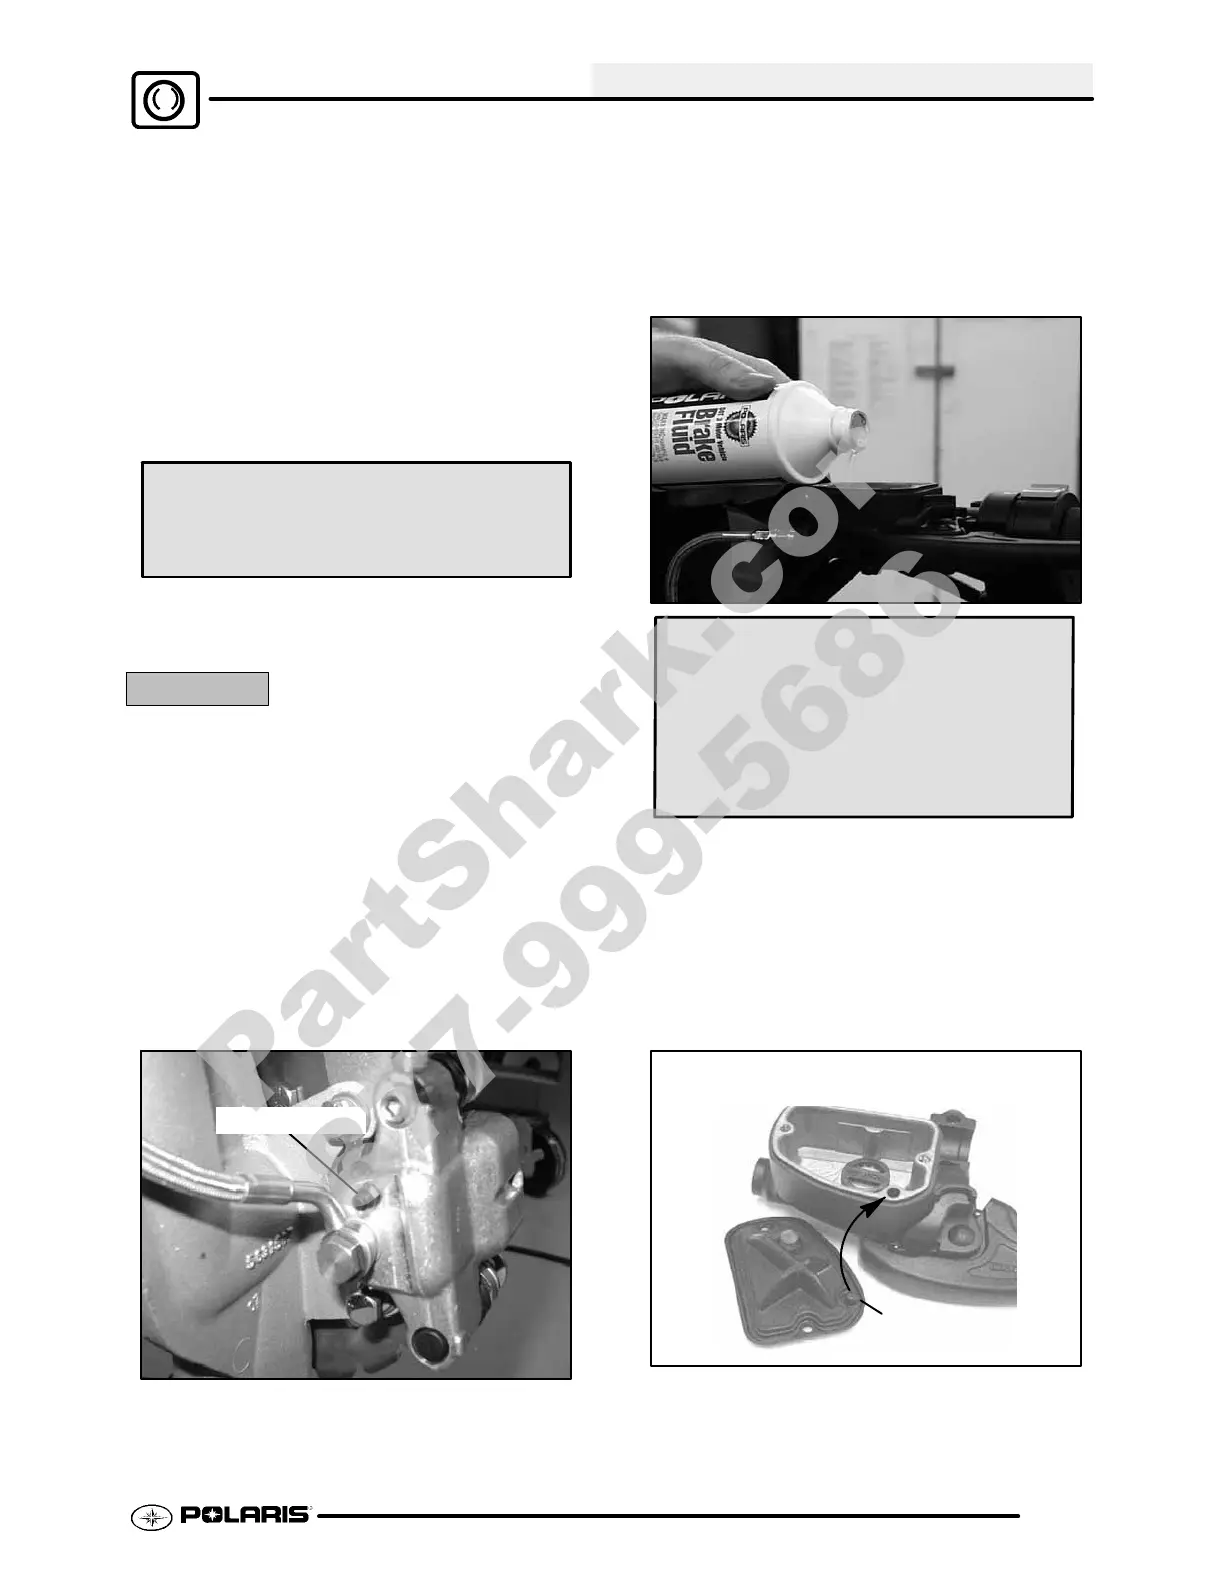
NOTE: Fluidmaybeforcedfromsupplyport(B)when
brake lever is pumped. Place diaphragm (C) in
reservoir to prevent spills. Do not install cover. See
Illustration 1.
7. Slowlypump brakelever (D) until pressure builds
and holds.
8. While maintaining lever pressure, hold the banjo
bolt (E)withthe wrenchand open the topbleeder
screw (F). Close bleeder screw and release
brake lever . NOTE: Do not release lever before
bleeder screw is tight or air may be drawn into
caliper .
Bleeder Screw Torque
25--30 in.lbs. (2.80 --3.40 Nm)
9. Repeat procedure until clean fluid appears in
bleeder hose and all air has been purged. Add
fluid as necessary to maintain level in reservoir.
CAUTION:
Maintain at least 1/2″ (1.27 cm) of brake fluid in the
reservoir to prevent air from entering the master
cylinder.
10. T ighten bleeder screw securely and remove
bleederhose. Torquethebleederscrewto25--30
in.lbs. (2.80 --3.40 Nm)
.
Front Brake Caliper Bleeding Procedure
11. Locate the bleeder screw on one of the front
calipers.
Bleeder Screw
G Install a box end wrench on the bleeder
screw.
G Attach a clean, clear hose to bleeder
screw and place the other end in a clean
container.
12. Repeat Steps 7-10 for the remaining caliper(s).
13. Add Polaris Dot 4 BrakeFluidto MAXlevel inside
reservoir.
Master Cylinder Fluid Level:
MAX level inside reservoir
Sight glass must look dark, if sight
glass is clear, fluid level is too low
14. Install diaphragm, cover and screws. Align the
nub (if present) into the proper hole in the master
cylinder. Wiggle andpressdownon thecap to be
sure if fits evenly and snug. Torque the screw on
the handle side first then torque other screw to 5
in.lbs.(0.56Nm).
NOTE: Besurethemastercylindercapisevenall
the way around. If the cap is cocked to one side,
repeat the process.
Rubber “nub” must be aligned and not
pinched when inserted into master cylinder
Rubber “nub”
PartShark.com
877-999-5686
 Loading...