CLUTCH
6.23
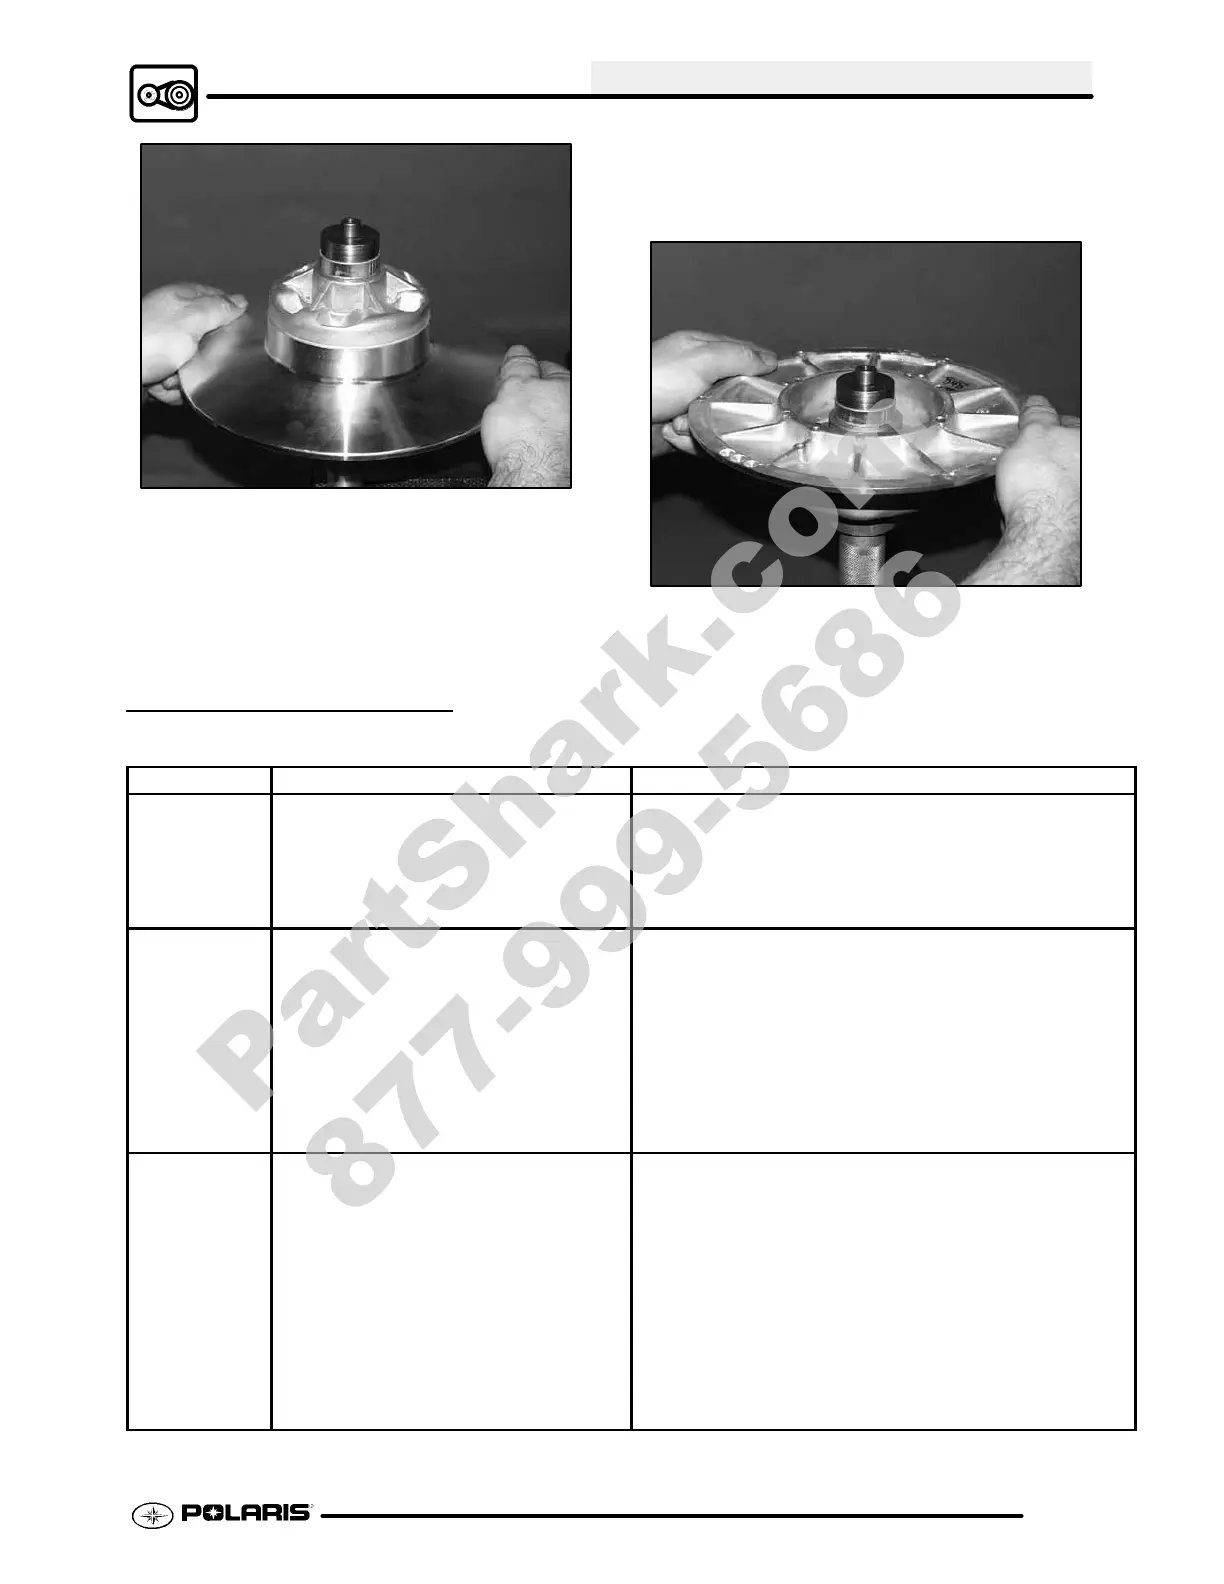
4. Installnutontopullerrodandhandtightenagainst
installation tool.
5. Turn clutch sheave counterclockwise until
bushing is seated.
6. Remove nut from puller rod and set aside.
7. Remove installation tool and clutch sheave from
puller.
8. Repeatinstallation procedurefor other moveable
bushing.
TROUBLESHOOTING
Situation Probable Cause Remedy
Engine RPM
below specified
operating
range, although
engine is prop-
erly tuned.
-Wrong or broken drive clutch spring.
-Drive clutch shift weight too heavy.
-Drivenclutchspringbrokenorinstalledin
wrong helix location.
-Replace with recommended spring.
-Install correct shift weight kit to match engine application.
-Replace spring; refer to proper installation location.
Erratic engine
operating RPM
during accelera-
tion or load vari-
ations.
-Drive clutch binding.
-Belt worn unevenly - thin/burnt spots
-Driven c lutch malfunction.
-Sheave face grooved.
a. Disassemble drive clutch; inspect shift weights for wear
and free operation.
b. Clean and polish stationary shaft hub; reassemble clutch
without spring to determine problem area.
Replace belt
a. Replace ramp buttons.
b. Inspect movable sheave for excessive bushing clearance/
replace.
-Replace the clutch.
Engine RPM
above specified
operating
range.
-Incorrectdriveclutchspring(toohigh
spring rate).
-Drive clutch shift weights incorrect for ap-
plication (too light).
-Drive clutch binding.
-Driven clutch binding.
-Converter sheaves greasy; belt slippage.
-Install correct recommended spring.
-Install correct recommended shift weights.
-Disassemble and clean clutch, inspecting shift weights and
rollers. Reassemble without the spring and move sheaves
through entire range to further determine probable cause.
-Disassemble, clean, and inspect driven clutch, noting worn
sheave bushing and ramp buttons and helix spring location.
-Clean sheaves with denatured alcohol or brake cleaner,
install new belt.
PartShark.com
877-999-5686
 Loading...