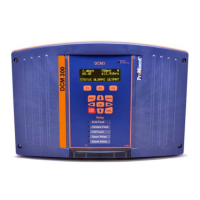
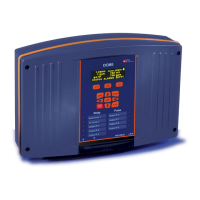
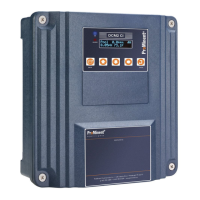
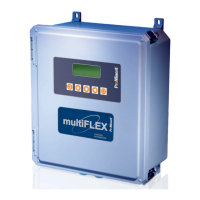
7.3.4 Wall-mounted and control panel installation
Seals and terminal diagram
Select suitable seals to match the cable penetrations of the controller. Close open holes with
blanking plugs. Only in this way can sufficient sealing be ensured.
Moisture in the controller can lead to functional malfunctions.
Observe the instructions on the enclosed terminal diagrams.
Tab. 7: Kit, fitting material, part number 1045171, includes the following individual parts
Designation Part number Quantity
Sealing ring (M 20 x 1.5), 4xØ5 1045172 2
Sealing ring (M 20 x 1.5), 2xØ4 1045173 2
Sealing ring (M 20 x 1.5), 2xØ6 1045194 2
Sealing stopper, Ø6.5/Ø5, polyamide, black 1042417 5
Protective plug, IL4-073 140448 5
Plug, IL4-044 140412 5
SKINTOP
®
threaded connector (M 20 x 1.5) (5 ... 10) black
1005517 1
SKINTOP
®
threaded connector (M 16 x 1.5) (5 ... 10) black
SKINTOP
®
threaded connector (M 12 x 1.5), (4 ... 6) black
1009734 1
Counter nut (M 12 x 1.5), 15 mm AF, brass, nickel-plated 1018314 1
Counter nut (M 16 x 1.5), 24 mm AF, brass, nickel-plated
Counter nut (M 20 x 1.5), 30 mm AF, brass, nickel-plated 1021016 1
Ensure that the cables are not under tension.
1. Loosen the four housing screws.
Assembly and installation
56
 Loading...
