October, 1996 6880902Z36-B
2-3
GM300 Radio Service Software Manual Getting Started
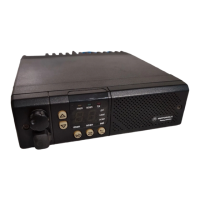
Assembling The Hardware
2
7.
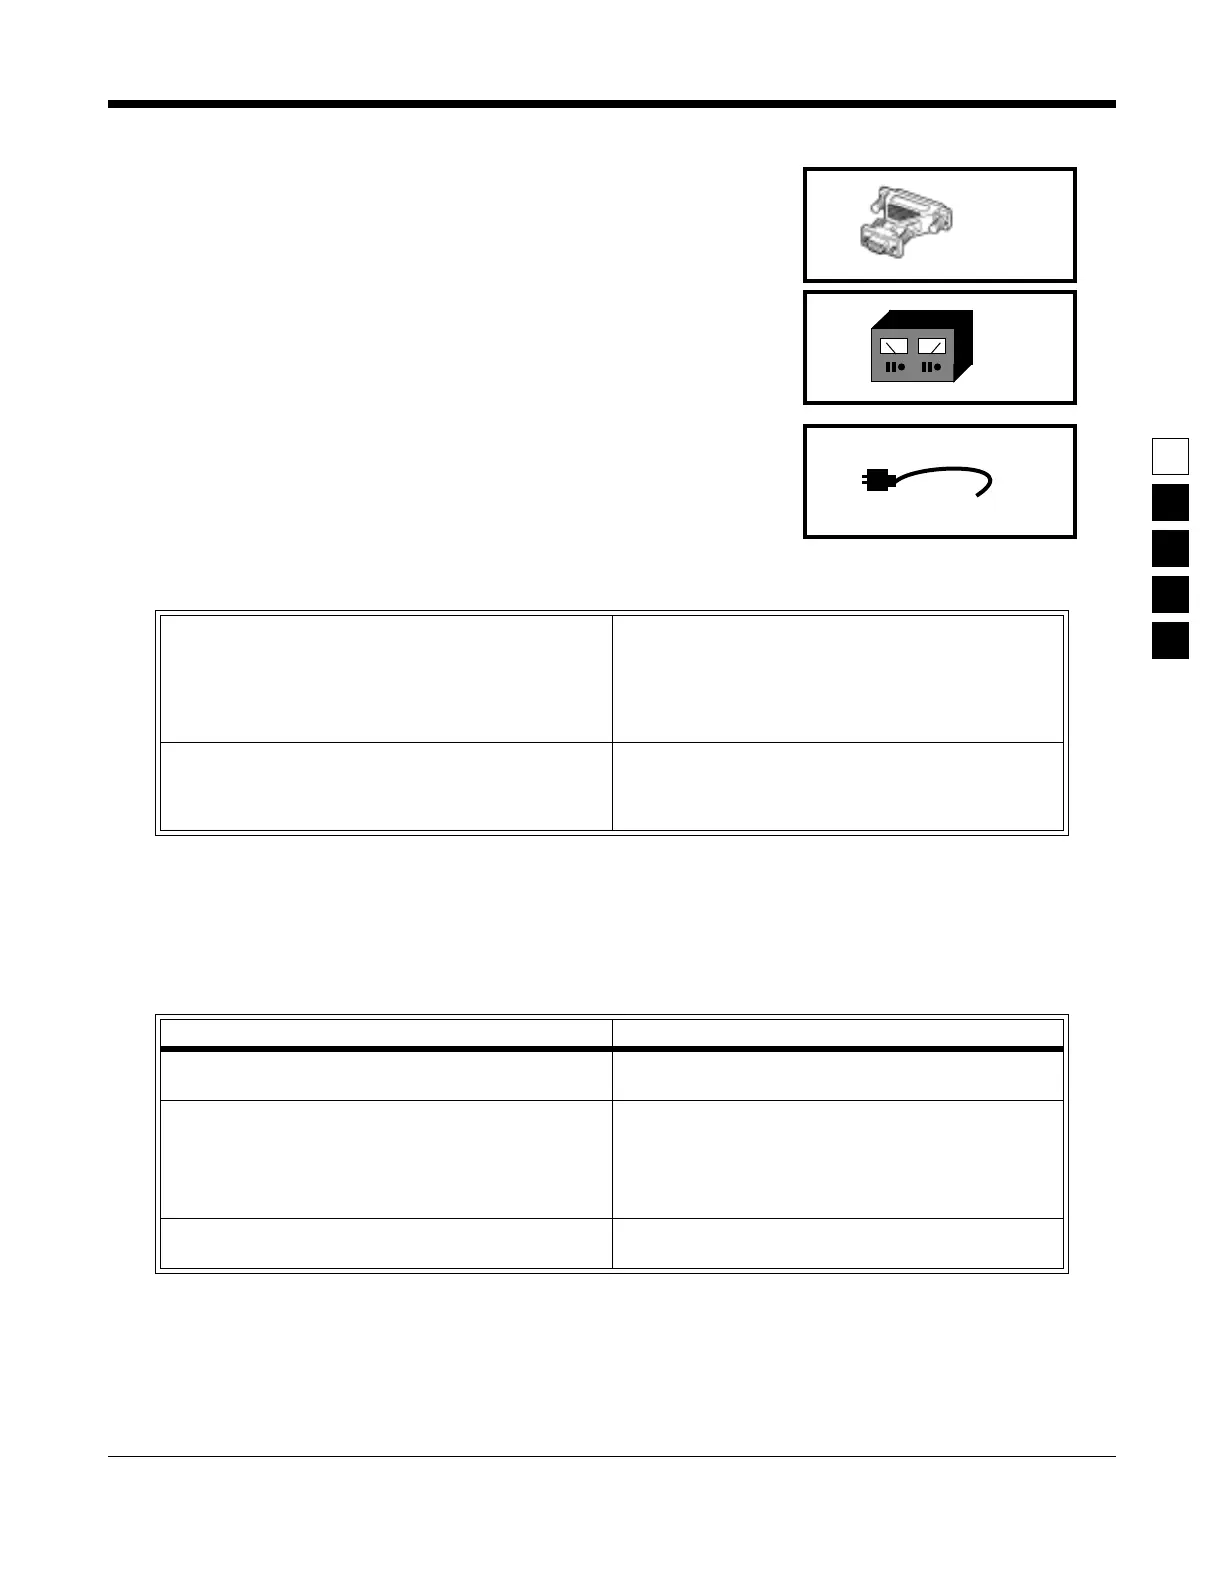
Optional Adapter
.
Radius
HLN9390
XT- to-AT-computer cable
adapter.
8.
Radio Power Supply
.
0 - 15 VDC, 15A. Set between 11 and 15 volts.
9.
Power Cable
.
HKN4137AR, HKN9402A, HKN4137A
.
After you connect the hardware, turn on the radio by turning the volume control clockwise. You will hear
one of the following types of tones..
Table 2-1. Steps to Connect Hardware
1.
Connect 1 and 3 with 2.
First plug the 9-pin end of B into the communica-
tions port of A. Then connect the 15-pin end to
C.
(If your computer has an XT-style communications
port (25 pin connector), you will need the extra adapter
8 (HLN9390) to insert between 1 and 2.)
3.
Plug 4 into an AC wall outlet
,
and connect the other end to 3.
2.
Connect 6 and 3 with 5
.
The 25-pin end of 5 goes into 3, and the “modular
telephone” connector end plugs into the micro-
phone jack on the front of 6.
4. Connect 6 to power supply 8 with 9.
Table 2-2. Hardware tones
This tone... Means this...
Higher-pitched, short tone Hardware is connected correctly, and the radio’s inter-
nal firmware is operating correctly.
High-pitched short tone followed by long (10 sec.)
low-pitched tone
Hardware is incorrectly connected (check connec-
tions), radio is not receiving enough power (radio
needs between 11 and 15 volts), or a checksum error is
present in the radio’s codeplug (call 1-800-356-1520
and report what you did and heard)
Continuous long, low tone Critical failure - a radio’s internal software malfunc-
tion.