Automation
Electronic Devices and Systems
4.3 Adjustments / Selection of the Correct Aperture
The measurement should be made with a compatible aperture for correct code verification. The size of
the aperture should always be smaller than 80% of the X-module size of the subject and is always
indicated in the measurement results. The REA ScanCheck 3n offers code verification with a selection
of four different aperture settings.
The three apertures 6, 8 and 10 mil are always available. The 20 mil aperture is only optionally
available and requires the connection of the mechanical 20 mil adapter foot.
4.3.1 6, 8 and 10 mil Apertures
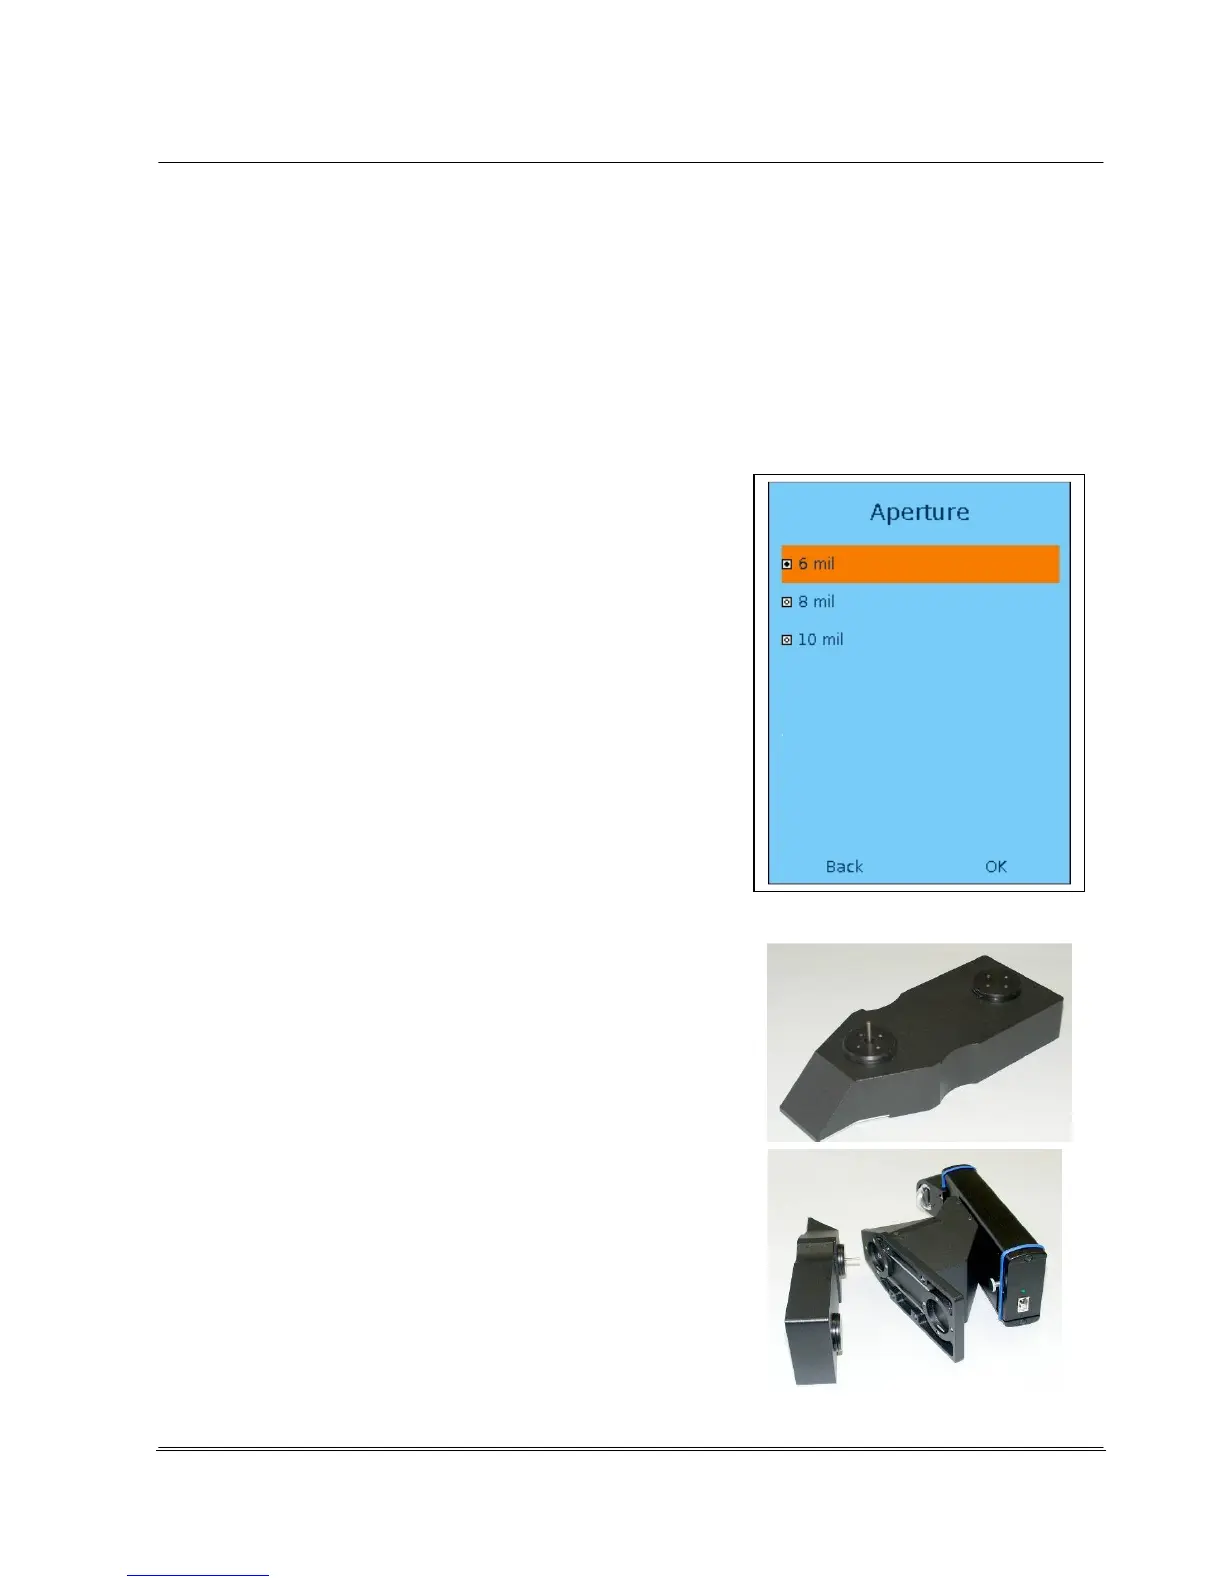
The function for aperture adjustment is selected in the setup
menu. The currently active input field is highlighted with an
orange-colored bar in all setup menus. The selection can be
moved to the next input field on the screen with the arrow
buttons.
Button sequence:
-
<Setup> button
-
Menu item "3 Settings" and confirm with <OK ENTER> or
press <3> direct.
-
Sub-menu "2 Aperture" press
<OK ENTER> or direct <2>.
-
Select the desired aperture from the Aperture screen with
the arrow control and confirm with <OK ENTER>.
This selects the desired aperture.
-
Activate the <OK> field with the arrow buttons and press
the <OK ENTER> button.
You can also press the <Store> button to save the new
settings.
4.3.2 20 mil Aperture (Option)
Different geometric arrangements for lighting and
measurement window are required for measurements with 20
mil aperture. The REA ScanCheck 3n requires a greater
distance from the code for this purpose. This can be achieved
with the 20 mil adapter, optionally available as an acessory.
The 20 mil adapter is mounted on the base plate of the REA
ScanCheck 3n with snap connectors and an indexing mandrel
as shown without tools and stays affixed there. Only when the
adapter is correctly mounted can the unit be automatically
switched over to the optional 20 mil operating mode.
 Loading...