© REA Elektronik GmbH REA ScanCheck 3 - August 2010
Page
71 of 89
D-64367 Mühltal-Waschenbach
+49 (0) 6154-638 0 www.rea-verifier.de
REA
Automation
Electronic Devices and Systems
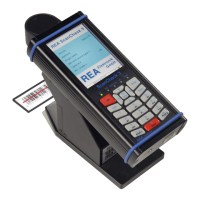
4.6.3.4.7 Setup Menu 3 Settings - 4 Unit Configuration - 7 Company/User Information
The information on this screen page is accepted and output for the header information of all
subsequently created measurement report evaluations.
To do so, activate the input field with the arrow buttons and highlight it in color.
Existing characters can be deleted to the left with the <del.> button.
Numbers, letters and special characters can be entered by pressing the number buttons multiple times.
The "Remarks" input field can contain multiple lines.
The inputs are accepted by pressing the <OK> button. Pressing the <Back> button discards and
does not accept the changes made on this menu page.
4.6.3.4.8 Setup Menu 3 Settings - 4 Unit Configuration - 8 Printing Parameters
On these sub-menu pages, the settings for the depiction of the measurement reports on the print-out
by the REA TD-GPT-U printer can be made.
These settings do not change the depiction of the measurement
results in the PC software REA TransWin32 and its print-out.
The detailed report (long report) is only printed if the <Print L>
button is pressed.
The parameter groups for the depiction of an individual
measurement can be deactivated on this first page.
All parameters for the print-out are activated in the factory preset.
 Loading...