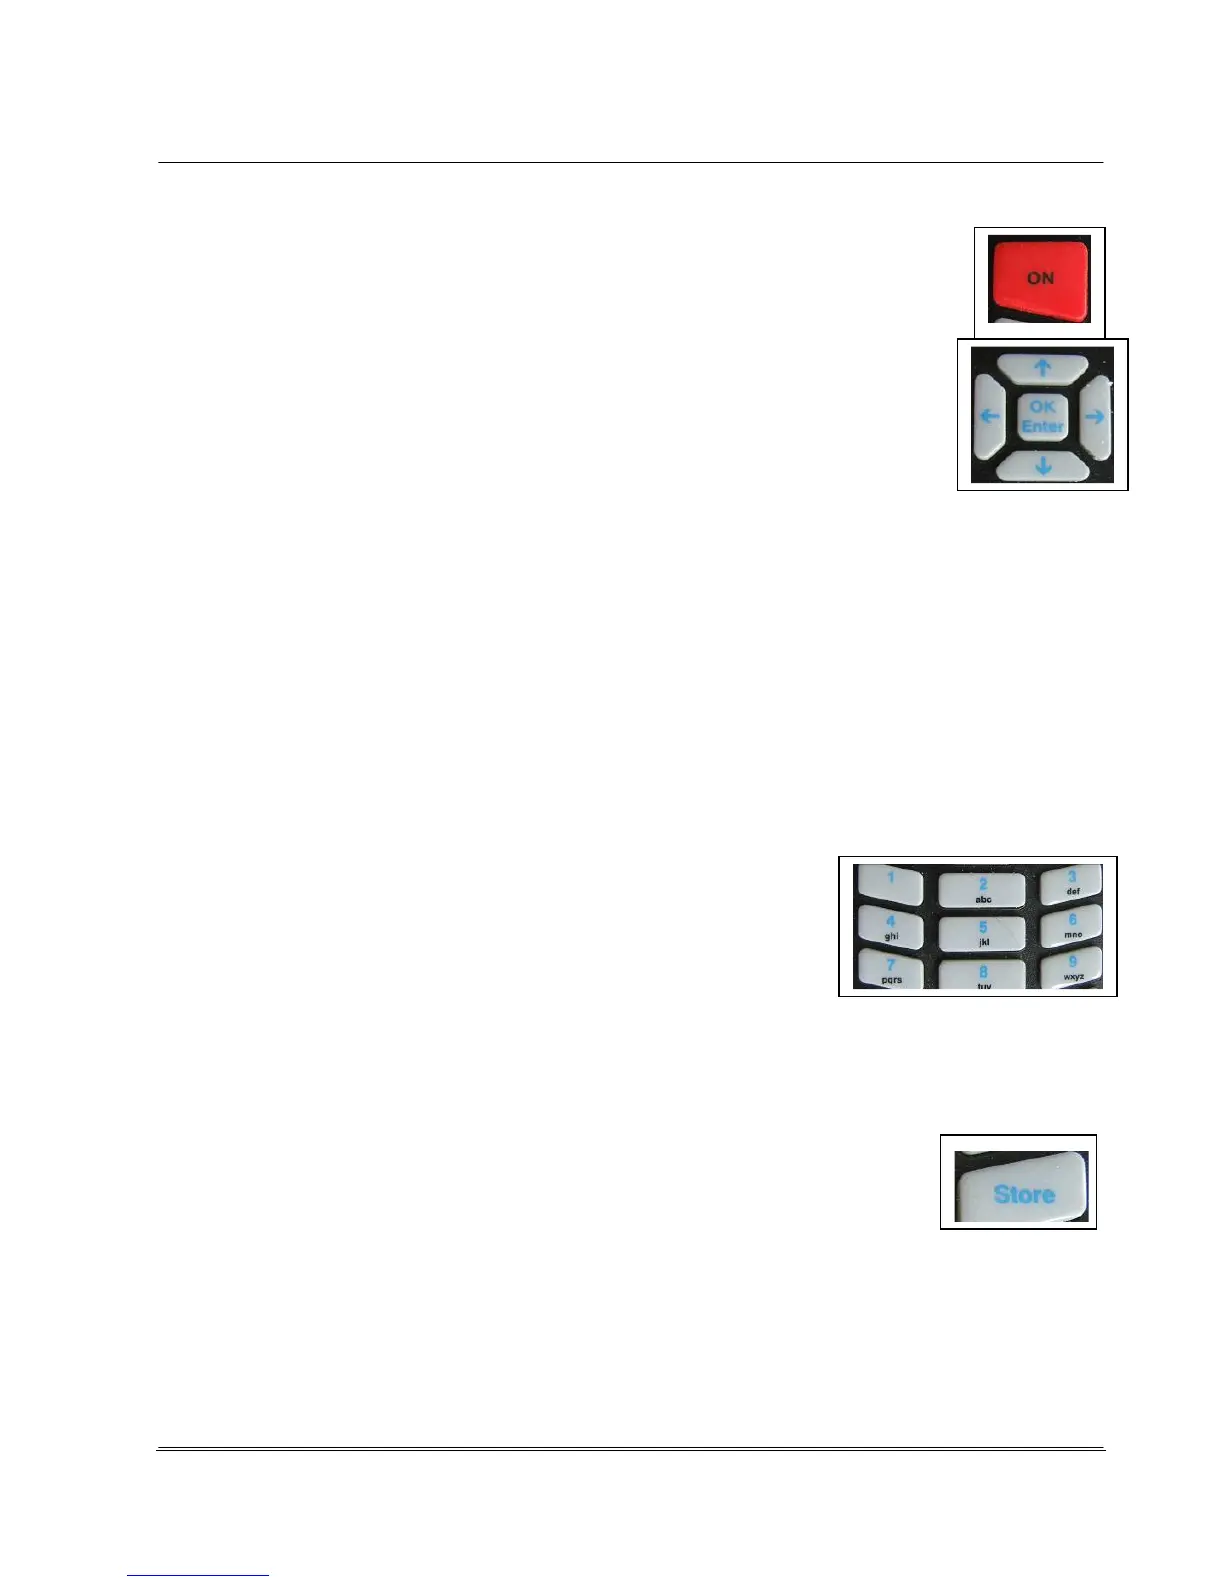
The unit is activated or deactivated with the <ON> button.
If the unit was in sleep mode, this also reactivates it.
The start screen appears upon activating. A menu appears upon deactivating
Arrow button right and arrow button left
-
Move the cursor (selecting the active input field) in all menus and input fields to
the next and previous input field
Arrow button up and arrow button down
- You can page through the 6 screen pages with the arrow buttons when displaying the
measurement evaluation.
- The next input field can be selected and activated for input (the field turns red) in the screen
pages of the Setup menu.
<OK Enter>-button: This can
- Select menus and sub-menu items within them
- Confirm entries in input fields and jump to the next field
- Accept and save inputs of a setup page by selecting the "OK" field on the respective screen
page and pressing the <OK Enter> button again.
<0> to <9> - number buttons enable:
-
the input of the corresponding numbers and letters.
The input of letters functions in the same manner as a mobile
telephone. By pressing a button repeatedly, the selectable digits and
characters appear in the input field in sequence; using the example
button <2>, in the sequence 2 a b c A B C. All other number buttons
use the same pattern.
-
Number button <1>: Activate and deactivate laser as positioning aid
-
Number button <3>: Cancel initiated multiple measurement
<Store> -button: This function is dependent on the respective context:
-
If a measurement result is displayed, pressing this button saves the current
measurement directly to the internal flash memory with the preset file name
format.
-
If you are on the screen pages in the Setup menu, the last selection setting is immediately
accepted and the program jumps back to the higher menu level.
 Loading...