© 2019 Safe Fleet | All rights reserved | Part #: 700-1123 R4
p. 52
TH8 Installation and Conguration Guide
Recording Settings
About
This topic describes recording and power settings, including conguring HD Cam Expansion ports for IP
cameras, video storage management, and options for DVR behavior when the vehicle ignition is turned on/shut
down.
Before you begin...
Power up the DVR with a monitor and USB mouse connected, then right-click in Live view and select
Conguration.
For more information, see "Accessing the On-screen Display" on page 25.
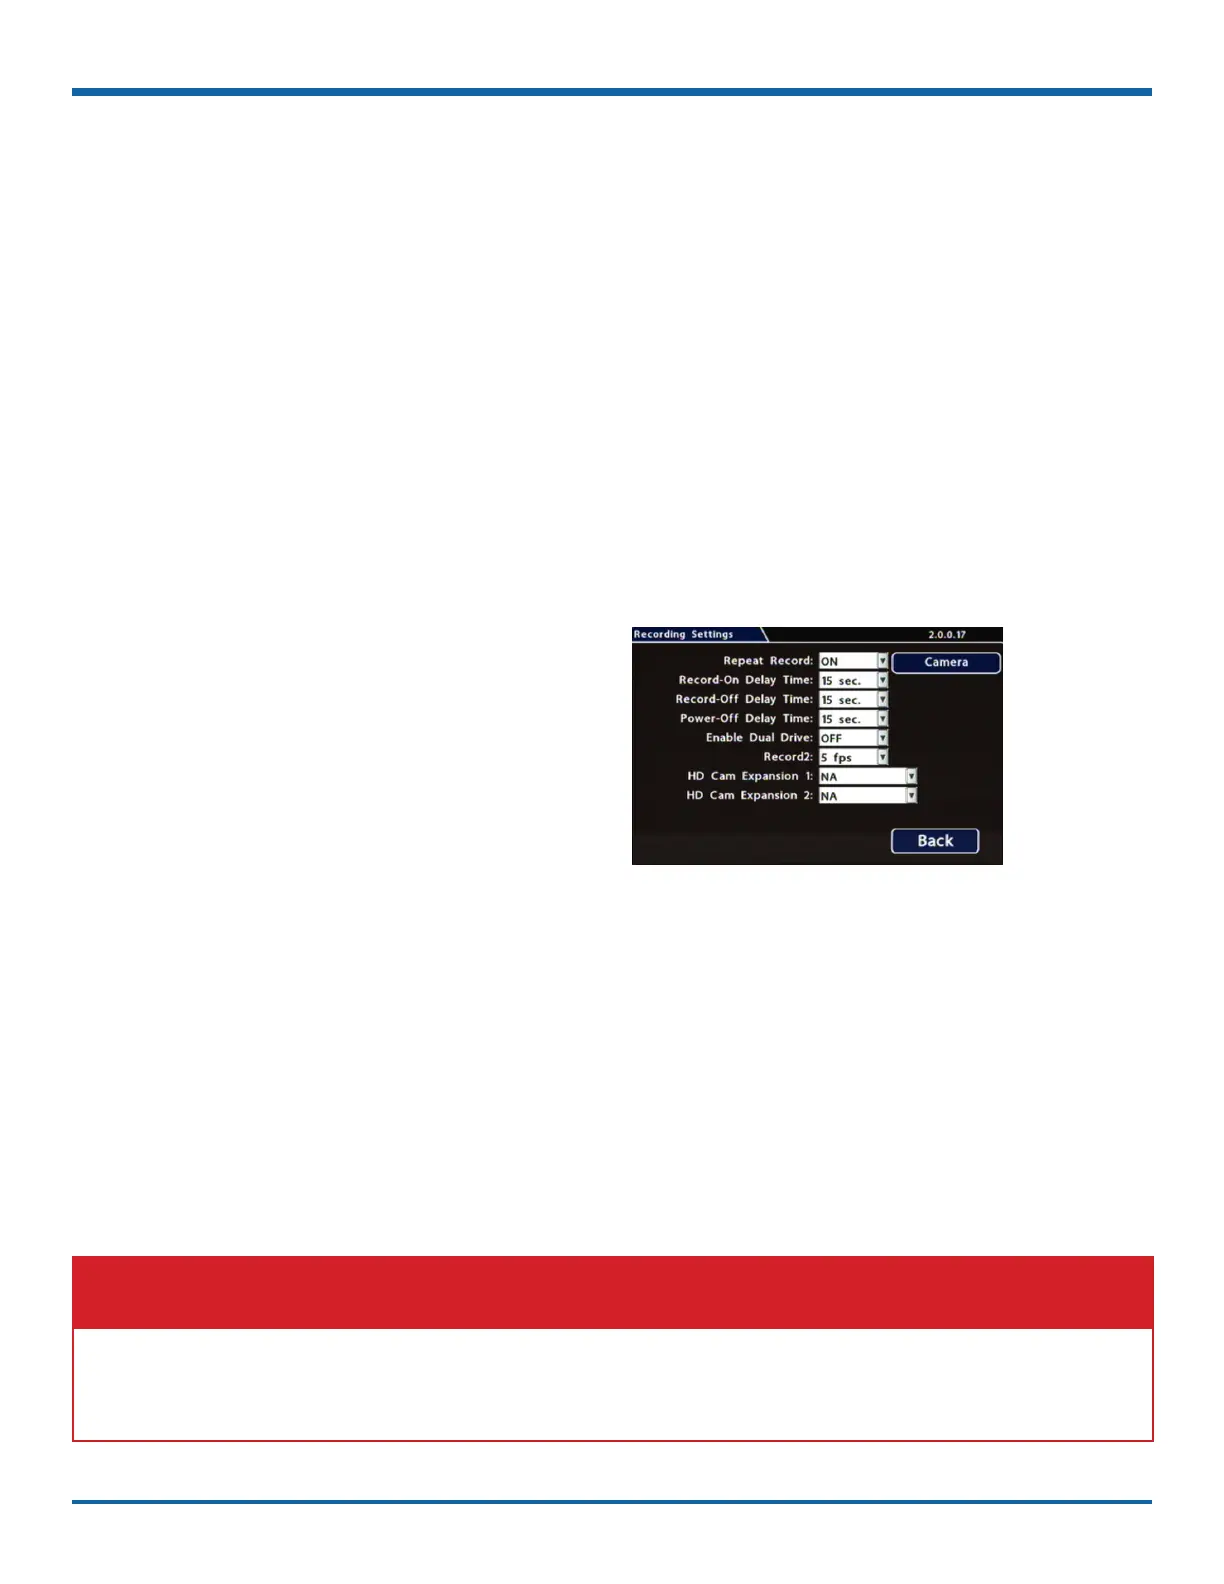
1. Select Record to open the tab.
2. Set the record and power delay timers.
For details, see , below.
3. If IP cameras or other video sources (including
RTSP devices or a companion DVR) are
connected, use the HD Cam Expansion
dropdown menus to enable them (see "IP
Cameras and RTSP Video Sources", below).
4. Click Back to save the settings, or click Camera
to congure resolution, recording speed/quality,
and other camera options.
Record Tab
IP Cameras and RTSP Video Sources
IP cameras and RTSP video sources connect to the HD CAM EXPANSION ports on the TH8 rear panel (for more
information, see "DVR Back Panel Features" on page 21). Use the Recording Settings HD Cam Expansion
dropdown menus to specify the connected device type:
• TH4C (companion DVR)
• RTSP (other RTSP video source)
• IP Camera (supported IP camera)
IMPORTANT: HD Cam Expansion 1/2 - NA setting
If an IP camera or RTSP source (including a companion DVR) is connected to an HD CAM EXPANSION port,
do not leave the HD Cam Expansion menu dropdown set to NA. Always choose a specic device setting, as
described above.