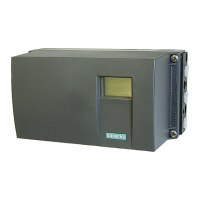
1. Mount the positioner without basic electronics 6DR5910-... to the valve. Mounting
corresponds to the mounting of the positioner in non-flameproof enclosure.
Installing/mounting (Page 39)
2. Connect the positioner with the 19" slide-in module.
Connecting the positioner to the 19" slide-in module (Page 354)
3. Note the grounding concept of the 19" slide-in module (Page 361).
4. Loosen the three mounting screws ⑥ and remove the cover.
5. Assign the channels via the coding bridges ⑦.
PA cable connection for bus connection (Page 357)
6. Plug the male connector Burndy B50 into the corresponding socket on the QRL module.
Connecting the positioner to the 19" slide-in module (Page 354)
7. Connect the PA cable that you want to use to connect the 19" slide-in module to the control
room.
PA cable connection for bus connection (Page 357)
8. Initialize the positioner using the three buttons of the associated channel of the PA module.
Example: Channel CH1 of PA module 1 ⑧ for the first positioner. Repeat the initialization
for all additional positioners until all channels are ready to use.
Note the technical specifications of the 19" slide-in module (Page 359) and the technical
specifications of the positioner (Page 281).
Note the general safety instructions (Page 19) as well as the basic safety instructions in section:
● Installing/mounting (Page 39)
● Connect (Page 77)
● Commissioning (Page 107)
Positioner with remote control electronics
F.2 19" slide-in module
SIPART PS2 with PROFIBUS PA
Operating Instructions, 05/2019, A5E00127926-AC 353
 Loading...