CALIBRATION
point, otherwise the instrument will output two short “beeps” and will not advance to the
next calibration point.
1. To calibrate AC Voltage
Please connect a standard 4000V AC Voltmeter to the HV and RETURN connectors.
Then press the TEST button on the front panel. The instrument will provide around
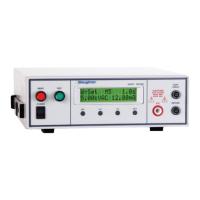
4000VAC on the output connectors and the display will show:
Press the Up () or Down () arrow keys to enter the reading of the standard AC
Voltmeter into the instrument. Then press SET key to store the voltage setting and to
advance to the next calibration point or press the RESET button to return to the
calibration menu without changing the calibration setting. Press the EXIT key to exit
from the calibration mode and to return to the test mode.
2. To calibrate DC Voltage
Please connect a standard 4000V DC Voltmeter to the HV and RETURN connectors.
Press the Up () or Down () arrow keys until the display shows:
Then press the TEST button on the front panel. The instrument will provide around
4000VDC on the output connectors and the display will show:
Press the Up () or Down () arrow keys to enter the reading of the standard DC
Voltmeter into the instrument. Then press SET key to store the voltage setting and to
advance to the next calibration point or press the RESET button to return to the
calibration menu without changing the calibration setting. Press the EXIT key to exit
from the calibration mode and to return to the test mode.
3. To calibrate IR Voltage
Please connect a standard 1000V DC Voltmeter to the HV and RETURN connectors.
Press the Up () or Down () arrow keys until the display shows:
Then press the TEST button on the front panel. The instrument will provide around
1000VDC on the output connectors and the display will show: