110
Scope Multimeter Operations
File Controls
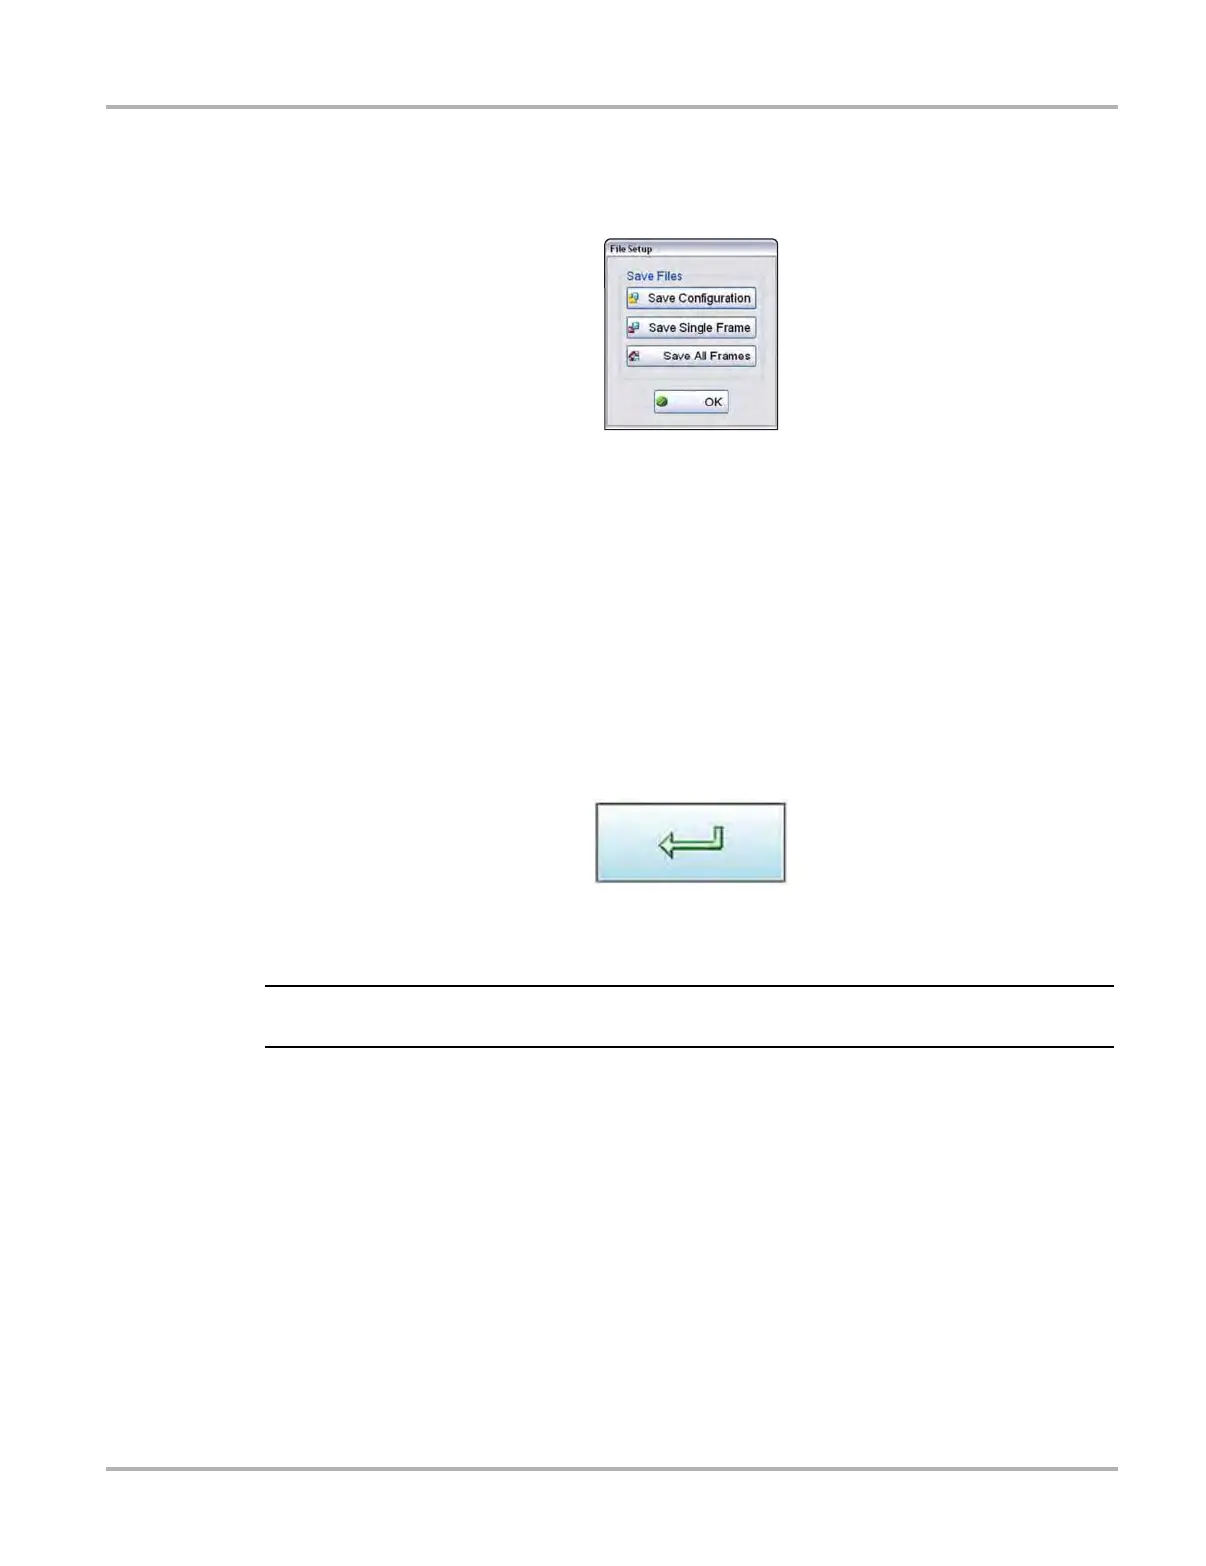
Selecting File from the toolbar opens a dialog box with a menu of save options:
Figure 8-28 Sample file setup dialog box
• Save Configuration—saves the current setup values as a preset.
• Save Single Frame—saves the data currently on the screen only.
• Save All Frames—saves the current screen plus all the data stored in the buffer.
z To save a file or configuration:
1. Select File from the toolbar.
2. Select a save option from the dialog box.
The Save As dialog box and the virtual keyboard open.
3. Use the keyboard to name the file to be saved, then either select the Save icon or select
return on the keyboard.
Figure 8-29
A configuration description dialog box opens.
i The description entered here is what displays in the information panel of the Data Manager.
4. Use the keyboard to enter a description of the file to be saved.
5. Select the OK icon or select return on the keyboard.
6. Select OK to close the file setup dialog box.
Once a configuration is saved, it becomes available as a preset. Files are saved to the Scope
Multimeter Data Folder and can be retrieved through the Data Manager.
Print Controls
Selecting Print from the toolbar opens a standard Windows Print dialog box set up to print the
current screen. A printer must be connected and setup on the diagnostic tool. If not, the “Add
Printer Wizard” opens and guides you through the procedure. Select from the menus as needed.