100
Electrical Connection
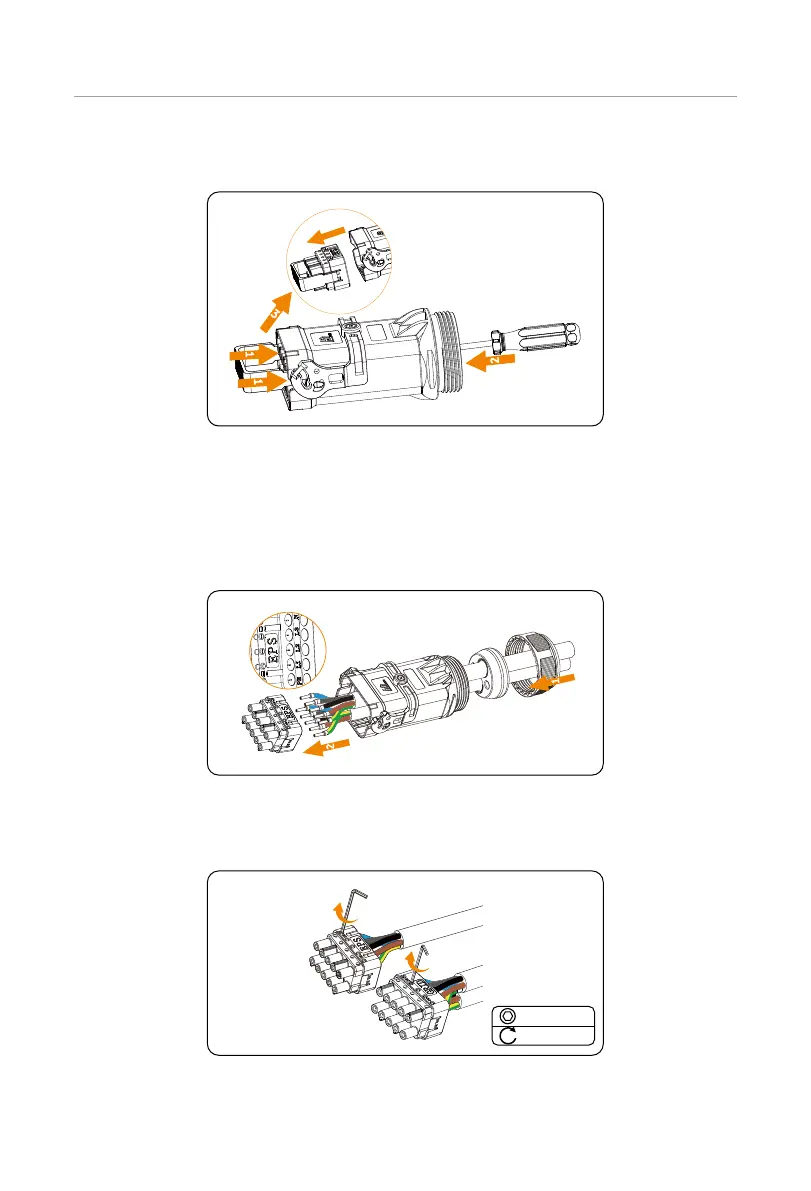
Step 4: Press the tool into the terminal block in the AC connector and use a screwdriver
to poke the terminal block out from the other end of the AC connector.
1
1
2
3
Figure 7-21 Poking the terminal block out of the AC connector
Step 5: Connect Grid and EPS cables to the AC connector.
»
Thread the Grid and EPS cables through the swivel nut, the rubber sealing
stopper and the AC connector. Plug L1, L2, L3, N and PE wires of the Grid
and EPS cables into the L1, L2, L3, N and PE port of the Grid and EPS terminal
block respectively.
2
1
Figure 7-22 Inserting Grid and EPS cables into the AC connector
»
Tighten the screws with an Allen key to ensure wires are well locked.
(Torque: 2.5±0.1N·m)
Allen key
2.5±0.1 N·m
Allen key
Figure 7-23 Locking wires in the AC connector

 Loading...


