101
Electrical Connection
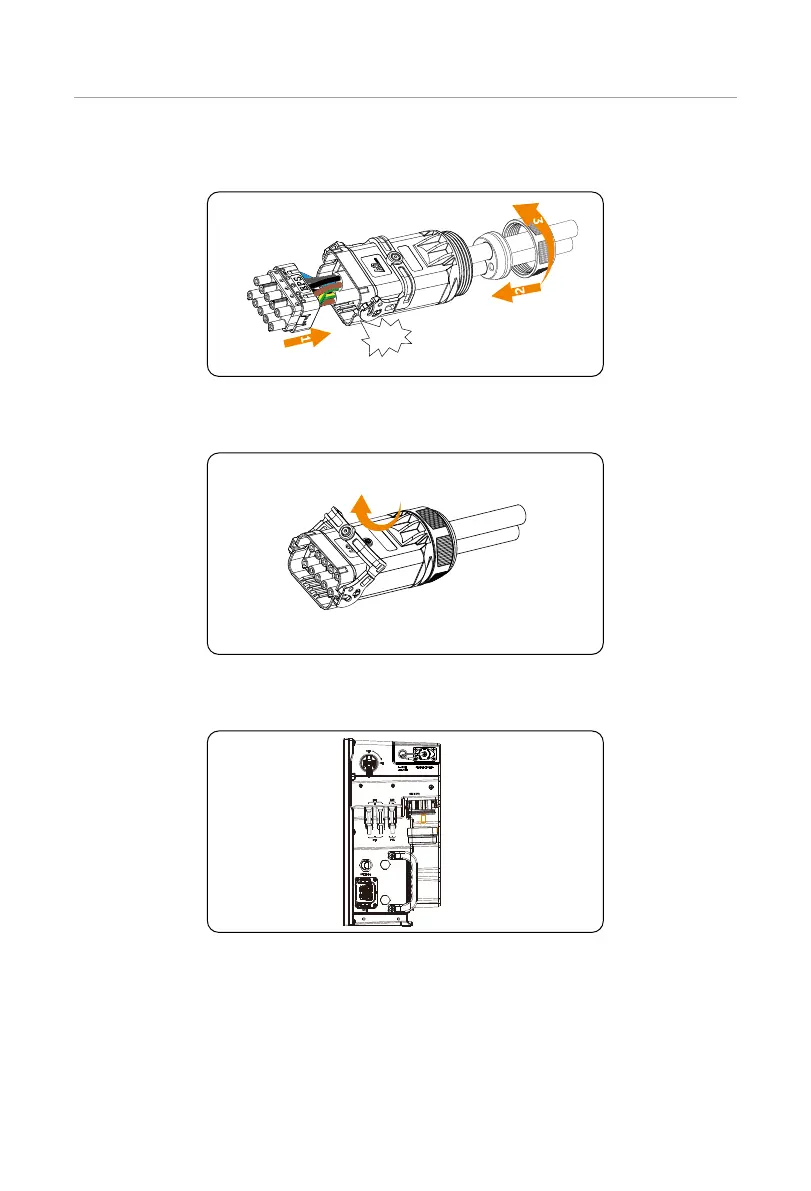
Step 6: Put the terminal block, the rubber sealing stopper into the AC connector. Screw
the swivel nut tightly.
Click!
1
2
3
Figure 7-24 Wiring the AC connector
Step 7: Pull up the latch on the AC connector.
Figure 7-25 Pulling up the latch
Step 8: Remove the dustproof cover on the Grid & EPS port of the inverter.
Figure 7-26 Removing the dustproof cover
Step 9: Plug the AC connector into the Grid & EPS port of the inverter and tighten the
lock on the AC connector.

 Loading...


