79
Mechanical Installation
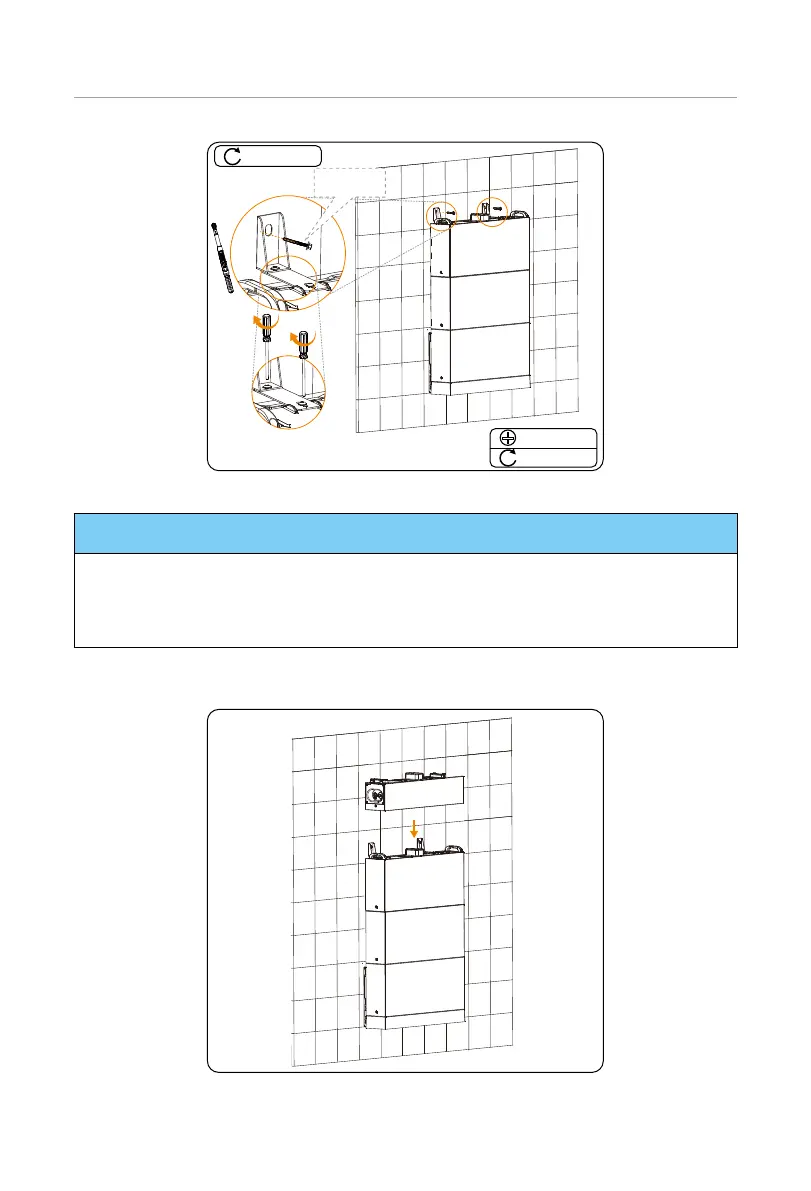
M5*14
2.2-2.5 N·m
Tapping screw
8-10 N·m
Figure 6-45 Securing the assembled bracket
NOTICE!
• An electric drill dust collector is recommended.
• To prevent dust from being released into the hot plug when drilling holes, users
may use the package bag of the device or other materials to fully cover the battery
module.
Step 12: Place the BMS, and then tighten the M5*14 screws on both sides (torque: 2.2-2.5
N·m)
Figure 6-46 Placing the BMS

 Loading...


