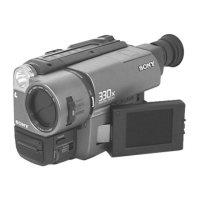
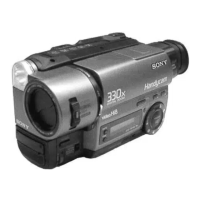
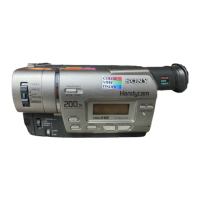
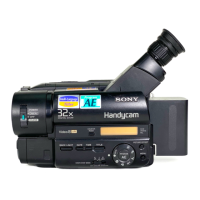
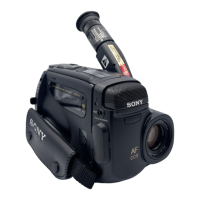
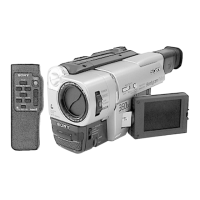
2-3
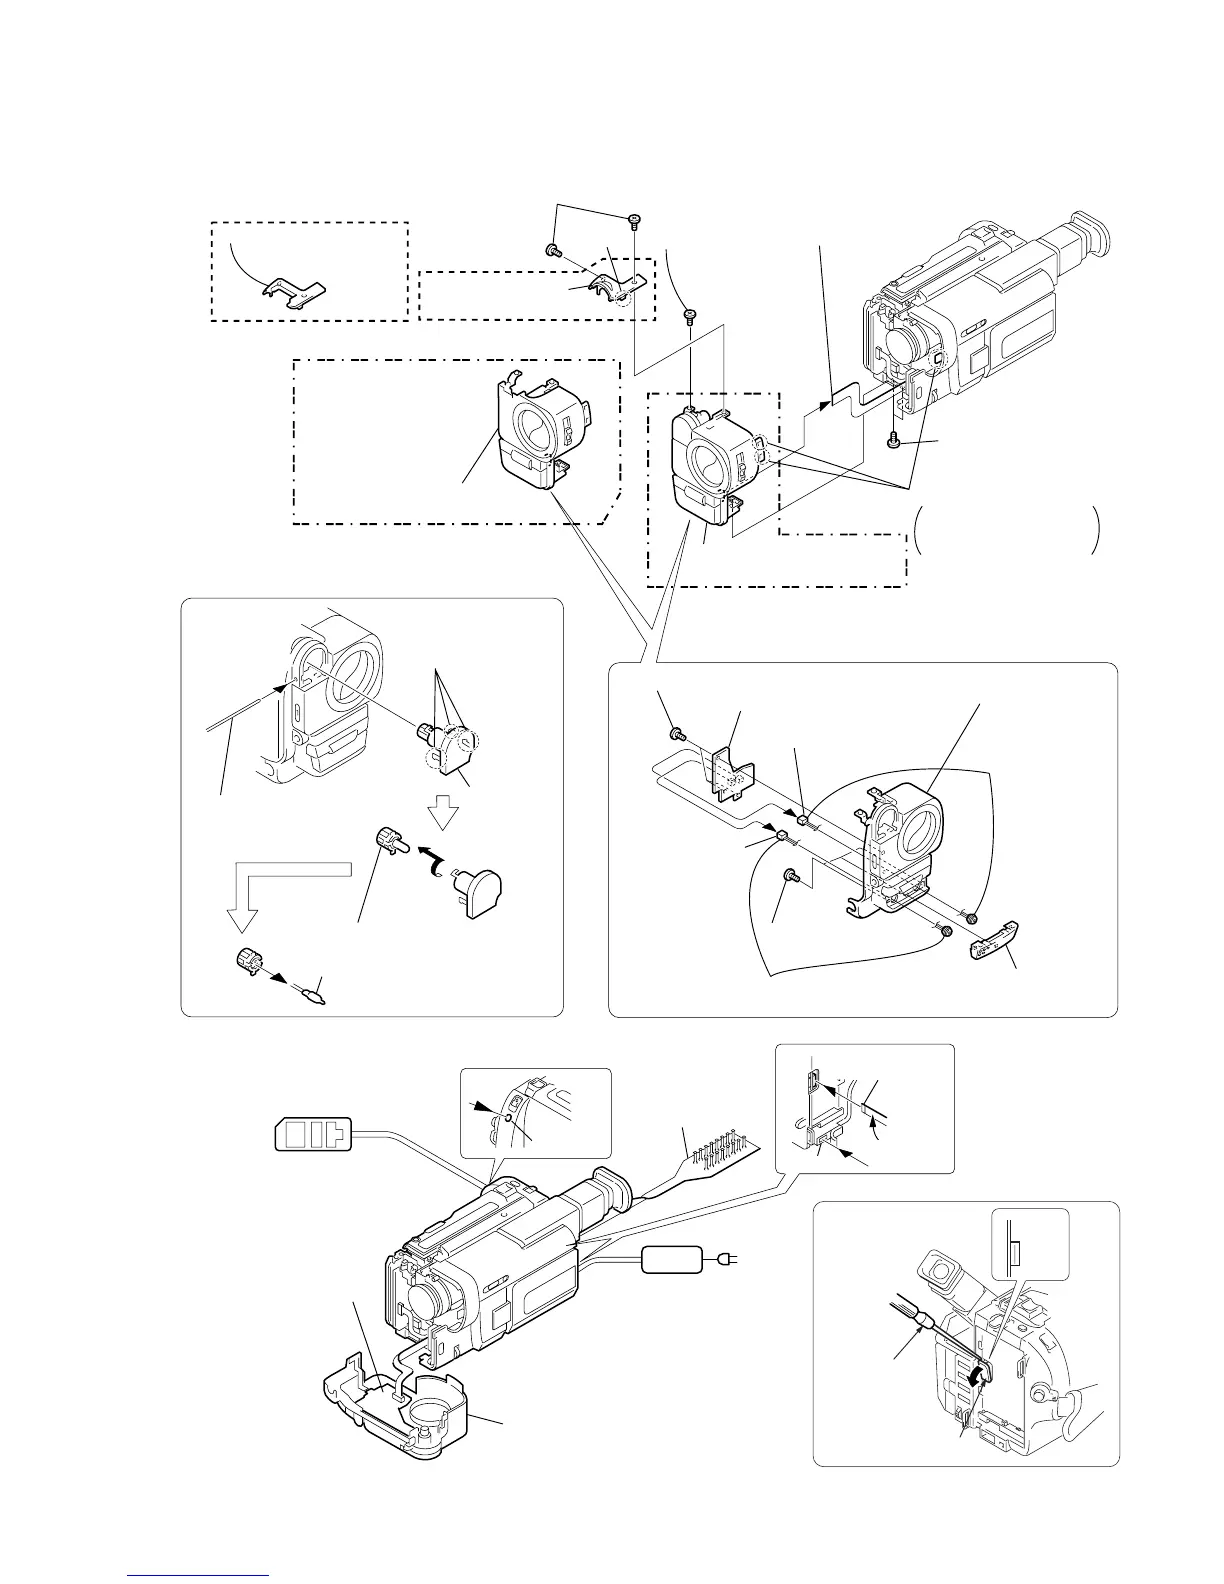
2-2. FRONT PANEL ASSEMBLY, MA-374/375 BOARD
S
O
N
Y
MA-
Board
1
Two screws (M2
×
4),
lock ace, p2
4
Screw
(M2
×
4),
lock ace, p2
5
Two screws
(M2
×
4),
lock ace, p2
8
Front panel block assembly
(Video light model)
2
Claw
Front panel block assembly
8
Front panel block assembly
(No video light model)
3
Shoe cabinet (L)
(Video light model)
6
Remove the three claws
Remove it while taking
care as the FP-43 flexible
cable is connected.
7
FP-43 flexible
board (20P)
3
Shoe cabinet (N) (97)
(No video light model)
3
Three tapping screws (B2
×
5)
2
Three claws
1
Push in the dent
inside hole with
wire tip.
3
Video light
5
Three tapping
screws (B2
×
5)
6
Microphone
grill (D) assembly
7
Microphone (R)
8
Microphone (L)
(Stereo model)
9
Front panel (97)
assembly
1
Microphone (R)
(2P)
2
Microphone (L) (2P)
(Stereo model)
4
MA-374 board (TR model)
MA-375 board (TRV model)
5
Halogen lamp
4
Remove in the direction
of the arrow
A
.
A
REMOVING THE
VIDEO LIGHT, HALOGEN LAMP
(VIDEO LIGHT MODEL)
REMOVING THE MA-374/375 BOARD,
MICROPHONE, FRONT PANEL (97) ASSEMBLY
REMOVING THE CPC LID (BT)
AC POWER
ADAPTOR
AC IN
DC IN
CPC-7 jig
(J-6082-382-A)
MA-374 board (TR model)
MA-375 board (TRV model)
CPC-7 jig
Contacting
surface
LANC jack
Adjustment remote
commander (RM-95)
[MA-374/375 BOARD SERVICE POSITION]
CN982
1
16
Screw driver (–)
CPC lid (BT)