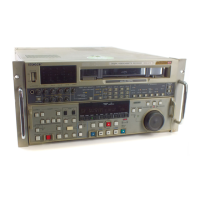
4-37
DNW-A75/A75P
For Condition NG (C12)
Check and recheck according to the procedures below.
n
The recorded data on the tape will be overwritten in
checking in the menu C12. Before the recheck, record any
video signal again on the tape for two minute or more.
(1) Check in C11 : PB CH CONDITION with alignment
tape. When the result is OK, perform (2) and later.
(2) Adjust the recording current in A12 : REC CUR-
RENT.
(3) Recheck in the menu C12 after recording any video
signal again for two minutes or more.
When no abnormality is found, the recheck is completed.
(4) Clean the drum using a cleaning tape according to
Section 5-2-1.
(5) Recheck in the menu C12 after re-recording any video
signal on the tape for two minutes or more.
When no abnormality is found, the recheck is completed.
(6) Clean the drum using the cleaning tape again (the
amount of the tape used is 20 seconds).
(7) Recheck in the menu C12 after re-recording any video
signal on the tape for two minutes or more.
When no abnormality is found, the recheck is completed.
(8) Clean the drum (video heads) with a cleaning cloth
according to Sections 5-2-2 and 5-2-3.
(9) Recheck in the menu C12 after re-recording any video
signal on the tape for two minutes or more.
When no abnormality is found, the recheck is completed.
If the error condition is not improved in the way mentioned
above, the possible cause below are considered.
. Servo system adjustment defect or circuit defect
8 Readjust the servo system. (A00-01 : SERVO
ADJUST)
8 Check the servo system. (C03 : REEL/CAPSTAN
MOTOR & FG CHECK)
. Worn PB head in the drum assembly
8 After checking the hours meter (H02 : DRUM
RUNNING HOURS), replace the upper drum
assembly as required.
(Refer to the maintenance manual part 2, volume-1.)
. In the tape transport system, adjustment defect or
component part installation defect
8 Readjust the tape transport system or reinstall the part.
(Refer to the maintenance manual part 2, volume-1.)
. EQ-75 board defect
. Drum assembly defect
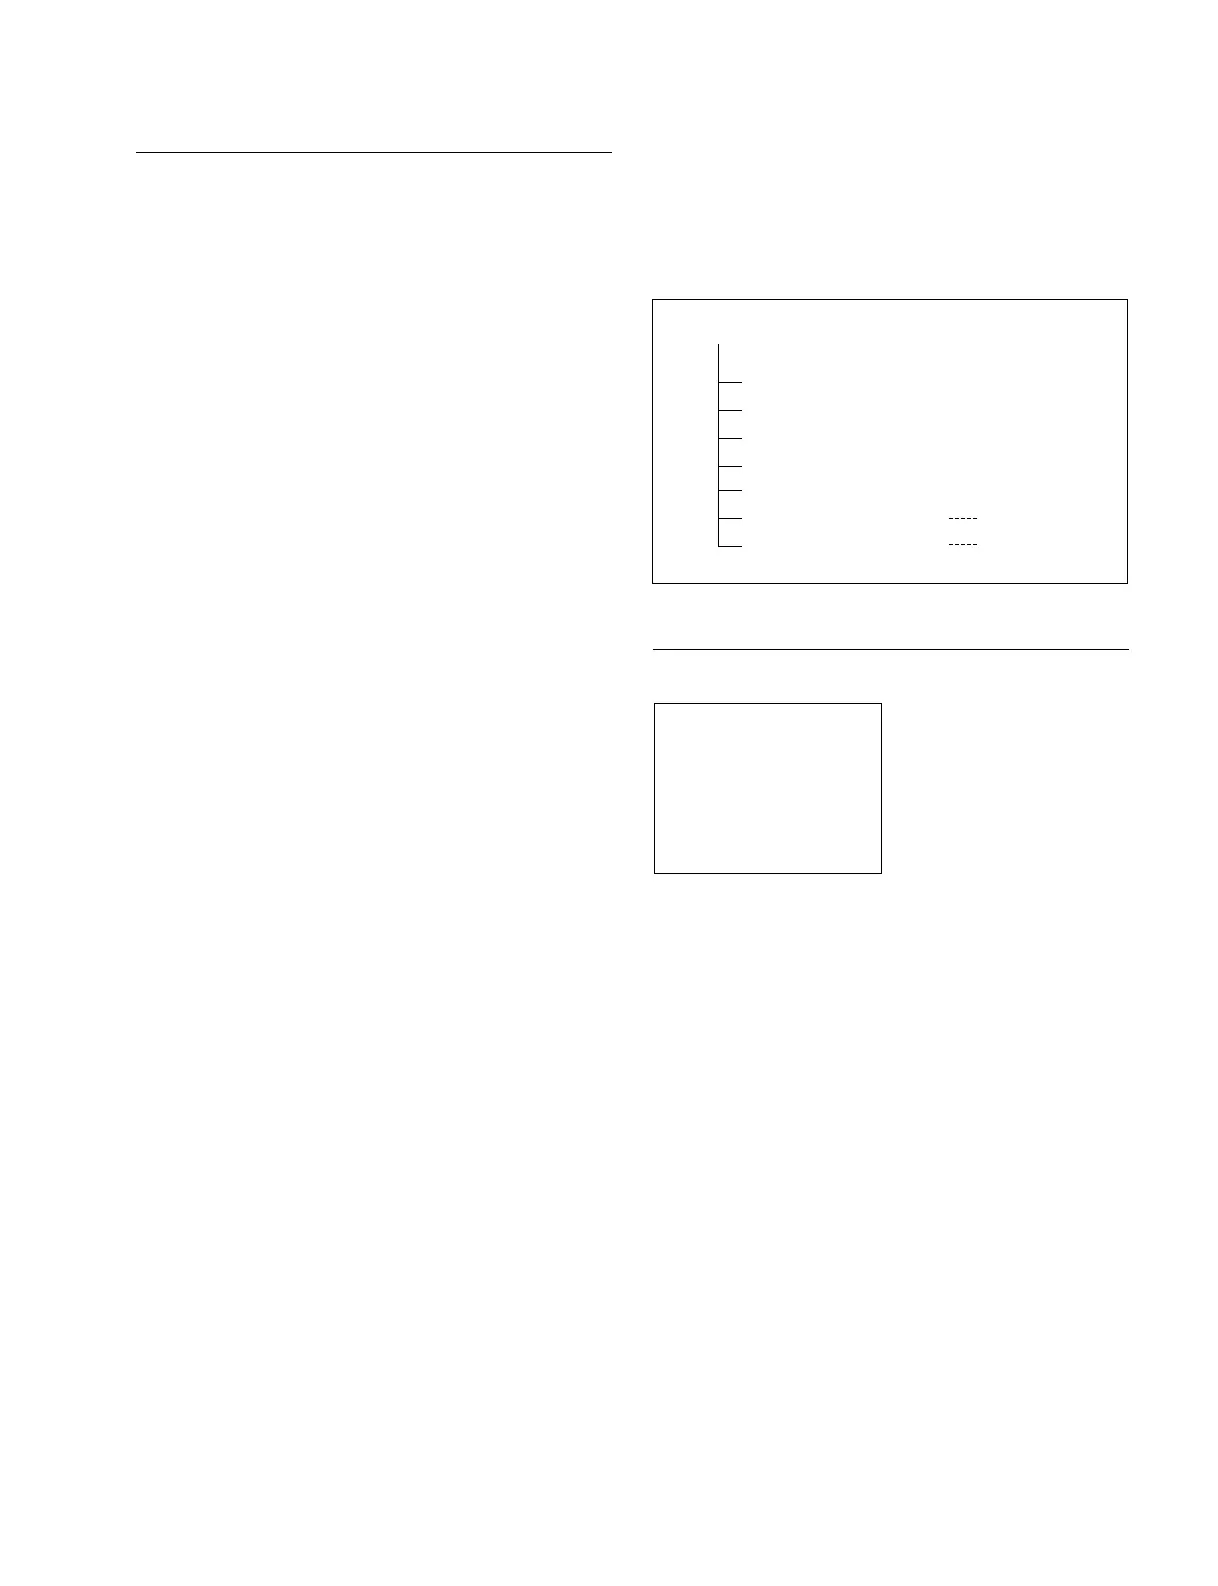
4-2. TAPE Maintenance Mode (M0)
4-2-4. RF CHECK Mode (C1)
4-2-5. AUDIO/VIDEO CHECK Mode (C2)
4-2-5. AUDIO/VIDEO CHECK Mode (C2)
The C2 : AUDIO/VIDEO CHECK mode has seven menus
(including the menu displayed when the option is installed)
that are useful for checking audio and video systems.
Menu Tree of Audio/Video Systems Check Mode
C20 : SYSTEM EE
This menu selects the system E-E function to be enabled or
disable in the maintenance mode, and additionally selects a
signal path from among the followings when the system E-
E function is enabled.
OFF: Normal state (in which the system E-E state is
not entered)
ECC-EE: Reflects the signal after it passes through IC402
(ECC encoder) on the DPR-118 board.
RF-EE: Reflects a signal in the EQ-75 board.
System E-E setting
To set the system E-E function, turn the search dial while
pressing the JOG button and display the desired setting.
The specified setting is maintained until the maintenance
mode is terminated or the setting is changed.
m
. This menu is set to OFF when the maintenance mode is
activated.
. Be sure to perform under the no cassette tape state when
selecting the system E-E to enable.
C2 : AUDIO/VIDEO CHECK
C20 : SYSTEM EE
C21 : VIDEO TEST SG
C22 : MULTI LOOP (10TIMES)
C23 : AUDIO TEST SG
C24 : DPR-118 DIAG INFO
C25 : DPR-119 DIAG INFO
C26 : DPR-150 DIAG INFO
For BKNW-118
For BKNW-124
AUDIO/VIDEO CHECK MODE
C20:SYSTEM EE
OFF
*