Oxygen Analyzer
3–22 4900002239 rev. G 7-11-17
3. Press the Start button next to the Cal2nd box.
The Status field will display the message, “Wait - Stabilizing!”. Wait
for the phase values to stabilize (the variation of the phase angle
should be smaller than
.01until the Status field displays the
message, “Ready to Set Value!”
4. Press the Start button to the left of the Cal2nd value.
5. Press .
Once the calibration values have been set:
1. Press the Save button at the upper right of the screen.
2. Press to store the calibration data for the selected sensor.
The display will switch to the measurement screen automatically.
Relative Accuracy Test Audit (RATA)
RATA is accessible from the RATA button on the SENSOR / SENSOR OPTIONS
menu screen.
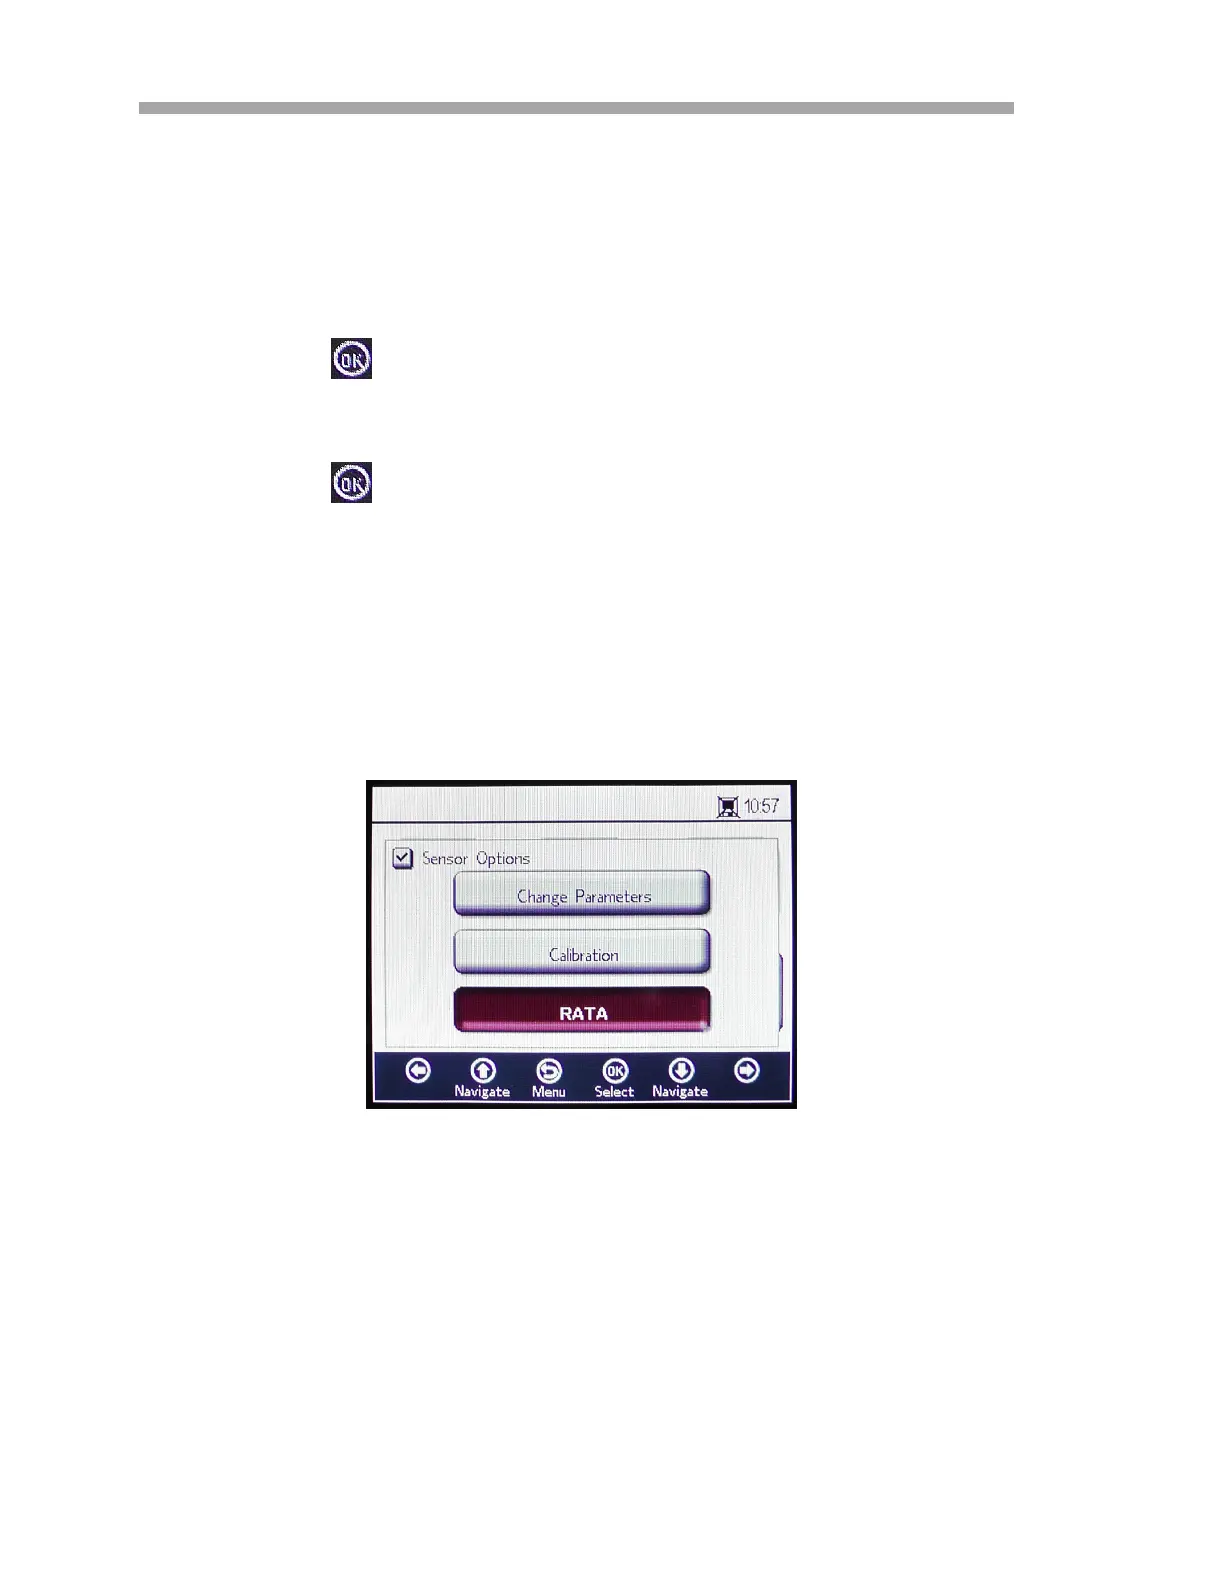
1. Select RATA in the SENSOR OPTIONS window. Refer to Figure 3–27.
Figure 3–27 Sensor Options screen
 Loading...