38
!
7.
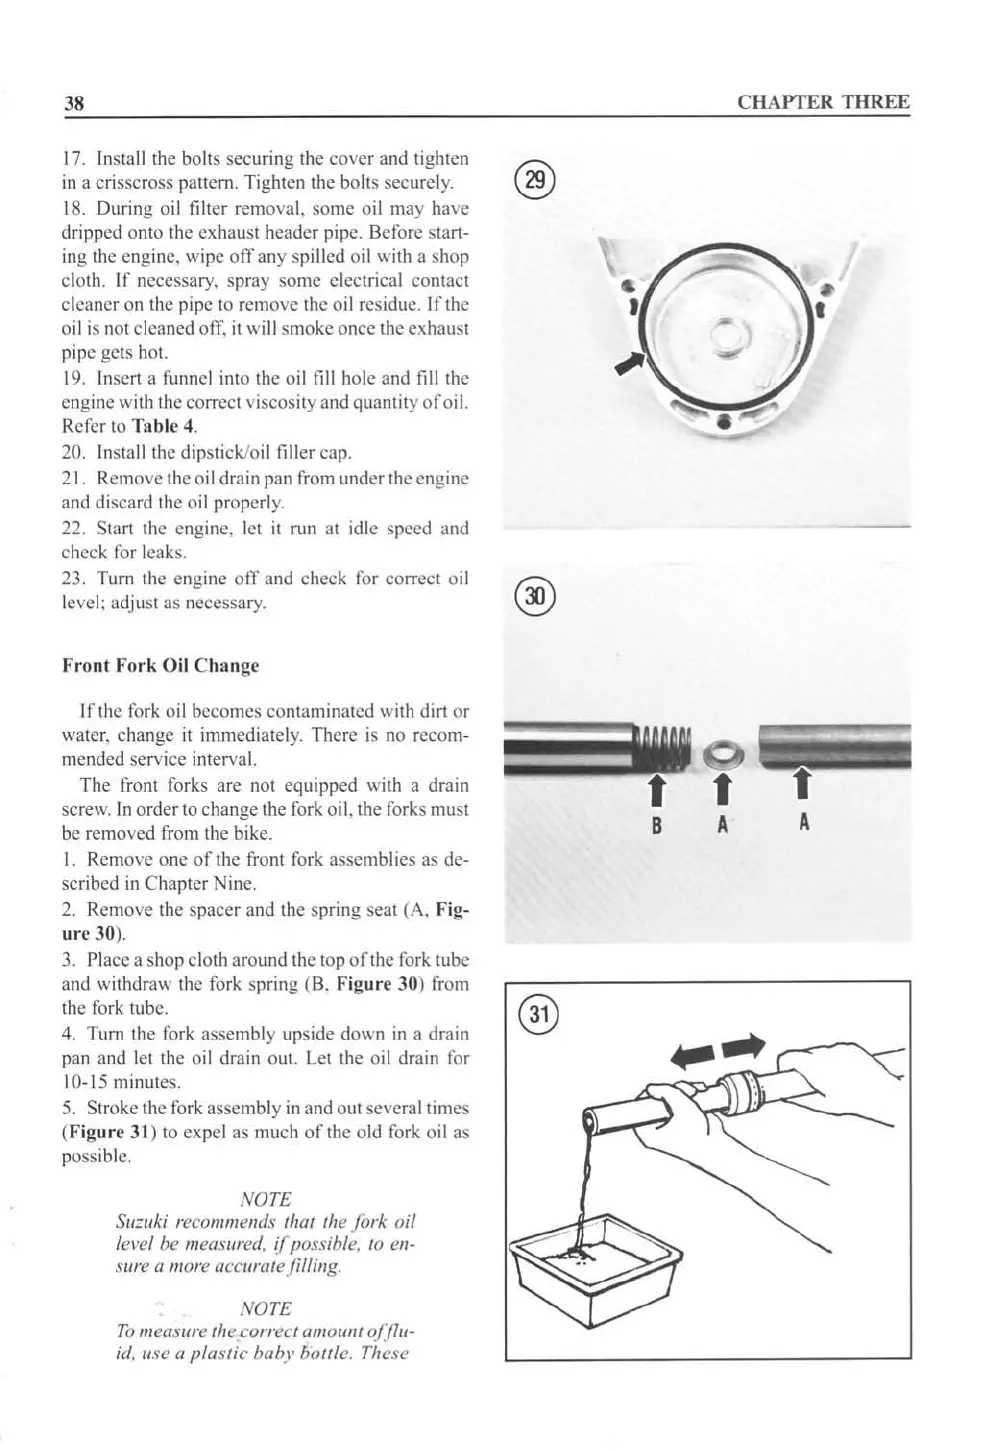
[nstal1thc bolts securing the
cover
and tighten
in
a crisscross pattern. Tighten the bolls securel
y.
18.
During oil filter removal.
some
oil may have
dripped onto the exhaust header pipe.
Bef
ore start-
ing the engine. wipe
ofT
any spilled oi l with a shop
cloth. If necessary. spray some electrical contact
cleaner on the pipe
to
remove the oil residue.
If
the
oil
is
not
cleaned off.
it
will
smoke once the exhaust
pipe gels hal.
19.
In
sert a funnel into the
oil
fill
hole and
fill
the
engine with the correct viscosity and quantity oroil.
Refer
10
Table 4.
20. Install the dipstick/oil filler cap.
21. Remo
ve
the o
il
drain pan from under the engine
and discard the oil properly.
22. Start the engine, let
it
mn al idle speed and
check for leaks.
23.
Tum
the engine
off
and check for correct oi l
level; adjust as necessary.
Fro
nt
For
k
Oil
C
han
ge
Ifthc
fork oil bccomcs contaminat
cd
with dirt
or
water. change
it
immediately. There is no recom-
mended scrvice interval.
The front forks are
nOl
equipped with a drain
screw.
[n
order 10 change the fork oil. the forks must
be
removed from the bike.
I. Removc onc
of
the front fork assemblies as de-
scribed in Chapter Nine.
2. Remove the spacer and the
spr
ing seat (A. Fig-
ure
30
).
3. Place a shop cloth around
th
c top
of
the fork tube
and withdraw the fork spring
(8.
Figure
30
) from
the fork tube.
4. Turn the fork asscmbly upside down
in
a drain
pan and
leI
the oil drain out. Let the o
il
drain for
10-15 minute
s.
5.
Stroke the
fo
rk assembly
in
and out several times
(
Figure
31 ) 10 expel as much
of
the old fork oil as
possible.
NOTE
SII:lIki recommends Ihm the fork oil
le~'el
be
measure,!.
if
possible.
10
en-
sure a more accurale filling.
NOTE
To
measure the.correct amoulll offlll-
id.
li
se
a
plastic
baby
bOltle. The
se
®
B
CHAPTER THREE
o
t
A
A
 Loading...


