BRAKES
-
~
, .
,
309
1
8.
Refill
th
e master cylinder
re
servoir.
In
sta
ll
the
diaphragm and cover. Do not tighten the screws
at this
lime
.
1
9.
Bleed the brake as described und
er
BI('('(Jillg
Ihe System
in
this chapler.
WARNING
Do
110/ ,itle Ihe motorcycle
I/II/il
),011
are
SIITt!
thar Ihe brakes
art'
operarillg
properly.
Ca
liper Re
buildin
g
R
efe
r to
figure
31
for this procedure.
1.
Remove the caliper assembly as described
in
this
chapte
r.
2.
Unscrew and remove the pad pin bolt (
fi
g
ur
e
34
) from the ca
li
per.
3.
Remove the brake pads from the caliper.
4. Remove
th
e an
ti
-rattle spri
ng
from the caliper.
5. Unscrew the bleed screw and cap (t'
igur
c 35).
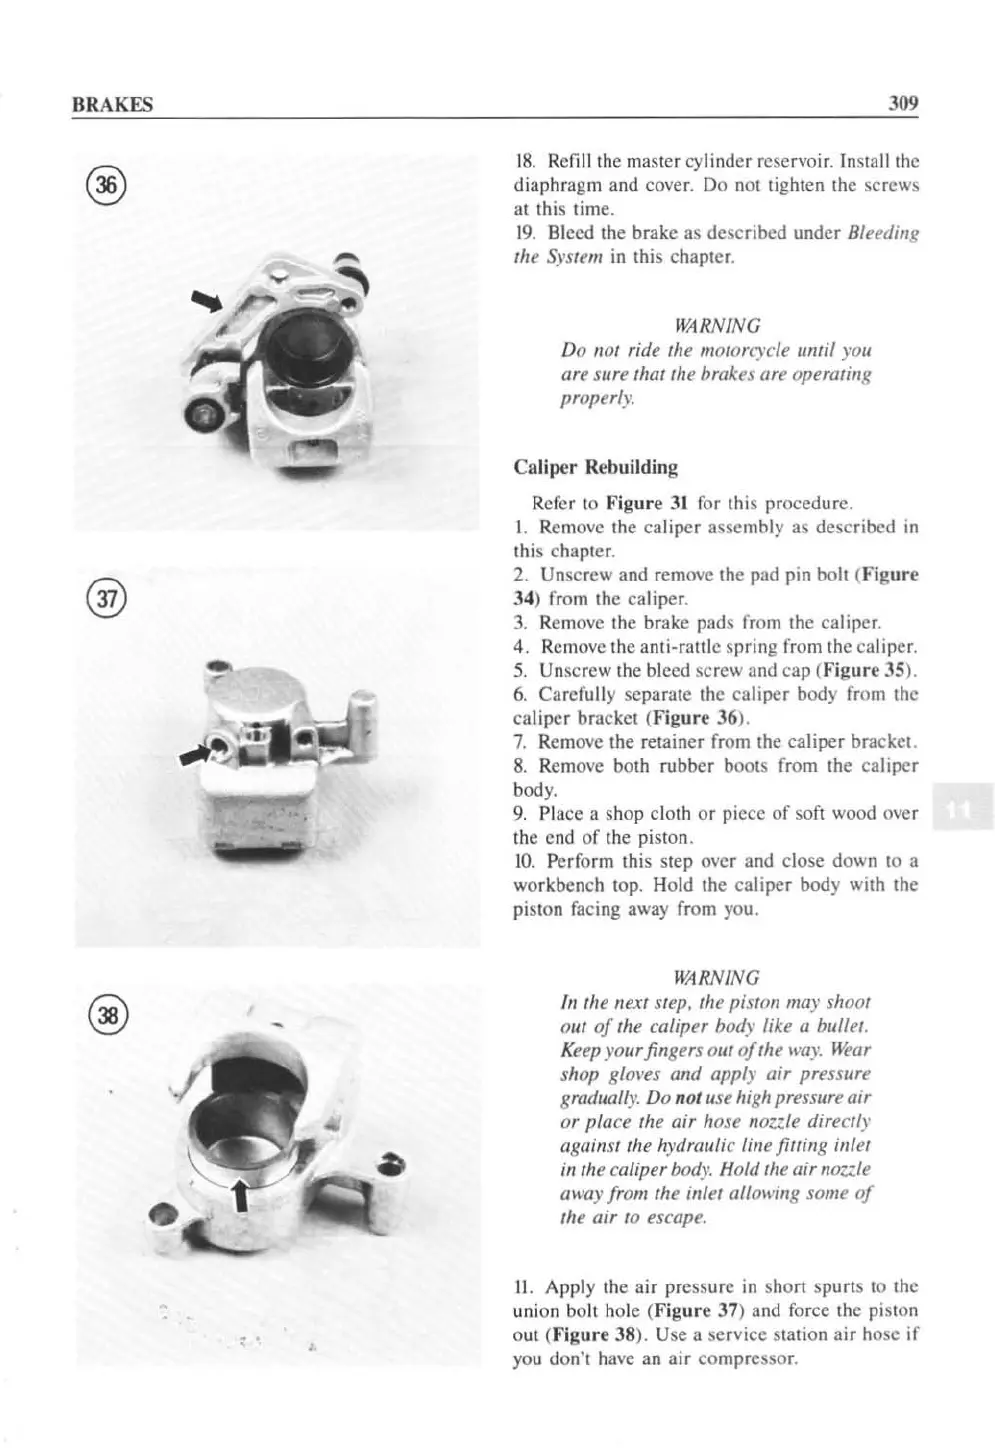
6.
Carefu
ll
y
sepa
rate the caliper body from the
ca
li
per bracket (Figure 36).
7.
Remove the retainer fr
om
the
caliper
bracket.
8.
Remove both
rubber
bools from Ihe
ca
liper
body.
9.
Place a sh
op
clOlh
or
piece
of
so
fl
wood over
Ihe end
of
the
pi
ston.
10
.
Perf
orm this step over and close down
to
a
workbench top. Hold the
caliper
body with the
pi
st
on
facing away from you.
WARNING
I
fl
the flext step, the l)istoll
IIIay
shool
OUI
of
rhe caliper
body
/ike a bllllet.
K
eep
your
fingers Ollt
of
the
way.
Wear
shOI)
glol'es
and
apply
air
pressure
gradually.
Do
nO/li
se
high pressure
air
or
place
the
air
hose
lIo
u.le
directly
lIgainst the h)"lJrllllfic line fitting inlet
ill
the caliper body. H
oltlthe
air
noz:.le
away frolll
rhe inlet aI/owing some
of
the
air
to
escape.
11.
Apply the
air
pr
essure
in
short spurts to the
union
bolt hole (
Figur
e
37
) and force the pisl
on
out (
Figu
re
38
). Use a service station
air
ho
se
if
you don't have an
air
co
mpressor.
 Loading...


