96
dimensions in Table
I.
Replace if worn to the
service limit
or
less.
4. Make sure the oil holes
in
the rocker arm shaft
are clean and clear.
If
necessar
y.
clean out with
a piece
of
wi
re and thoroughly clean with solvent.
Dry with compressed air.
5. Check the wave washers for breakage
or
diSlOrtion: replace
if
necessary.
6.
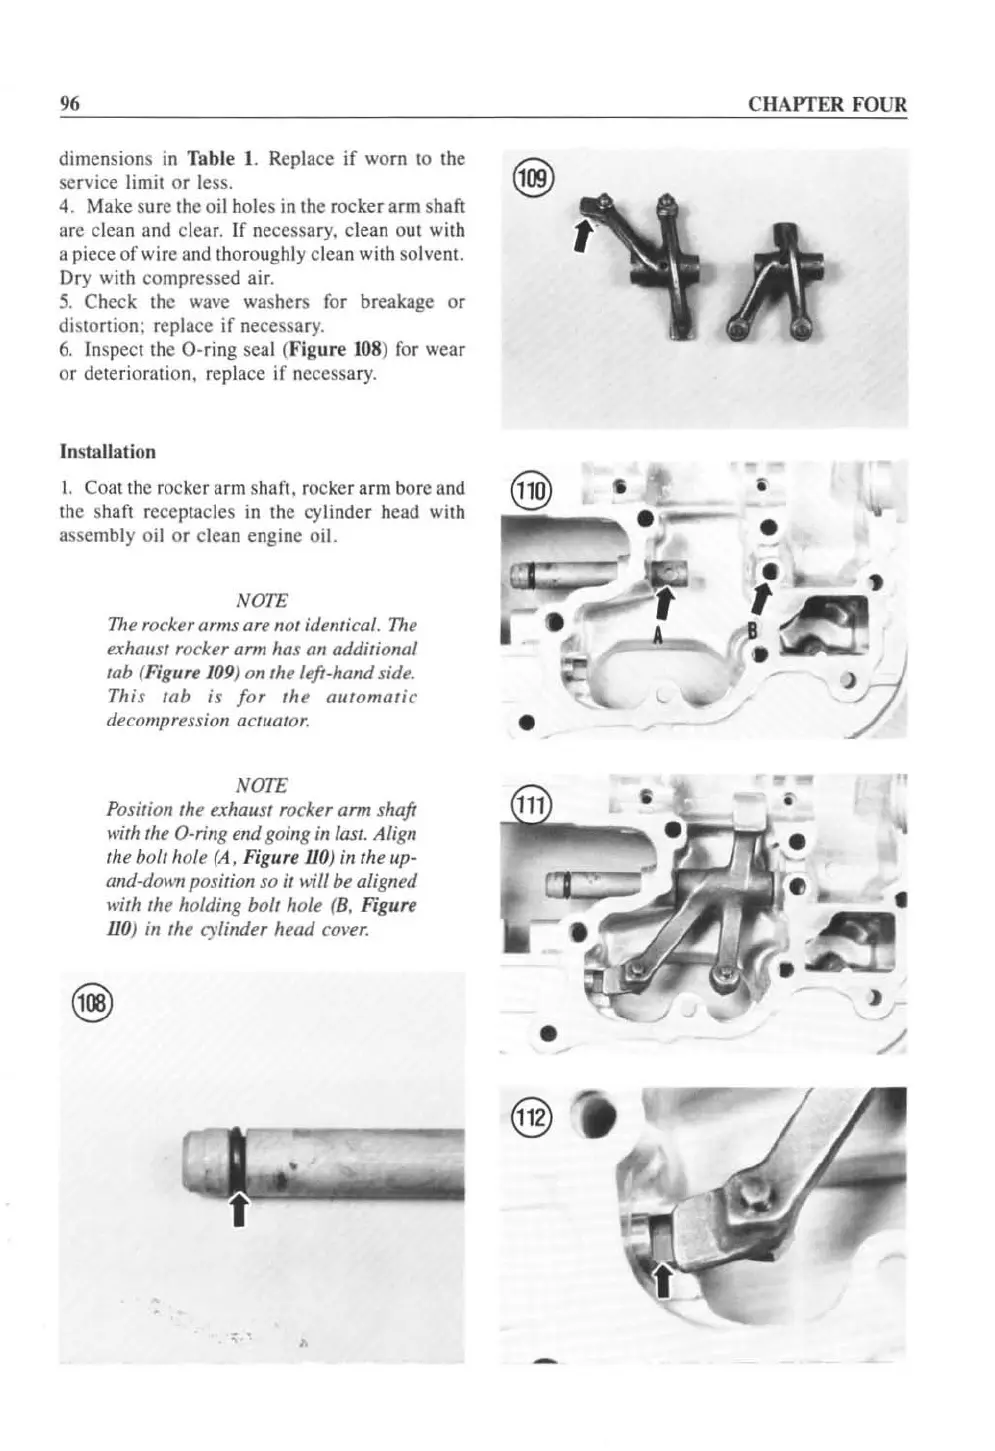
Inspect the O-ring seal (
Figur
e
108
)
fo
r wear
or deterioration. replace
if
necessar
y.
Insta
ll
a
ti
on
I. Coat the rocker arm shaft, rocker arm bore
and
the shafl receptacles
in
the cylinder head with
assembly oil or clean engine oil.
NOTE
71le
rocker arms are not identical.
The
exhaust rocker arm
has
an additional
tab (Figure J09) on the left-hand side.
This tab
is
for
the
automatic
decompression actuator.
NOTE
Position the exhaust rocker arm shaft
with the O-ring end going in last. Align
the bolt hole
(A,
Figure llO) in the liP-
and-dOI\71
position
so
it
will be aligned
with the holding bolt hole (B, Fig
ur
e
llO) in the cylinder
head
cover.
, .
CHAPTER FOUR
-
 Loading...


