100
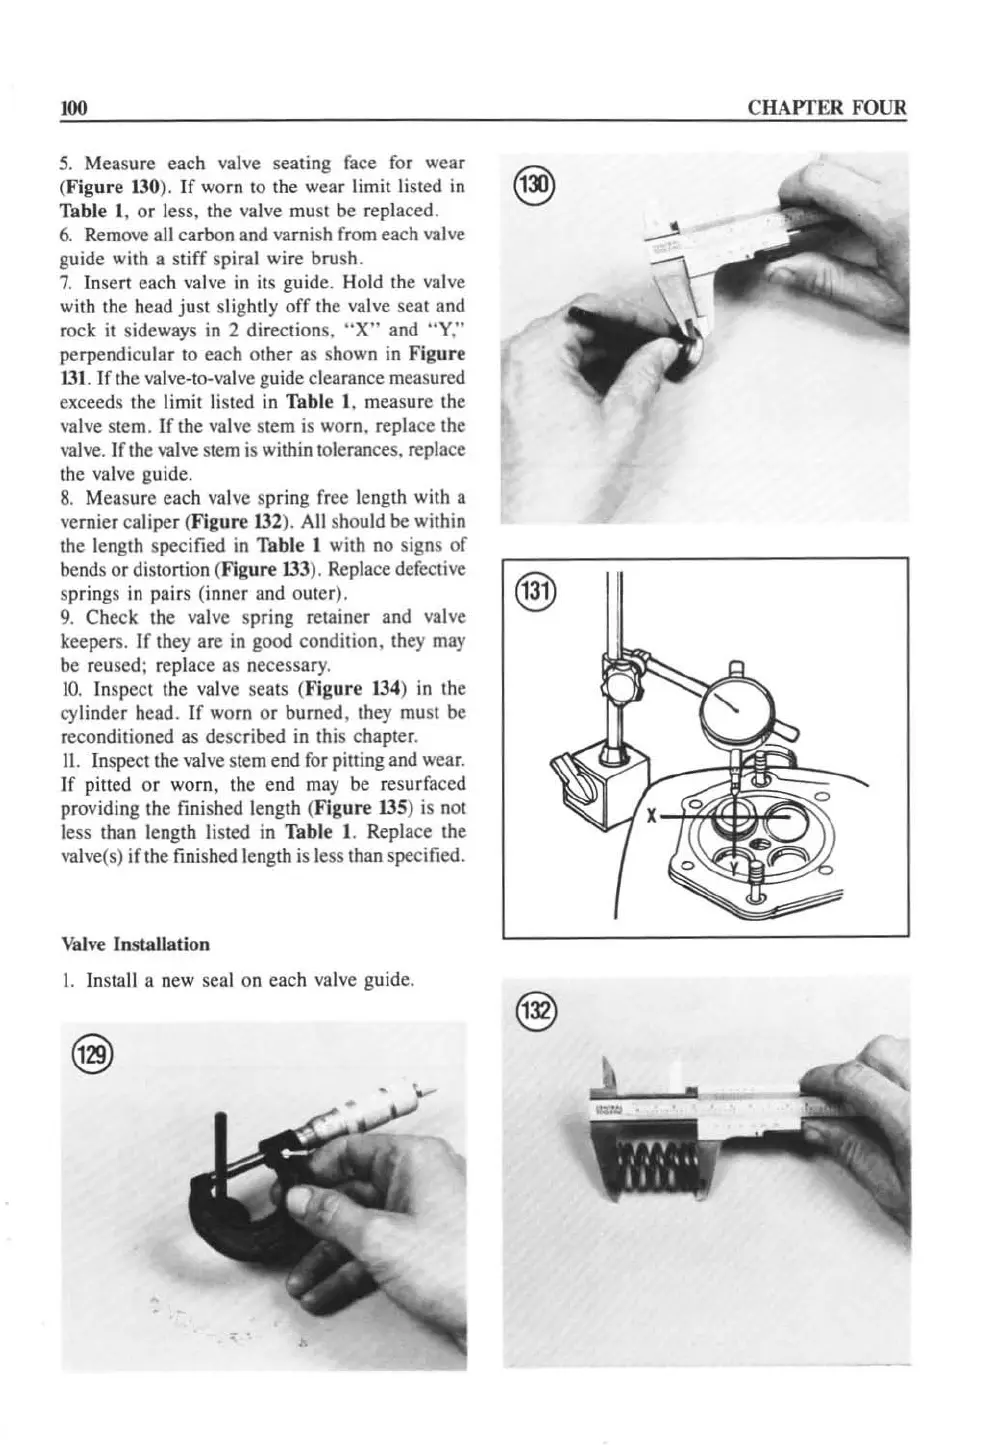
5.
Measure each
va
l
ve
sealing face for wear
(F
igur
e
130
).
If
worn
to
the wear limit listed
in
Table I, or less,
th
e valve
mu
st be replaced.
6.
Remove all carbon and varnish from each valve
guide with a stiff spiral wire brush.
7.
Insert each valve
in
its guide. Hold the valve
with the head just
slightly off the
va
l
ve
scat and
rock
it sideways in 2 directions.
"X"
and
"Y,"
perpendicular
10
each other
as
shown
in
Figure
131
. I
rthe
valve-la-valve guide clearance measured
exceeds the limit
li
sted
in
Table I, measure the
valve stem.
Ir
the valve stem is worn. replace the
valve.
Irthe
valve stem is within tolerances. replace
the valve guide.
8.
Measure each valve spring free length with a
ve
rnier caliper (Figure
132
). All shou
ld
be
within
the length specified in Table
I with no signs
of
bends or distortion (Figure
133
). Replace defective
springs in pairs (inner and o
ut
er). @
9.
Check the valve spring retainer and valve
keepers.
If they are in good condition. they
may
be
reused; replace
as
necessary.
10.
In
spect the
va
l
ve
seats (Figure
134
) in the
cylinder head.
If
worn
or
burned. they must
be
reconditioned as described in this chapter.
11.
Inspect the valve
Stem
end for pitting and wear.
If pitted
or
worn, the end
may
be resu rfaced
providing the finished length (Figure
135) is not
less than length
li
sted in Table
l.
Replace the
valve(s) if the finished length is less than specified.
Vah·e Installation
I. Install a new seal on each
va
l
ve
guide.
CHAPTER FOUR
 Loading...


