DE
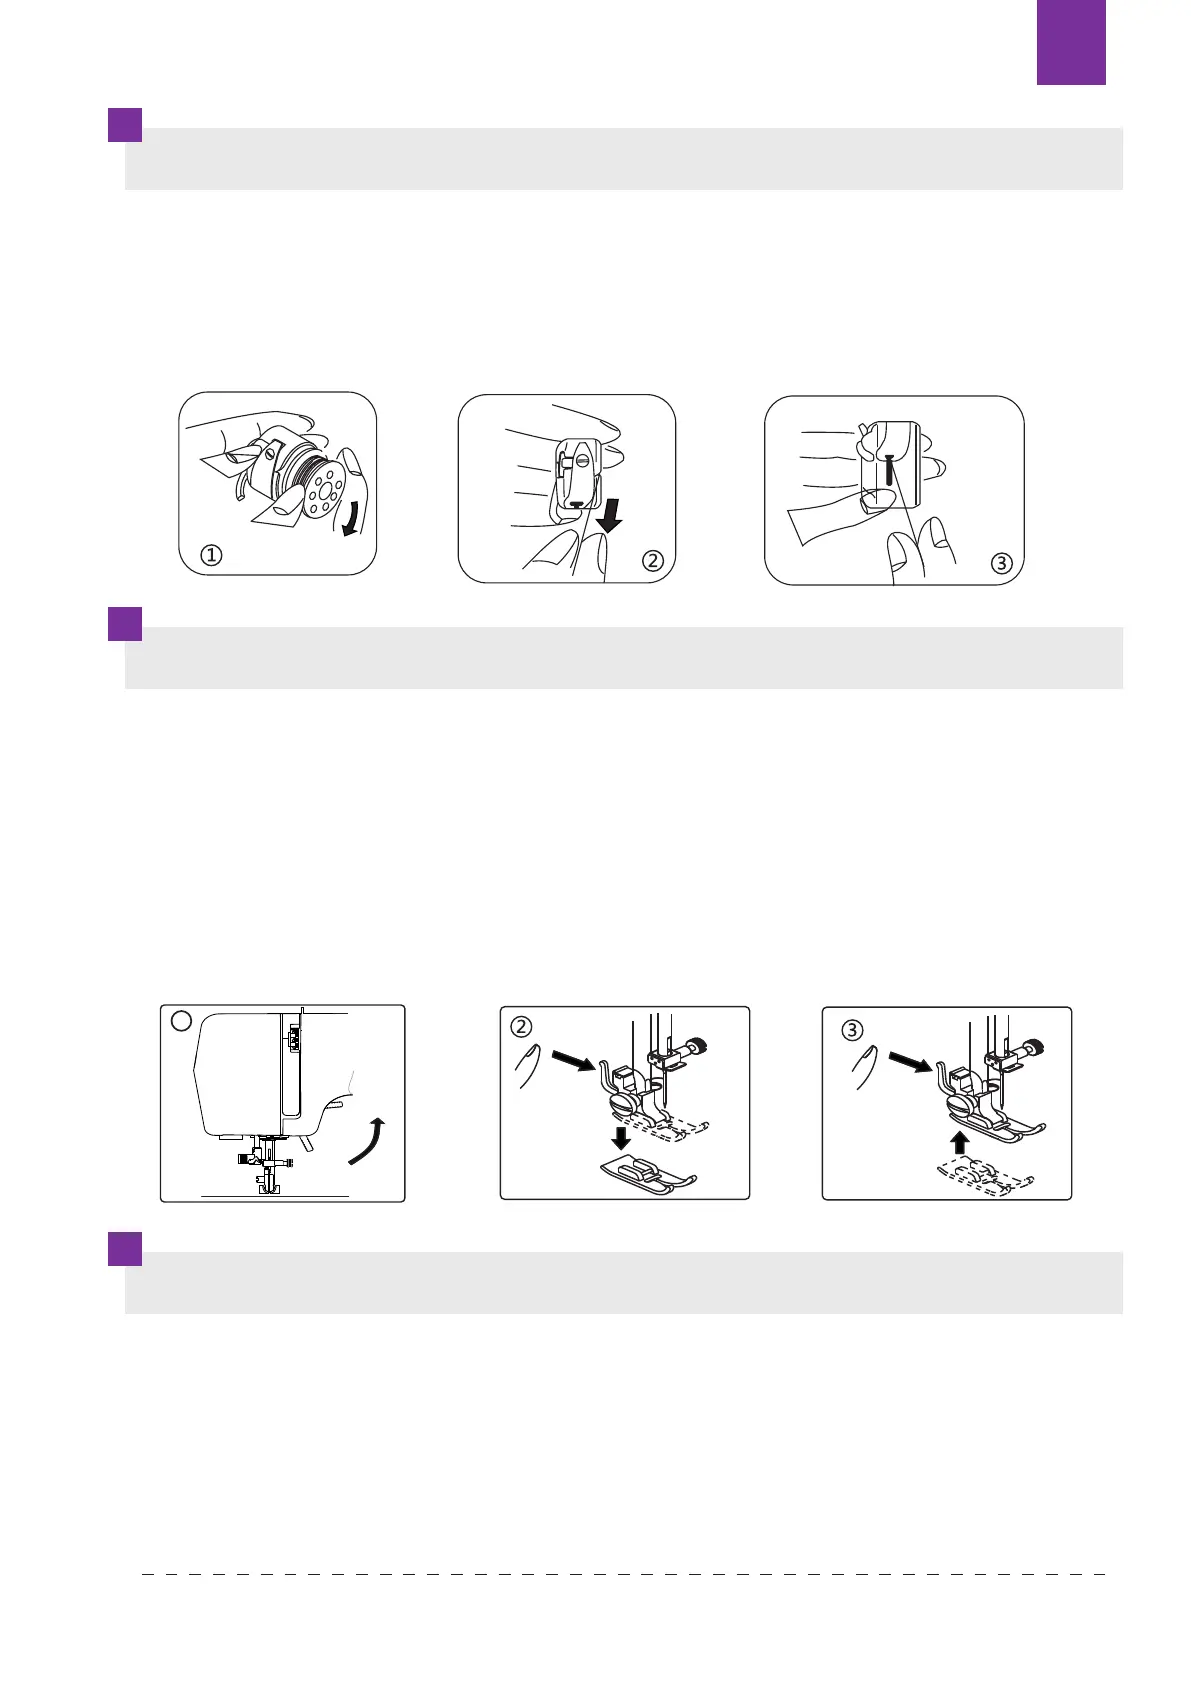
EINSETZEN DER SPULE IN DIE SPULENKAPSEL
WECHSELN DES NÄHFUSSES (MATIC SYSTEM)
EINFÄDELN DES OBERFADENS
1. Die volle Spule in die Spulenkapsel einsetzen. Wenn Sie am Faden ziehen, muss sich die
Spule im Uhrzeigersinn drehen – so wie es auf der Abbildung gezeigt wurde.
2. Den Faden durch den Schlitz der Spulenkapsel führen.
3. Dann den Faden durch die Feder der Fadenspannung bis zum Ausgangsloch führen.
4. Mindestens 10 cm Faden außer der Spulenkapsel ziehen.
1. Die Maschine ausschalten. Das Handrad auf sich zu drehen, so dass sich die Nadel
in ihrer obersten Stelle bendet.
2. Den Nähfuß heben, falls er sich in der unteren Position bendet.
3. Die Halterung vom Nähfuß auf sich zu drücken.
4. Der Nähfuß (die Sohle) wird dann freigelassen.
5. Den gewünschten Nähfuß auf der Stichplatte unter der Nähfußschaft legen,
sodass der Schaft direkt über das Montageelement der Sohle steht.
6. Die Halterung senken und sie am Nähfuß drücken, bis der Schnappschloss
funktioniert.
Achtung: Falsche Reihenfolge des Einfädelns oder Fadenführung kann zu
Fadenabbrüchen, Stichauslassungen oder Fälteln des Stoes führen.
1. Die Nadel in ihrer obersten Stelle stellen, indem Sie das Handrad auf sich zu
drehen, und den Nähfuß hoch stellen.
2. Die Spule auf den Garnrollenständer aufsetzen, so dass die Nadel nach hinten
abgewickelt wird – so wie es auf der Abbildung gezeigt wurde.
6
KNOWING YOUR SEWING MACHINE
Removing or replace the bobbin case
1. Refer to page 4 to remove the Extension table, raise the needle by turning the hand wheel
toward you, then open the shuttle cover.
2. Take out bobbin case holding the latch.
3. When installing the bobbin case, the pin on the case should fit into the gap of the shuttle race.
Threading the bobbin case
1. Install the bobbin into bobbin case. Make sure the thread unwinds in the direction of arrow.
2. Pull the thread into the groove in the bobbin case slot.
3. Now pull the thread under the tension spring and into the delivery eye.
NOTE: L
eave about 10cm (4 inches) of the thread hanging out of the bobbin case. When
you pull the thread, the bobbin should spin clockwise.
Changing the presser foot
1. Turn the hand wheel toward you to raise the needle to its highest position.
Raise the presser foot.
2. Press the lever on the back of the presser foot holder. The presser foot will drop off.
3. Place the presser foot so the pin on the foot lies just under the groove of the holder.
Lower the presser foot holder to lock the foot in place.
Be sure to disconnect the power supply before operating the machine.
Attaching the seam guide(optional)
Attach the seam guide in the slot as illustrated. adjust according to
need for hems pleats etc.
Gap
1
Texi Fox 25 41