Redstone™ Optical Spectrum Analyzer Chapter 8: Operation
Rev C, January 21, 2022 Page 40
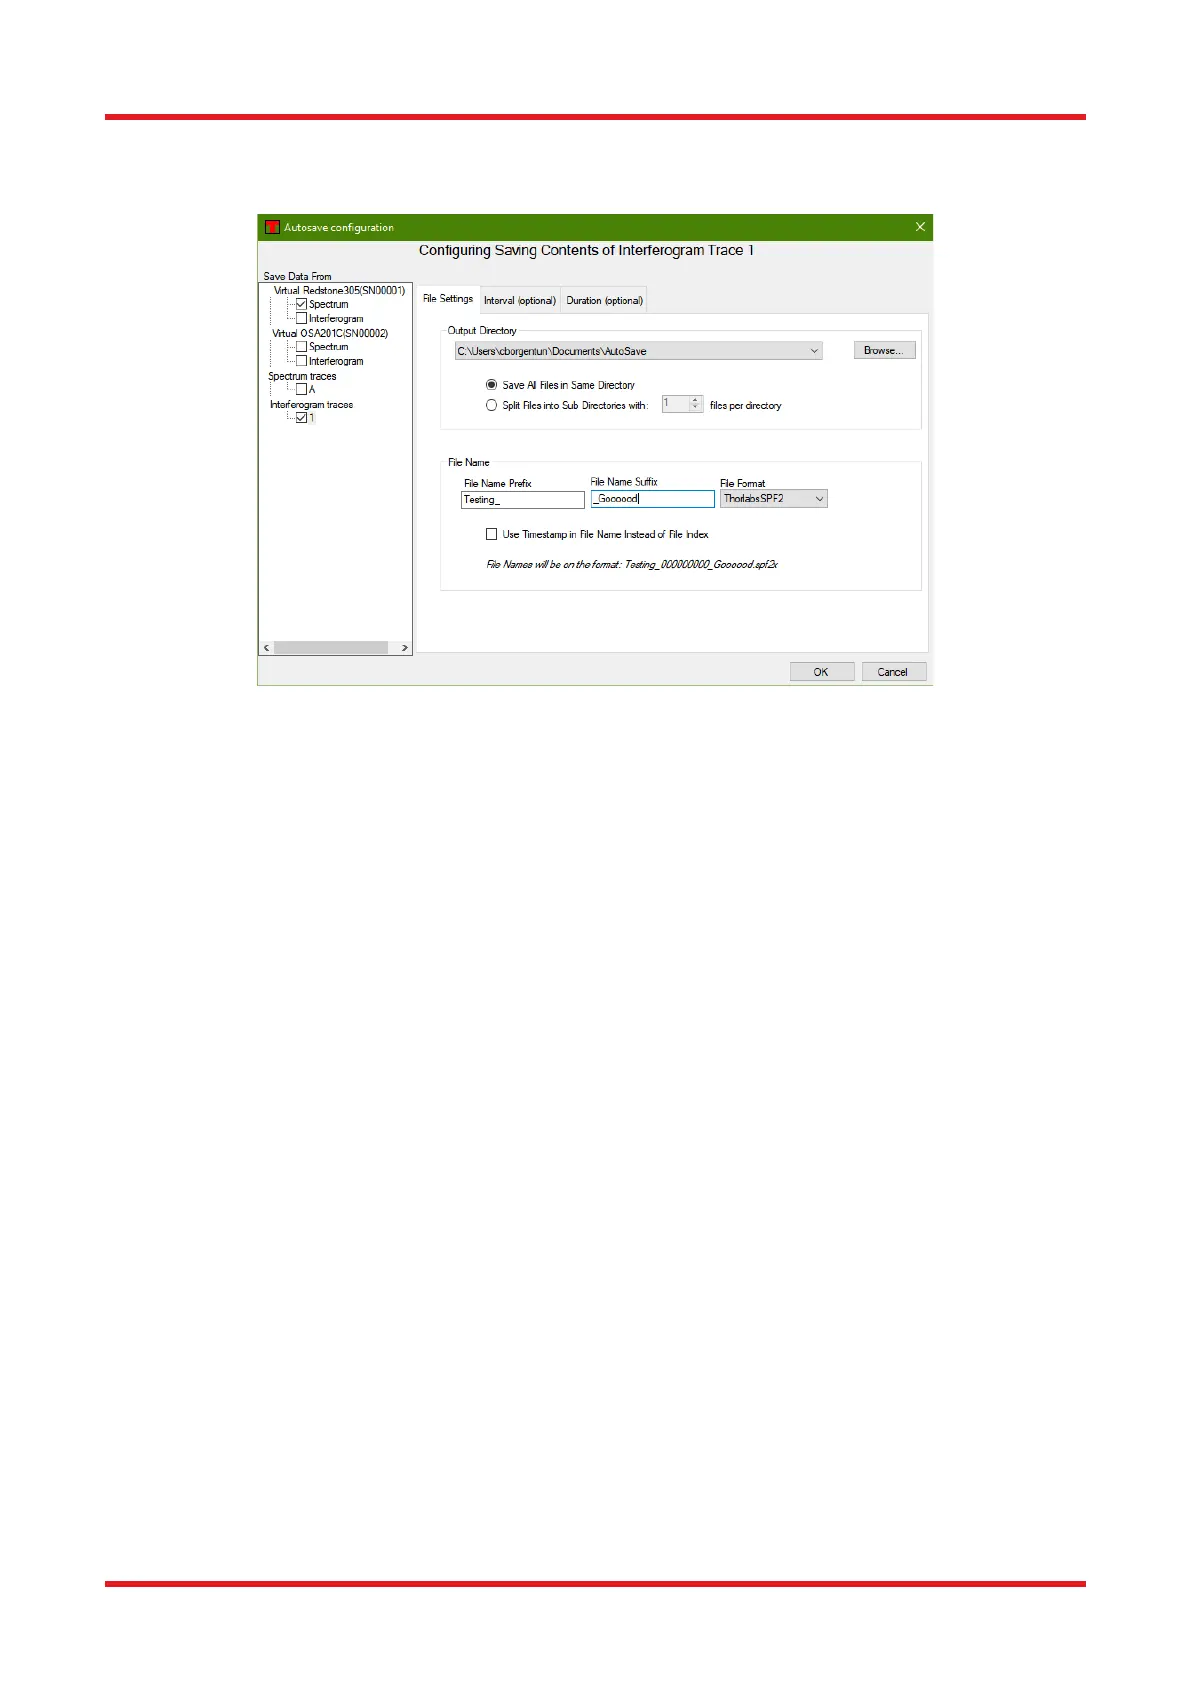
The automatic save feature is enabled and configured by clicking “AutoSave” in the File menu. This brings up
the dialog displayed below.
Figure 39. Setting Up Automatic Saving of Traces
Follow the steps below to enable automatic data saving:
1. In the tree view to the left, check the box next to the type of data you wish to save.
2. Select a directory in which to store the files by clicking the “Browse” button.
3. Click “Ok” to begin saving.
If the “Save All Files in the Same Directory” radio button is selected, all produced files will be stored in the
selected directory. On the other hand, if the “Split Files into Sub Directories” radio is selected and a number of
trace files to save in each subdirectory is specified (say, 1000), then subdirectories will be created in the
specified directory, with the first subdirectory being given the name “00000.” Traces will then be saved in this
subdirectory until 1000 files has been reached. A new subdirectory will be created, given the name “00001”,
and used as the destination directory for the the next 1000 trace files, and so on.

 Loading...


