17. CHECK AND ADJUSTMENT
17-5
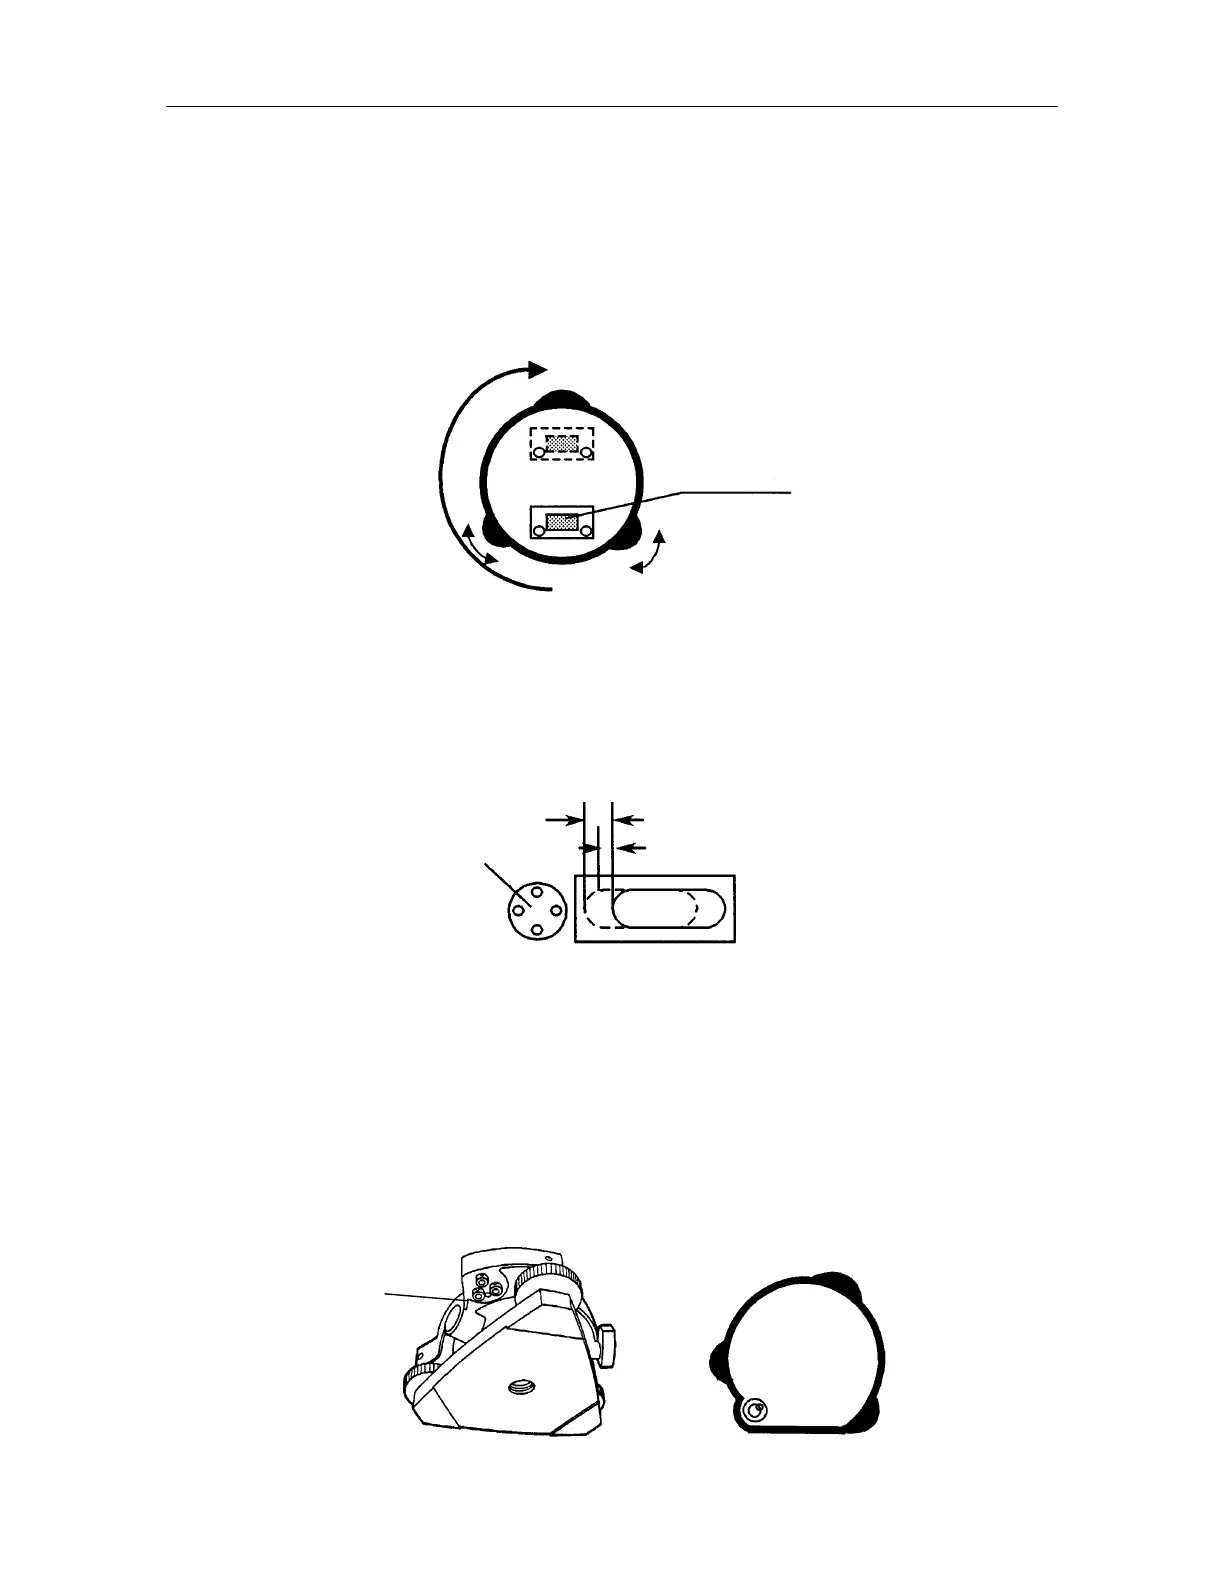
17.3.1 Checking /Adjusting the Plate Level
Adjustment is required if the axis of the plate level is not perpendicular to the vertical axis.
Check
Place the plate level parallel to a line running through the centers of two leveling screws, say,
A and B. Use these two leveling screws only and place the bubble in the center of the plate
level.
Rotate the instrument 180or 200g around the vertical axis and check bubble movement of the
plate level. If the bubble has been displaced, then proceed with the following adjustment.
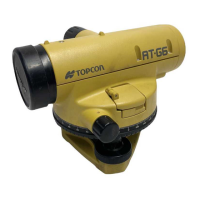
Adjustment
Adjust the level adjustment capstan screw, with the accessory adjusting pin and return the
bubble towards the center of the plate level. Correct only one-half of the displacement by this
method.
Correct the remaining amount of the bubble displacement with the leveling screws.
Rotate the instrument 180
‹ or 200g around the vertical axis once more and check bubble
movement. If the bubble is still displaced, then repeat the adjustment.
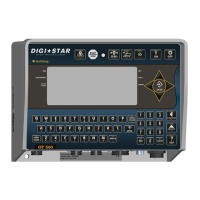
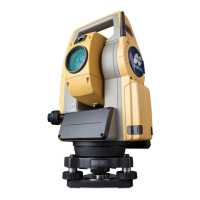
17.3.2 Checking /Adjusting the Circular Level
Adjustment is required if the axis of the circular level is also not perpendicular to the vertical axis.
Check
Carefully level the instrument with the plate level only. If the bubble of the circular level is
centered properly, adjustment is not required. Otherwise, proceed with the following
adjustment.
Adjustment
Shift the bubble to the center of the circular level, by adjusting three capstan adjustment
screws on the bottom surface of the circular level, with the accessory adjusting pi n.
Leveling screw A
Leveling screw B
Plate level
180
Level adjustment
capstan screw
Half amount of displacement
Capstan adjustment
screws