7. APPLICATION FUNCTIONS
7-3
7.2.1 Setting Area
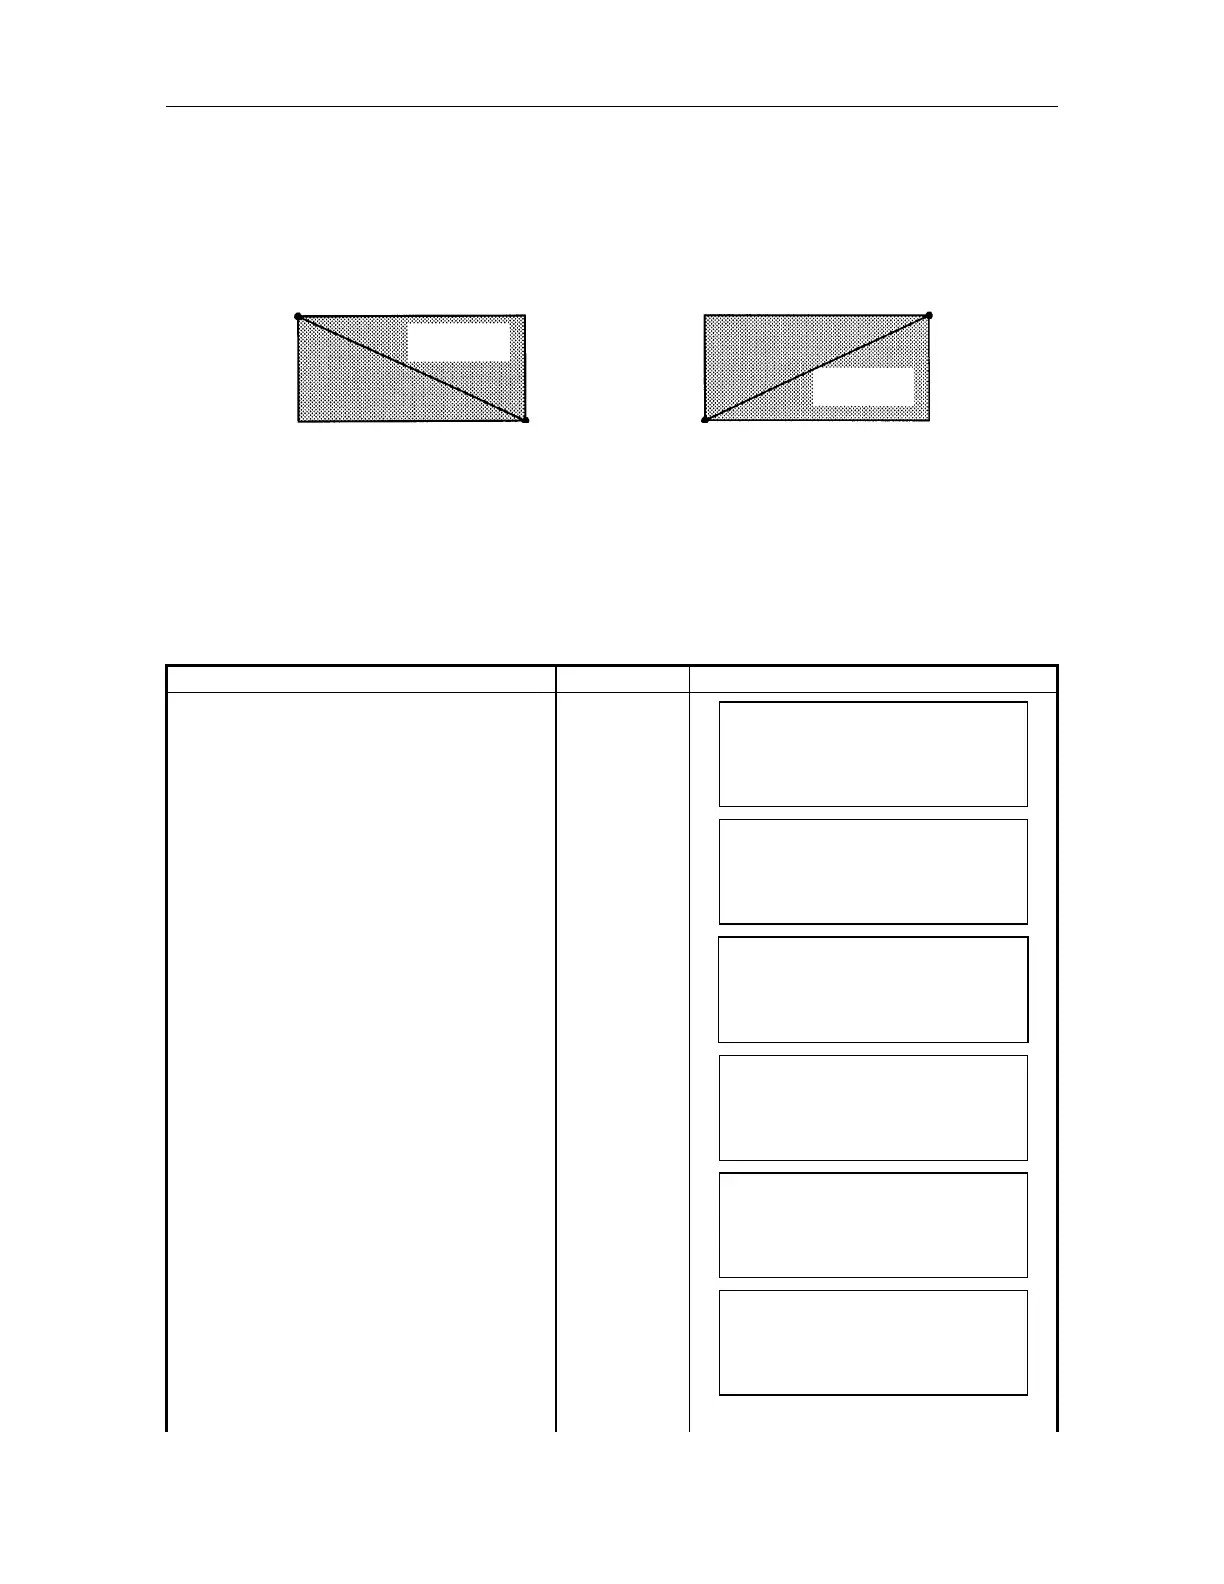
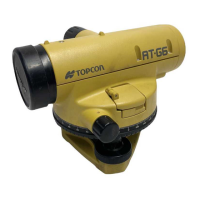
Point out 2 opposite angle points for area to be set. There are two methods as follows:
Sighting directly to the 2 opposite angle points A & B.
Input coordinate value.
The set value of each area is memorized after power is shut OFF.
Input range To the horizontal : The angle in between A and B should be within 180
To the vertical : From zenith to nadir
Changing or resetting of, 0 set , coordinate of instrument point and direction angle or
horizontal angle after setting the area range will not effect area range. No need to input area
again.
1) Setting by sighting directly
Operating procedure Key Operation Display
Press [MENU] key in the normal
measurement mode.
[MENU]
MEN
1/1
F1 : PARAMETERS
F2 : PROGRAMS
F3 : REMOTE
Select [F2:PROGRAMS]. [F2]
PROGRAMS 1/1
F1 : TEACH
F2 : AREA SET
Select [F2:AREA SET].
[F2]
AREA SET
F1 : INPUT NEZ
F2 : MOVED SET
F3 : SETTING AREA
Select [F2:MOVED SET] [F2]
AREA SET A [ 1]
V: *
**' **"
H: *
**' **"
EXIT
ENT
Select a setting area Number.
Press [F2](
) or [F3](), and select
the number of right upper corner in the
screen display and press [F4](ENT)
key.
[F2]
or
[F3]
[ENT]
AREA SET A [ 1]
V: 83
56' 30"
H : 250
40' 50"
EXIT
SET
Sight Point A by telescope.
AREA SET A [ 1]
V: 95
45' 10"
H : 140
30' 20"
EXIT
SET
B
Setting area
B
A
A
Setting area
or