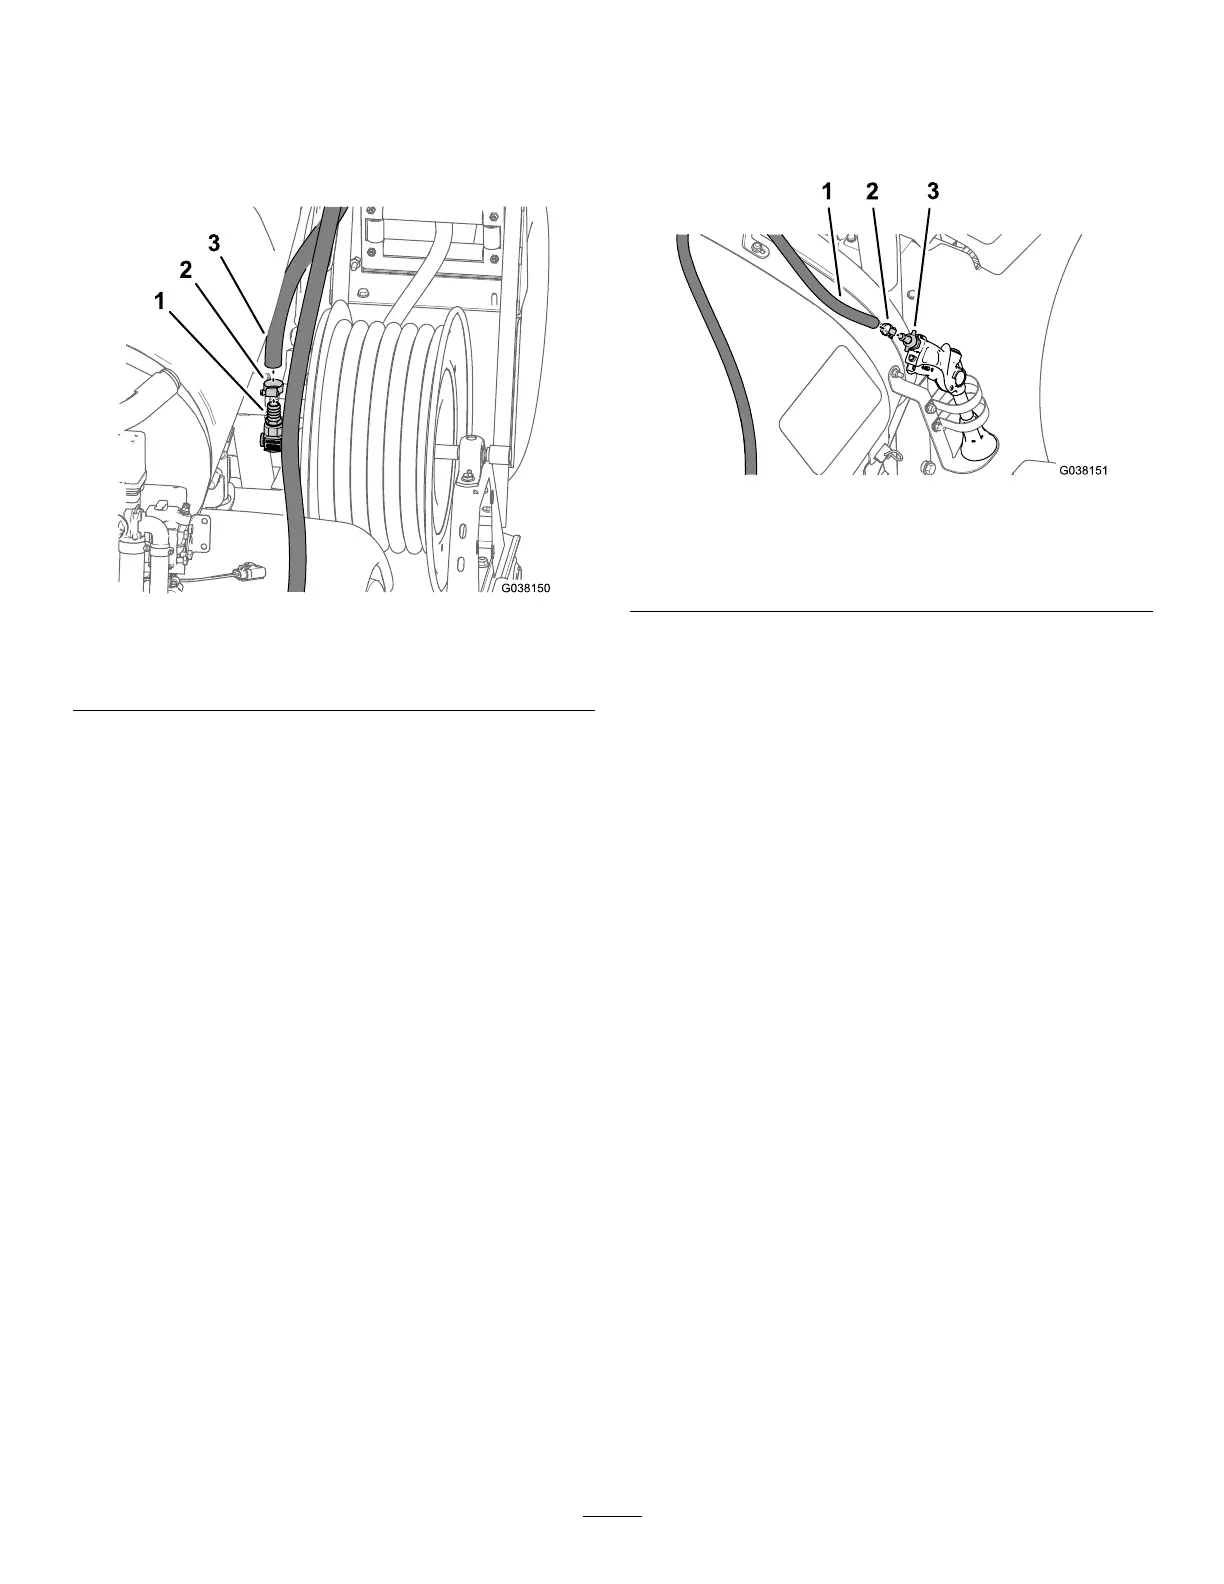
DisconnectingtheOptionalElectric
Hose-ReelKit
1.Removethehoseclampthatsecuresthesupplyhoseto
thebarbedttingattheinletswivelofthereel(Figure
12).
Figure12
1.Barbedtting(inletswivel)3.Supplyhose(hosereel)
2.Hoseclamp
2.Removethesupplyhosefromthebarbedtting(Figure
12).
3.Removetheinlethosefromthesupportclampatthe
forwardstrapofthesprayertank.
Note:Younolongerneedthesupplyhoseand
youwillremoveitwiththeboomsectionvalvesin5
RemovingtheBoom-SectionValves(page11).
DisconnectingtheOptionalHand
Spray-WandKit
1.Removethehoseclampthatsecuresthesupplyhoseto
thebarbedttingofthespraygun(Figure13).
Figure13
1.Supplyhose(handspray
wand)
3.Barbedtting(spraygun)
2.Hoseclamp
2.Removethesupplyhosefromthebarbedtting(Figure
13)
Note:Younolongerneedthesupplyhoseand
youwillremoveitwiththeboomsectionvalvesin5
RemovingtheBoom-SectionValves(page11).
10

 Loading...


