Installation
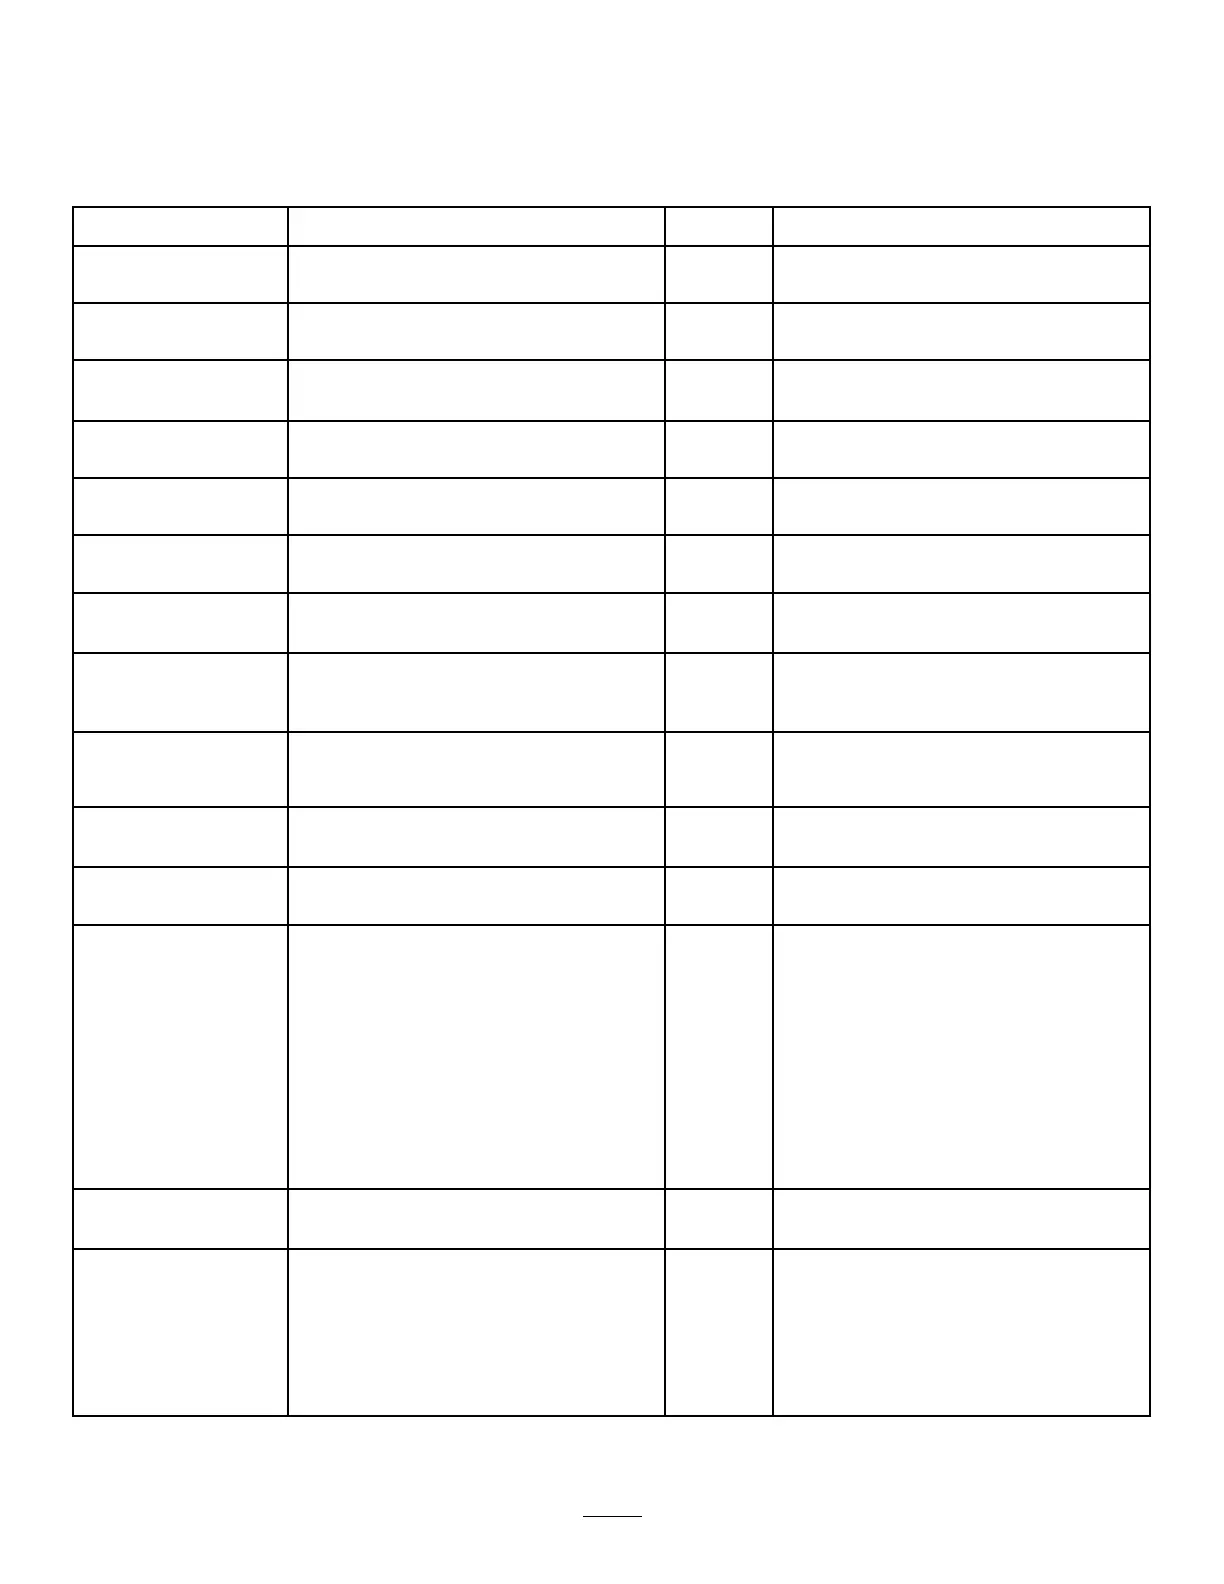
LooseParts
Usethechartbelowtoverifythatallpartshavebeenshipped.
ProcedureDescription
Qty.
Use
1
Nopartsrequired
–
Preparetoinstallthekit.
2
Nopartsrequired
–
Disconnectingthepressure-sensetube.
3
Nopartsrequired
–
Disconnectthewireharnessfromthe
valves.
4
Nopartsrequired
–
Disconnecttheoptionalattachments.
5
Nopartsrequired
–
Removetheboom-sectionvalves.
6
Nopartsrequired
–
Removetheagitationnozzles.
7
Nopartsrequired
–
Removetheagitation,rate,and
master-sprayvalves.
Cableties
6
3-pinadapter
5
8
4-pinadapter1
Replacethevalveelectricalconnectors.
Agitation,rate,andmaster-spray
manifold
1
9
Sectionvalvemanifold
1
Installthevalveassemblies.
10
Flow-meterhose—25x289mm(1x
11-3/8inches)
1
Installtheowmeterandhoses.
11
Nopartsrequired
–
Connectthewireharness.
Handle1
Screw(6-32x5/8inch)
1
Agitationthrottlevalve1
Bracket(nylon)
1
Agitation-valvebracket1
Bolt(6x12mm)
4
Eductor-shutoffvalve
1
Eductor-shutoffbracket
1
Flangelocknut(1/4inch)
4
12
Flange-headbolt(5/16x3/4inch)
2
Installingtheagitationthrottlevalveand
eductor–shutoffvalveformachineswith
theoptionaleductorkit.
13
Agitation-nozzleassembly1
Installingtheagitation-nozzleassembly
andhoses.
Returnhose—2.5x72cm(1x27-7/8
inches)
1
Agitationsupplyhose—2.5x72cm(1x
28-1/4inches)
1
14
Bypasshose—2.5x110cm(1x43-1/2
inches)—machineswithouttheoptional
spraywandorelectrichosereelkit
1
Installthereturnhose,agitationsupply
hose,andbypasshose.
3






 To Next Page