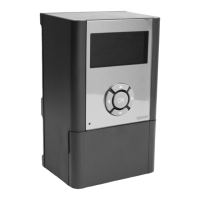
3. Set 12H/24H time format
Set 12h or 24h time format.
Use buttons - or + to change the value, press the OK button to set the
value and move to the next editable value.
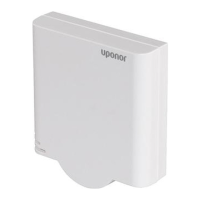
4. Set weekday
Set weekday (1 = Monday, 7 = Sunday).
Use buttons - or + to change the value, press the OK button to set the
value and move to the next editable value.
5. Set day of the month
Use buttons - or + to change the value, press the OK button to set the
value and move to the next editable value.
6. Set month
Use buttons - or + to change the value, press the OK button to set the
value and move to the next editable value.
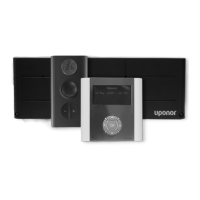
7. Set year
Use buttons - or + to change the value, press the OK button to set the
value and move to the next editable value.
Select thermostat control mode
Note
If no button on the thermostat is pressed for about
8 seconds, while in a submenu, the current values will be
saved and the software exits to the settings menu. About
about 60 seconds later, it exits to run mode.
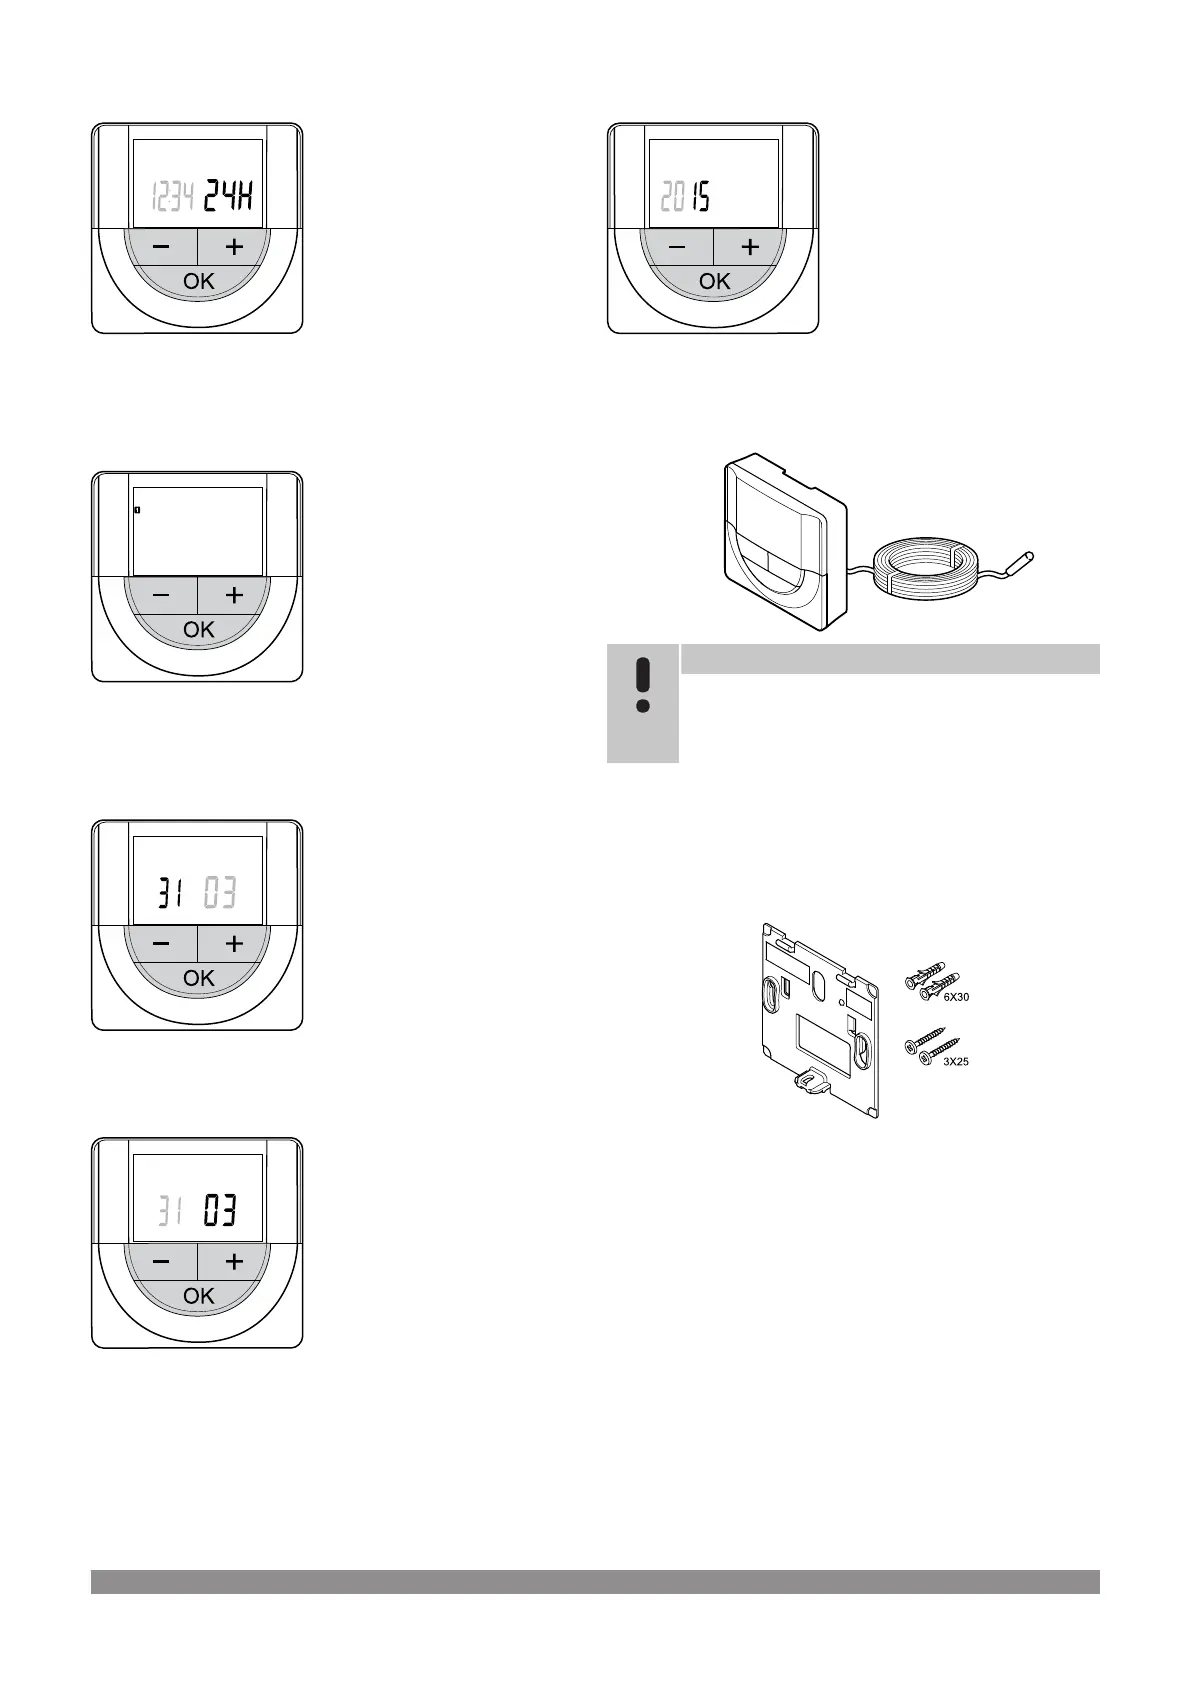
If an external sensor is connected to the thermostat, a control mode
must be selected to accommodate the extra functionality of the
sensor.
See 04 Control mode, Page 93, for how to change the setting.
Attach thermostat to the wall
The thermostat is delivered in a kit with screws, wall plugs, and a wall
bracket, presenting several options of attaching the thermostat to the
wall.
46
|
Uponor Smatrix Wave PULSE
|
Installation and operation manual
 Loading...