5. Press the PRESS TO ACTIVATE WEB INTERFACE button with a pointed object to enable
the use of configuration mode IP.
The LED next to the button lights up.
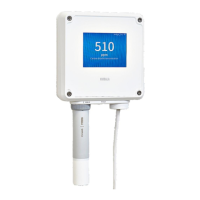
The transmitter's IP address: 192.168.5.20
ANALOG OUTPUTS
RELAY 1RELAY 2
+
+
+
+
+
+
+
+
+
CH1
CH2
CH3
CH4
RS-485
PROBE
24 VOUT
ANALOG
INPUT
NO COM NC NO COM NC
1
2
SERVICE PORT
PRESS TO ACTIVATE
WEB INTERFACE
ETHERNET
VS
+
6. On your computer, select Start > Settings > Network and Internet > Ethernet >
Unidentified network > IP settings > Edit (this path may vary depending on your
computer and settings).
a. Select Manual.
b. In IPv4, set the IPv4 connection on.
c. In IP address, enter an address that diers from the transmitter's IP address by its
last digit.
Example: 192.168.5.21
d. Depending on your computer, enter either 255.255.255.0 in Subnet mask or 24 in
Subnet prefix length.
e. If you're using a Windows operating system: in Gateway, enter 192.168.5.1.
f. Click Save.
7. Open a web browser. In the address field, enter https://192.168.5.20:8443.
Your web browser may give a certificate error, but you can safely proceed to the
transmitter's IP address. You are next prompted to log in or create users.
5.2.3 Creating web interface users
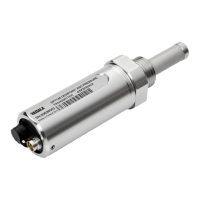
Allen key (4 mm, provided) for opening the transmitter cover
When you connect to the web interface for the first time, or when you start using the
transmitter after a factory reset, you are prompted to create users for the web interface.
Chapter 5 – Start-up
63

 Loading...