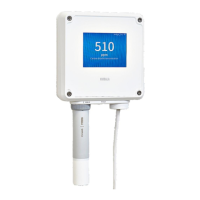
2. Select Inputs and outputs > Relays.
3. Select the relay you want to configure: Relay 1 or Relay 2.
4. Configure the relay settings:
a. In Relay o/on, set the relay o to edit settings.
b. In Parameter, select the probe and the measurement parameter that controls the
relay.
c. In Activation, select whether the relay activates above or below the activation/
deactivation limit.
d. In Limit, define the limit which the measured parameter value must reach for the relay
to activate/deactivate.
e. In Hysteresis, define a buer value for relay deactivation. With hysteresis, an
activated relay switches o only when the measured value crosses the relay
activation/deactivation limit and the additional buer value.
f. In Relay o/on, set the relay on.
5. Repeat step 3 … step 4 for all the relays you want to use.
To see the changes you made, select . Then use the left and right arrows at the
bottom of the touchscreen to navigate to the I/O status view.
6.5.1 Relay configuration example
This example shows how to configure a relay to activate when relative humidity
measurement from Probe 1 goes above 90 %RH, and to switch o only when the
measurement falls below 85 %RH (hysteresis). To configure the relay, use the following
values:
• Relay o/on: Set relay o to edit settings.
• Parameter: Relative humidity
• Activation: Active above limit
• Limit: 90
• Hysteresis: 5
• Relay o/on: Set relay on to activate settings.
6.5.2 Relay wiring and relay activation mode
The physical relay opens and closes the circuit depending both on the relay wiring
and the relay activation mode.
Chapter 6 – Configuring transmitter using touchscreen display
81

 Loading...