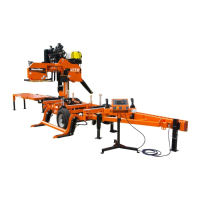
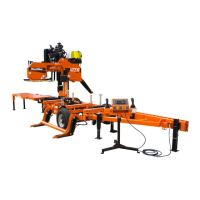
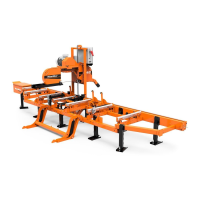
Sawmill Setup
Stationary Sawmill Setup
Sawmill Setup 60HDdoc102619 3-3
3
3.2 Stationary Sawmill Setup
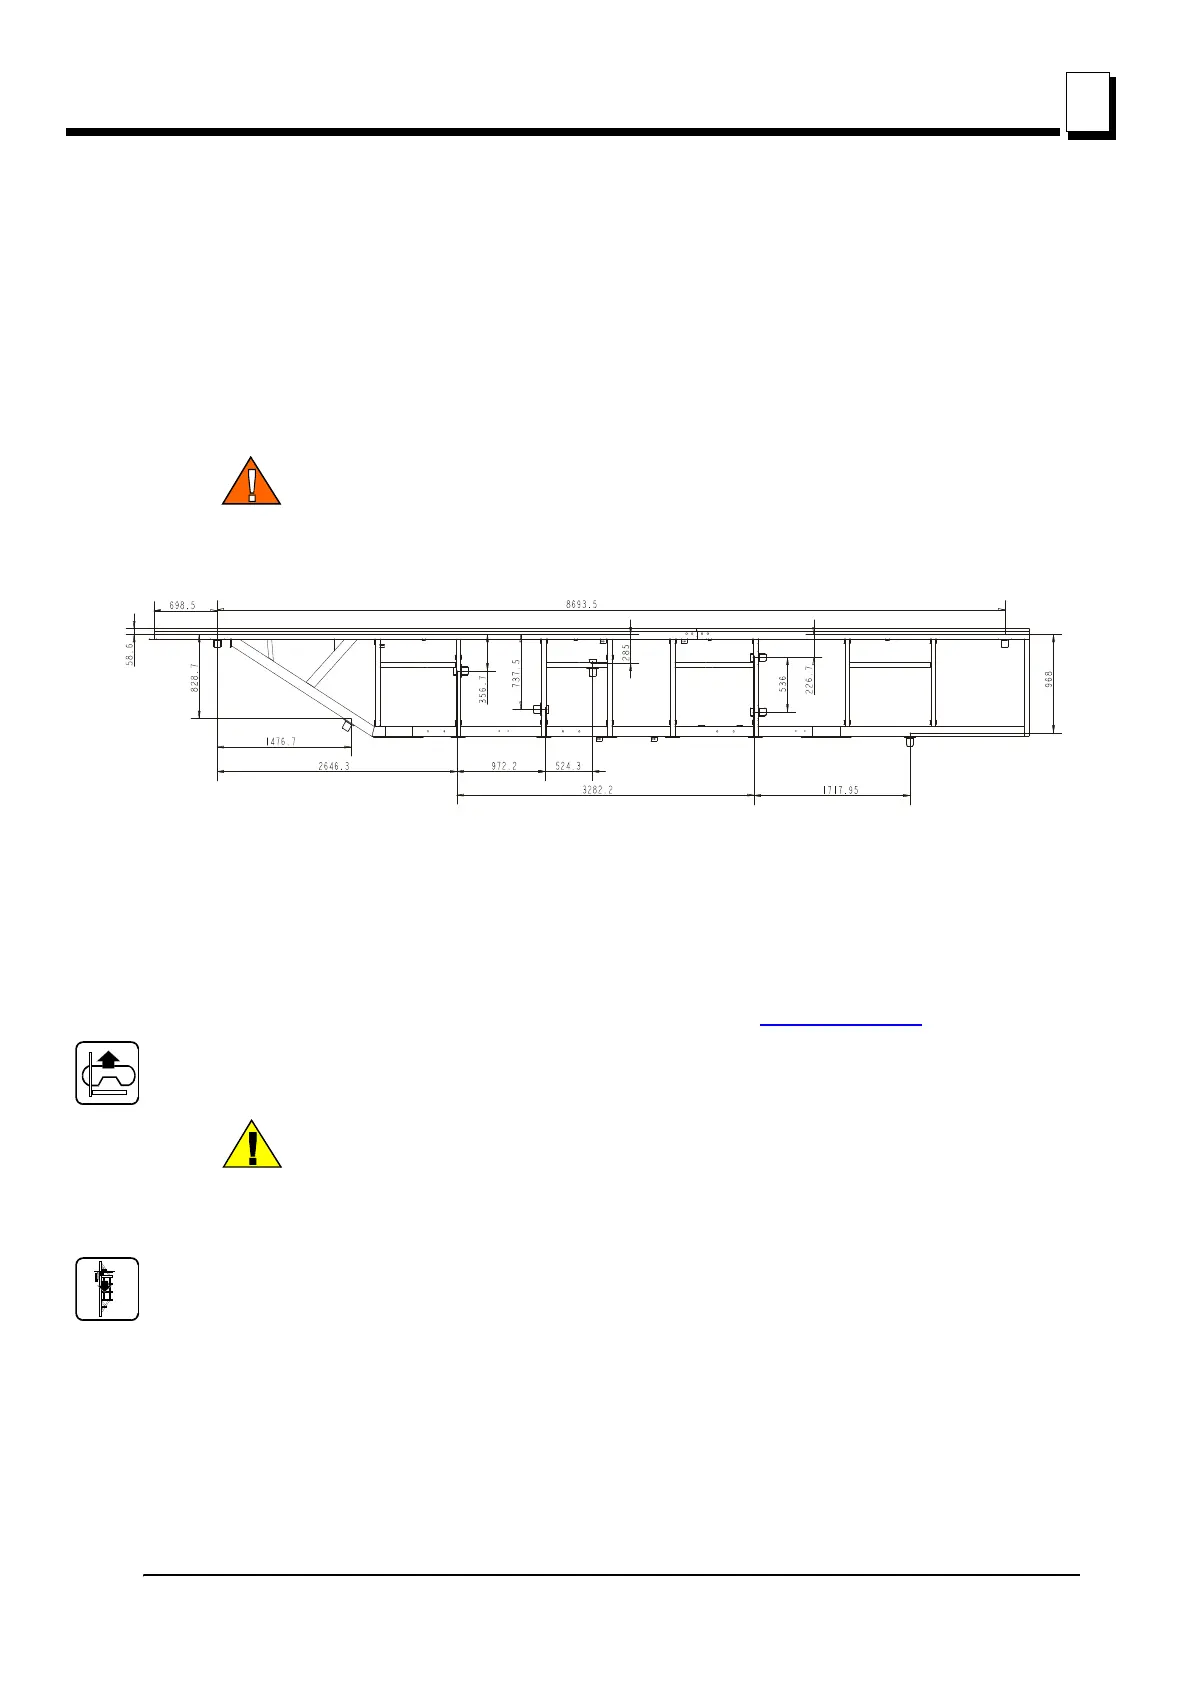
Prepare a firm, level area where the sawmill can be anchored. There should be enough room around
the sawmill for operators, sawdust removal, log loading and board removal. A cement pad with 5/8”
(16 mm) diameter anchor bolts is recommended. The cement pad should be rated to support
6350 lbs./sq.ft. (31 T/m ) at each sawmill foot position.
NOTE: Make sure the unit is level before securing. It is possible to twist the mill frame by jacking one
foot higher than the others.
WARNING! Securely fasten the feet of a stationary sawmill to the floor
before operating the sawmill. Failure to do so may result in serious
injury or death.
1. Unhook the carriage safety chain, located at the bottom of the vertical mast.
2. Start the engine to enable the battery-operated accessories (See Section 3.6
). Use the up/down
switch on the control panel to raise the cutting head from the carriage rest pin. Remove the locking
pin and swing the rest pin down below bed level.
CAUTION! Always make sure the engine is running before operating
the sawmill controls. Operating the controls without the engine running
will result in power drainage from the battery.
3. Use the carriage forward/reverse switch (left side of control box) to move the cutting head toward the
front end of the mill.
4. Raise the two side supports that will prevent a log from falling off the side of the mill when loaded.
*all diameters in millimeters
0002
Stationary Sawmill*
*All dimensions in millimeters

 Loading...