Sawmill Setup
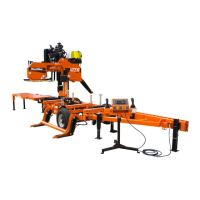
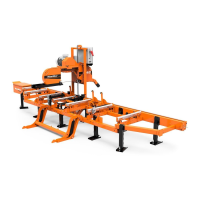
Portable Sawmill Setup
3
3-10 60HDdoc102619 Sawmill Setup
CAUTION! If setup sawmill on a boggy terrain (such as deep mud or
sand) place the board or metal plate under each outrigger leg to
prevent it from sinking.
1. Unhook the carriage safety chain, located at the bottom of the vertical mast.
2. Start the engine to enable the battery-operated accessories (See Section 3.8
). Use the up/down
switch on the control panel to raise the cutting head from the carriage rest pin. Remove the locking
pin and swing the rest pin down below bed level.
CAUTION! Always make sure the engine is running before operating
the sawmill controls. Operating the controls without the engine running
will result in power drainage from the battery.
3. Dismount the saw head protection belt and raise the saw head.
4. Remove the fenders by lifting them out of the slots.
CAUTION! To prevent fender damage, remove fenders before
operating sawmill or loading logs.
5. Use the carriage forward/reverse switch (left side of control box) to move the cutting head toward the
front end of the mill.
6. Lower and set the remaining rear outriggers. Level the sawmill by turning each outrigger adjustment
bolt clockwise to raise a given sawmill end, or counterclockwise to lower it. Adjust all outriggers
evenly to avoid twisting the mill frame by jacking one outrigger higher than the others.
7. Raise the side supports to prevent the log from falling off the side of the mill when loaded.
See Figure 3-4.
FIG. 3-4
Side Support
Bed Rail
Stop Block
Sm0130b
Side Support
Bed Rail
Stop Block

 Loading...