5 - 8
CARB
CARBURETOR
EAS00498
MEASURING AND ADJUSTING THE FUEL
LEVEL
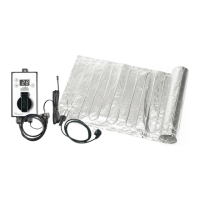
1. Measure:
• fuel level
a
Out of specification
→
Adjust.
▼▼▼▼ ▼ ▼▼▼▼ ▼ ▼▼▼▼ ▼ ▼▼▼▼ ▼ ▼▼▼▼ ▼ ▼▼▼▼ ▼▼▼
a. Connect the carburetor to a temporary fuel
tank and supply fuel to the carburetor.
b. Install the fuel level gauge
1
onto the fuel
drain pipe
2
.
c. Loosen the fuel drain screw
3
.
d. Hold the fuel level gauge vertically next to
the float chamber
4
.
e. Measure the fuel level
a
.
NOTE:
Make sure that the carburetor is level. The car-
buretor must be level to measure the fuel level
correctly.
▲▲▲▲ ▲ ▲▲▲▲ ▲ ▲▲▲▲ ▲ ▲▲▲▲ ▲ ▲▲▲▲ ▲ ▲▲▲▲ ▲▲▲
Fuel level (above the float cham-
ber mating surface)
7.0 ~ 9.0 mm (0.28 ~ 0.35 in)
Fuel level gauge
90890-01312
4
3
2
1
a
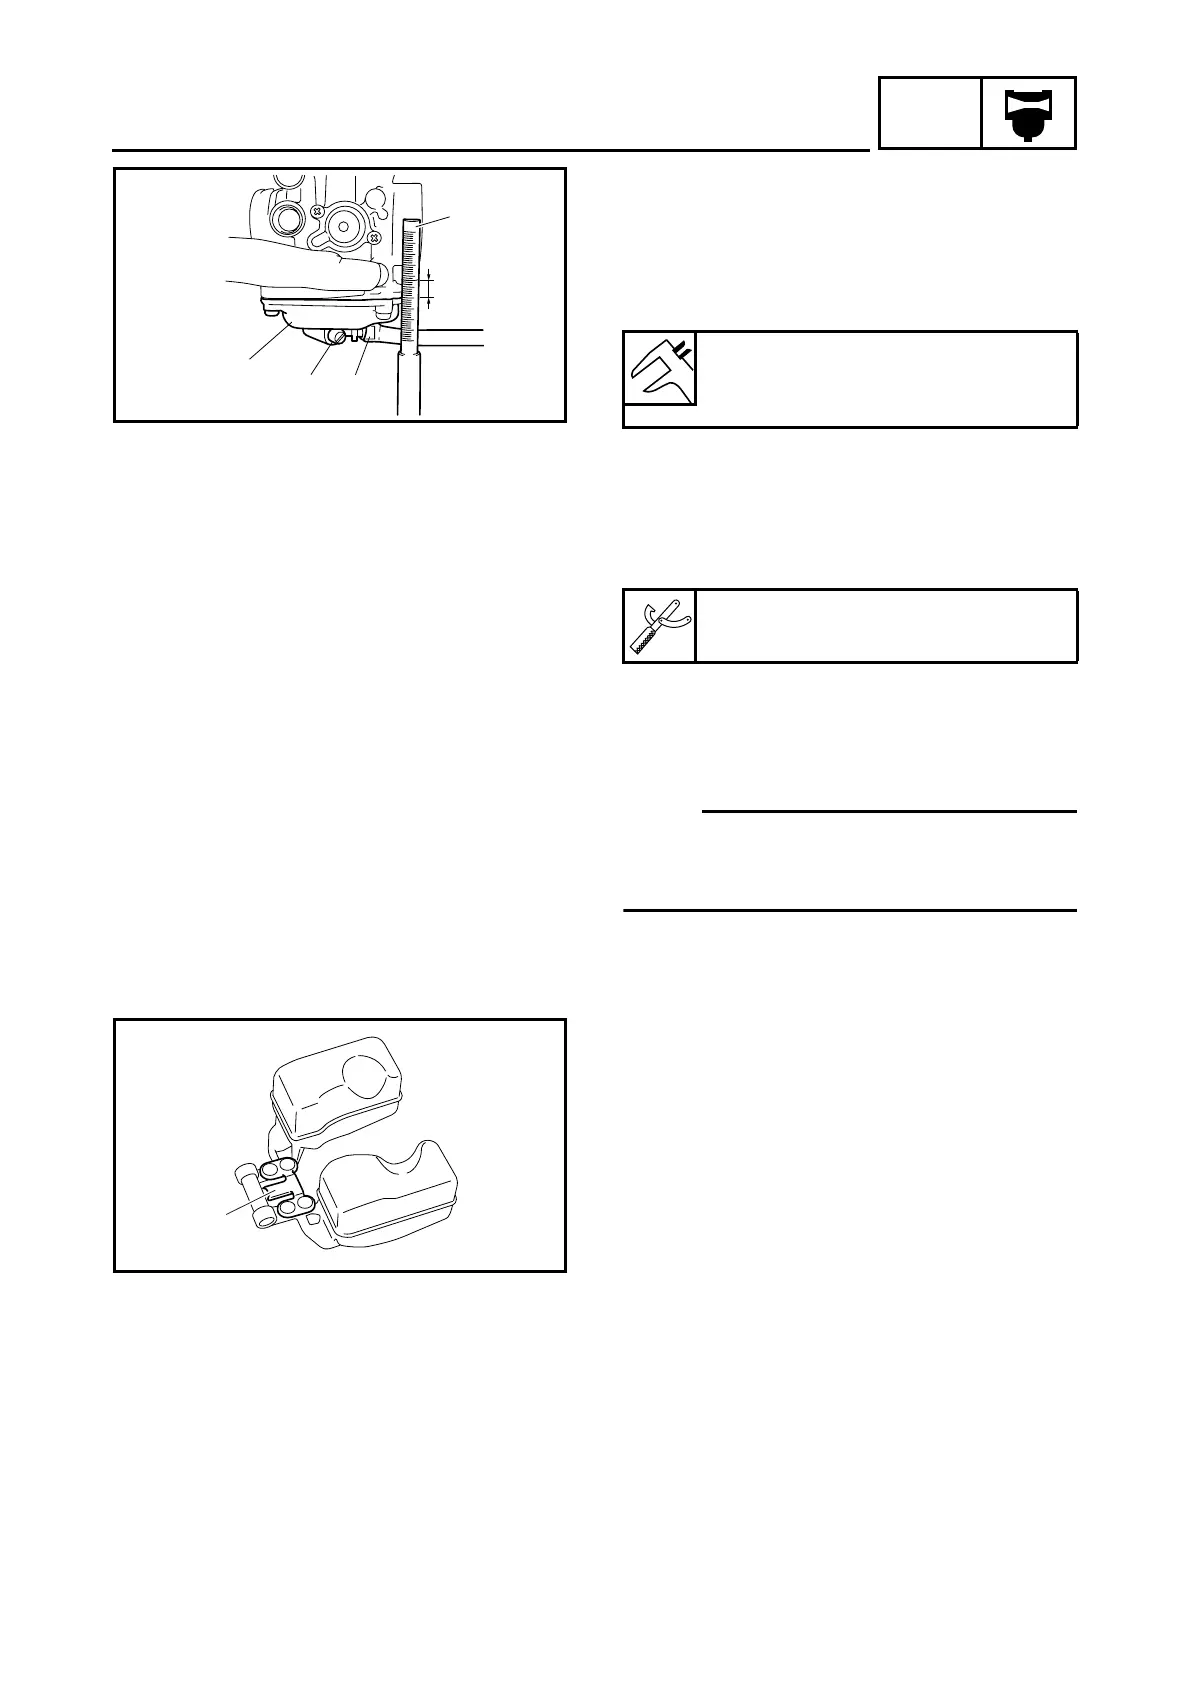
2. Adjust:
• fuel level
▼▼▼▼ ▼ ▼▼▼▼ ▼ ▼▼▼▼ ▼ ▼▼▼▼ ▼ ▼▼▼▼ ▼ ▼▼▼▼ ▼▼▼
a. Check the needle valve seat and needle
valve.
b. If either is worn, replace them as a set.
c. If both are fine, adjust the float level by
slightly bending the float tang
1
.
d. Measure the fuel level again.
e. Repeat steps (a) to (d) until the fuel level is
within specification.
▲▲▲▲ ▲ ▲▲▲▲ ▲ ▲▲▲▲ ▲ ▲▲▲▲ ▲ ▲▲▲▲ ▲ ▲▲▲▲ ▲▲▲
1
 Loading...