4 - 78
ENG
CRANKSHAFT
EAS00408
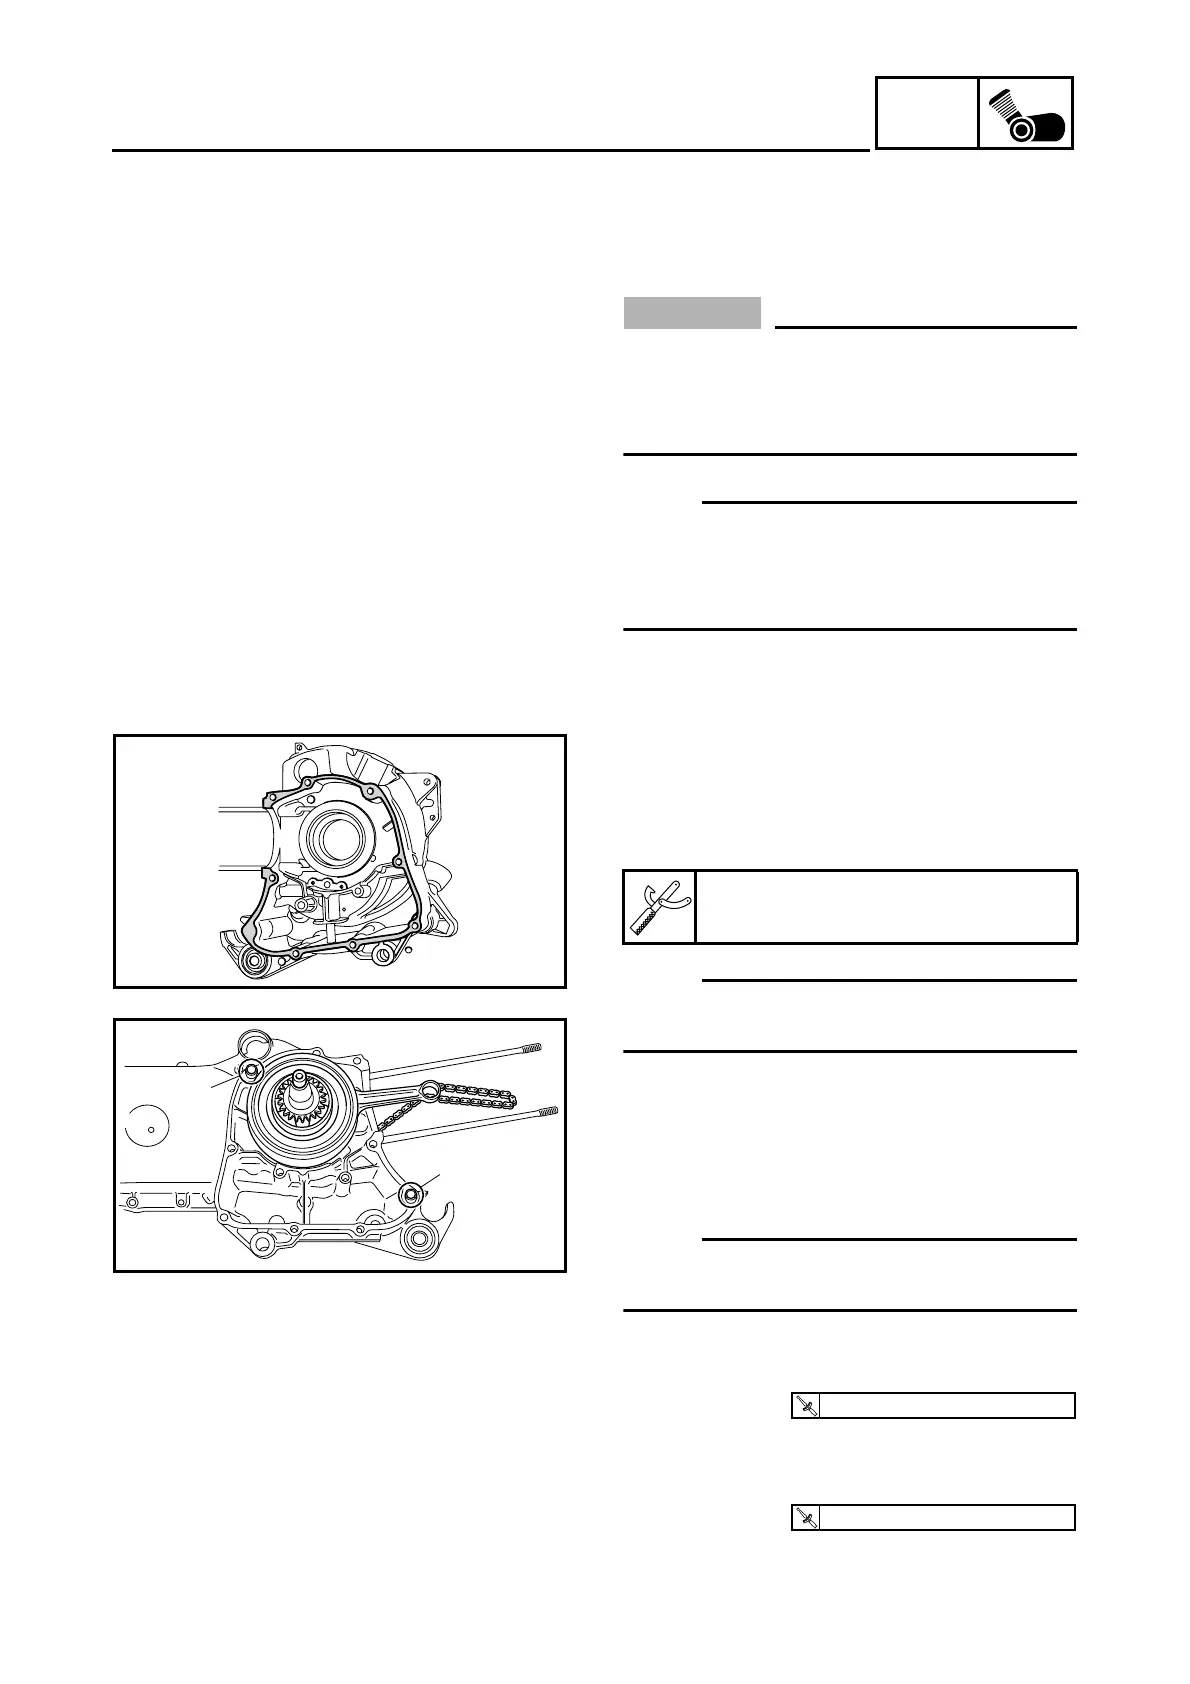
INSTALLING THE CRANKSHAFT
1. Install:
• timing chain
• crankshaft assembly
CAUTION:
_
To avoid scratching the crankshaft and to
ease the installation procedure, lubricate
the oil seal lips with lithium-soap-based
grease and each bearing with engine oil.
NOTE:
_
After installing the crankshaft to the left crank-
case, make sure that the timing chain meshes
with the camshaft drive sprocket and the
crankshaft turns smoothly.
EAS00416
ASSEMBLING THE CRANKCASE
1. Apply:
• sealant
(onto the crankcase mating surfaces)
NOTE:
_
Do not allow any sealant to come into contact
with the oil gallery.
2. Install:
• dowel pins
1
3. Install:
• right crankcase
(onto the left crankcase)
NOTE:
_
Tap lightly on the right crankcase with a soft-
face hammer.
4. Install:
• crankcase bolts
5. Install:
• timing chain guide (intake side)
• timing chain guide retainer bolt
Yamaha bond No. 1215
90890-85505
1
1
T
R
.
.
10 Nm (1.0 m · kg, 7.2 ft · lb)
T
R
.
.
7 Nm (0.7 m · kg, 5.1 ft · lb)