Removing/Attaching the Digital Operator and Front Cover
1-15
Removing the Front Cover
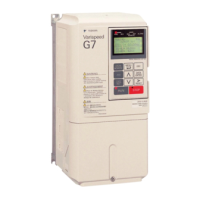
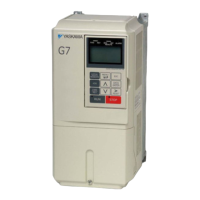
Press the left and right sides of the front cover in the directions of arrows 1 and lift the bottom of the cover in
the direction of arrow 2 to remove the front cover as shown in Fig. 1.12.
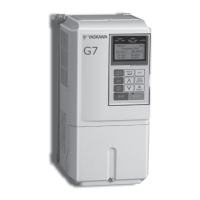
Fig 1.12 Removing the Front Cover (Model CIMR-G7U43P7 Shown Above)
Mounting the Front Cover
After wiring the terminals, mount the front cover to the Drive by performing in reverse order to the steps to
remove the front cover.
1. Do not mount the front cover with the Digital Operator attached to the front cover; otherwise, Digital
Operator may malfunction due to improper mating with control board connector.
2. Insert the tab of the upper part of the front cover into the groove of the Drive and press the lower part of the
front cover onto the Drive until the front cover snaps into place.
Artisan Technology Group - Quality Instrumentation ... Guaranteed | (888) 88-SOURCE | www.artisantg.com
 Loading...