User Guide for SIP VP-T49G IP Phone
106
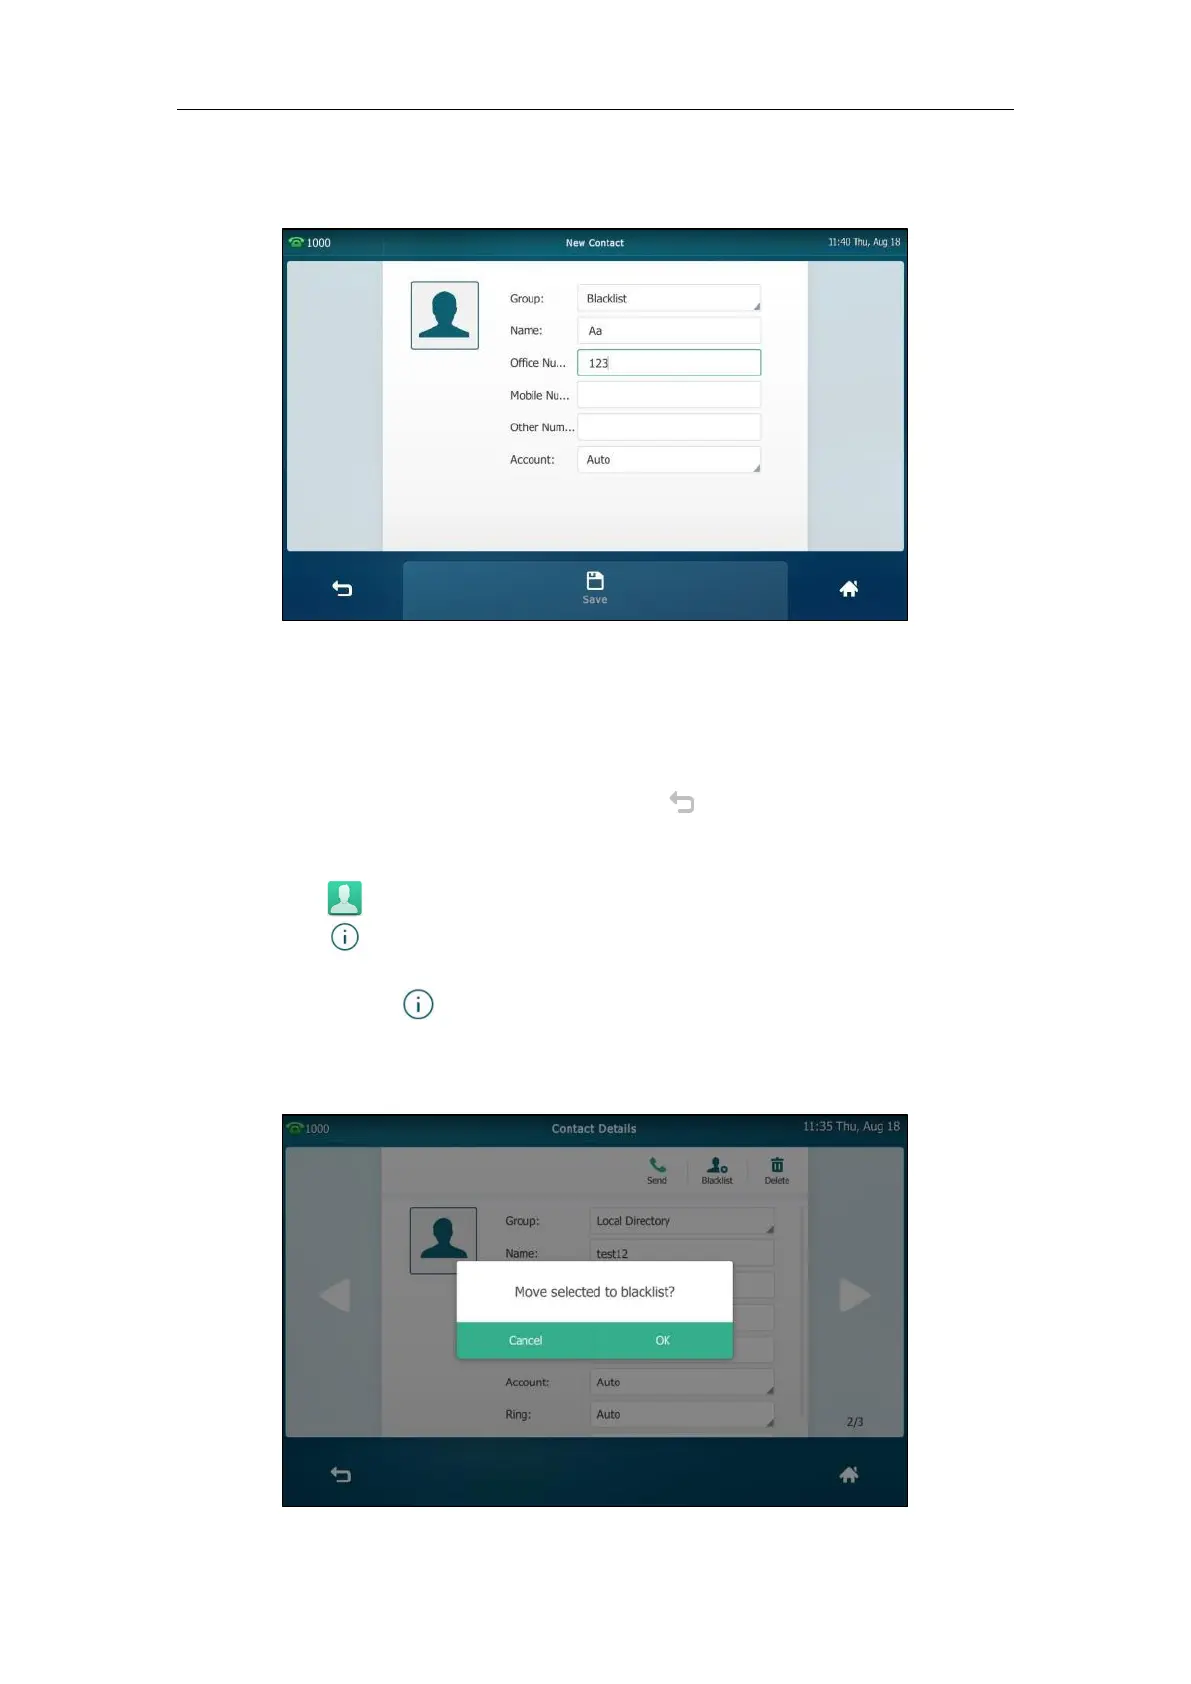
3. Enter the contact’s name and the office, mobile or other numbers in the corresponding
fields.
4. Tap the Account field.
5. Tap the desired account in the pop-up dialog box.
If Auto is selected, the phone will use the default account when placing calls to the contact
from the blacklist directory.
6. Tap the Save soft key to accept the change or to cancel.
To add a contact to the blacklist directory from the local directory:
1. Tap .
2. Tap after the desired contact.
If the contact was added to a specified contact group, you can tap the contact group first,
and then tap after the desired contact.
3. Tap Blacklist.
The touch screen prompts the following warning:
 Loading...