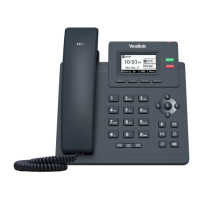
Getting Started
37
Before connecting your phone to the wired network, it is important to note that the Wi-Fi
feature should be disabled. For more information, refer to Connecting to the Wireless Network
on page 37.
Note
Connecting to the Wireless Network
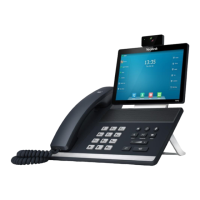
Yealink SIP VP-T49G IP phone supports Wi-Fi feature. You can connect your phone to a wireless
network. The wireless network is more convenient and cost-effective than wired network. The PC
port is unavailable when using wireless network. For more information on how to connect to a
wireless network, refer to Wireless Network Settings on page 53.
Phone Initialization
After your phone is powered on, the system boots up and performs the following steps:
Automatic Phone Initialization
The phone finishes the initialization by loading the saved configuration. The touch screen
displays “Welcome Initializing…Please wait” during the initialization.
DHCP (Dynamic Host Configuration Protocol)
The phone attempts to contact a DHCP server in your network to obtain valid IPv4 network
settings (e.g., IP address, subnet mask, default gateway address and DNS address) by default.
Note
If your network does not use DHCP, proceed to Basic Network Settings on page 50.
The phone can also share the network with another network device such as a PC (personal
computer). This is an optional connection. We recommend that you use the Ethernet cable
 Loading...