13
88
13 - Overviews
13�2�2 Add measuring points
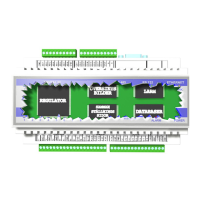
Now you can add measuring points to the image. Open Settings/Overview This opens an edit win-
dow for the rst image. All occupied overviews have an asterisk * after the name.
Start with the "Overview settings" towards the bottom of the page – enter a new name and select
an image if the correct image is not already selected.
Choose an update interval and specify whether you want to add the page to the "View" menu. Click
Save when you have nished.
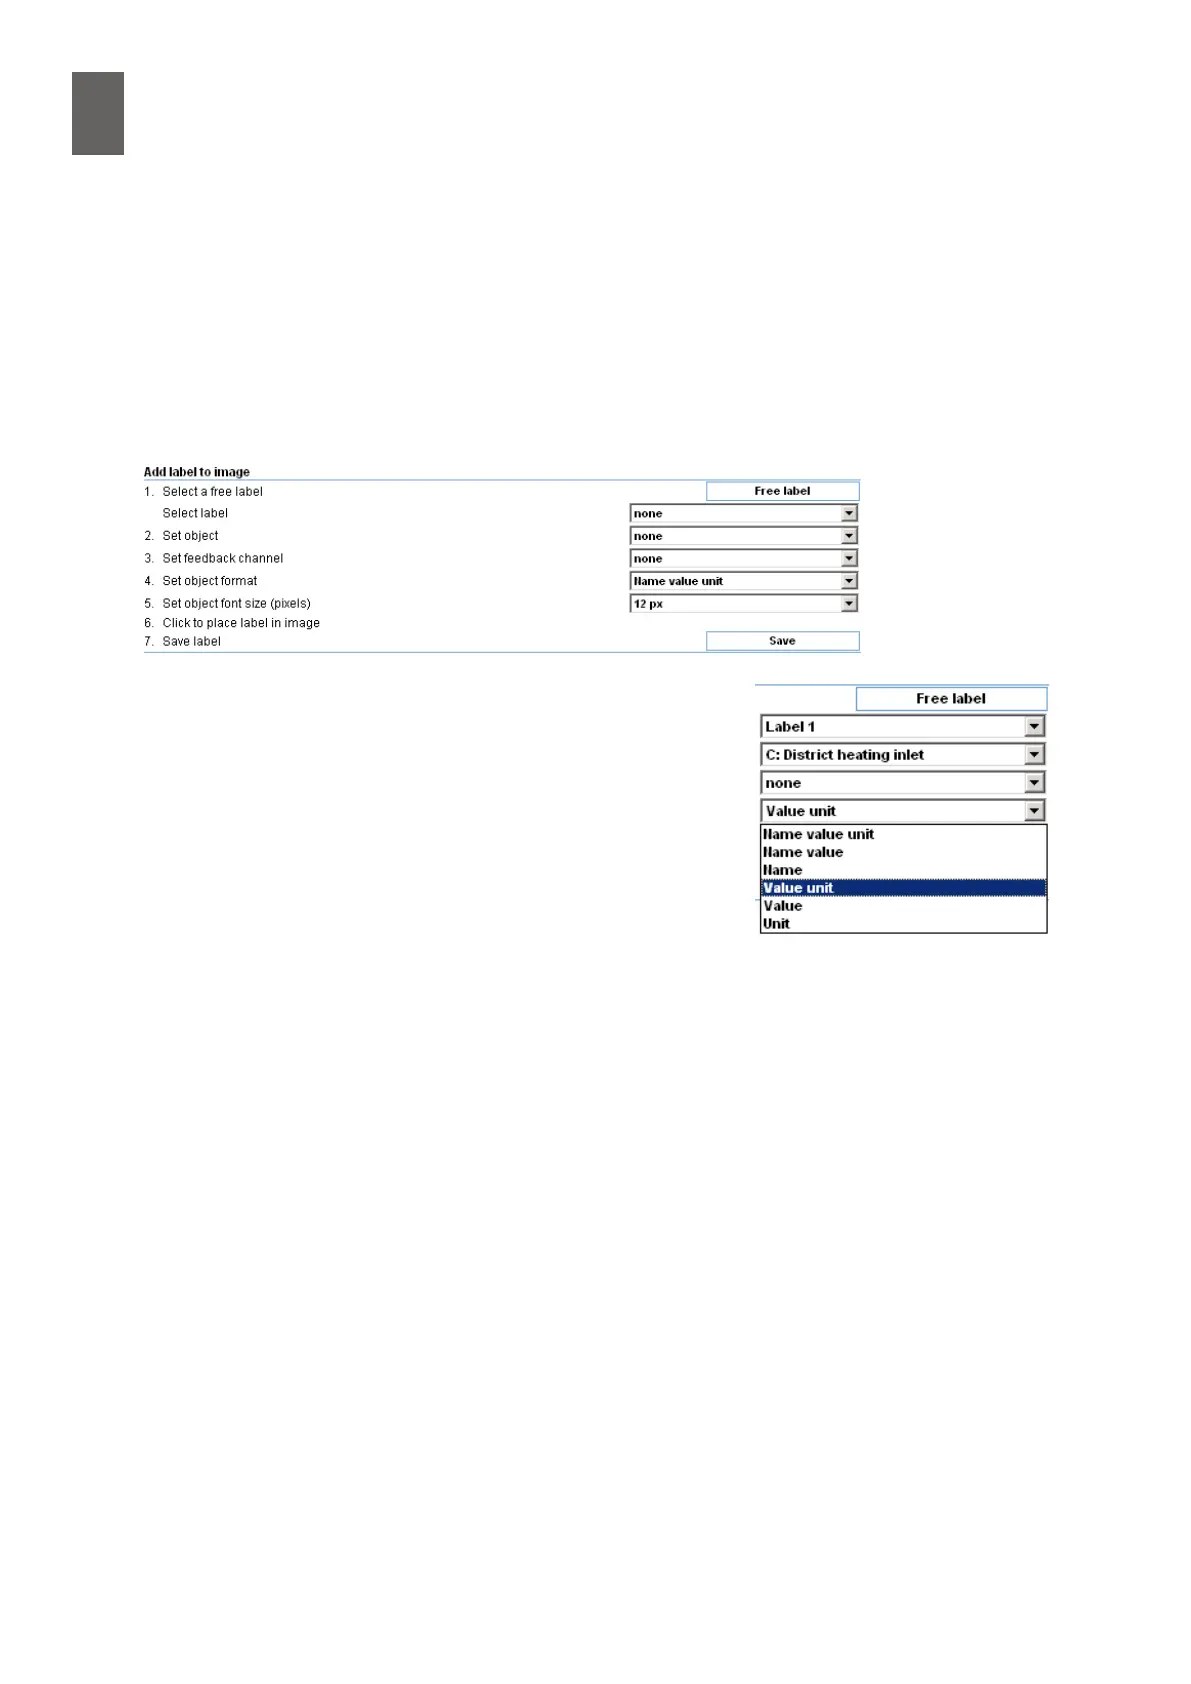
When the image appears again, you are ready to add labels and
measuring points.
Start by selecting the rst unused label by clicking "Free label".
Select the object you want to link to the label. You can choose
any channel, alarm or parameter. For our rst label, choose Dis-
trict heating inlet.
Select none for the feedback channel. (Feedback is explained
later in this user guide.)
Choose a format for the object. The options are name, value and unit in various combinations. If you
choose all three, the label will be quite long. If space is limited, it may be better to split the label into
several labels and place them in two rows – like the Outdoor temperature label in the next image.
Click inside the image where you want the label to appear. If you change your mind, simply click
again somewhere else. You can also change the view-settings or the font size, and you can see the
result of the changes immediately. When you are happy with the appearance and position of the
label, click Save. Continue like this until you have added all the labels you want.