18
141
18 - External units
1. Download and import the type denitions into the WM-
Pro as described in 18.2.
2. Create an external unit with the type CfgSeneca. Set the
update time for both telegram types to 2 seconds.
3. Use the module DIP switch to set the address to 1 and
the baud rate to 9600.
4. Connect the module to the WMPro and switch it on.
5. Check that the WMPro has established contact with the
module. If so, the CfgSeneca external unit will appear in
green.
6. Open the unit settings and set the New Address param-
eter to a suitable address, for example 2. Wait a few sec-
onds while the WMPro sends the settings to the device.
7. Switch o the Seneca module and reset the DIP switch so that the module obtains the address
and baud rate from the EEPROM. Switch the module on again.
8. Create a new external unit with the correct type for the particular module. Set the correct address
and a suitable telegram update interval. The new unit should start working immediately.
9. Repeat from step 3 if you want to add more modules, otherwise you can deactivate the CfgSeneca
external unit.
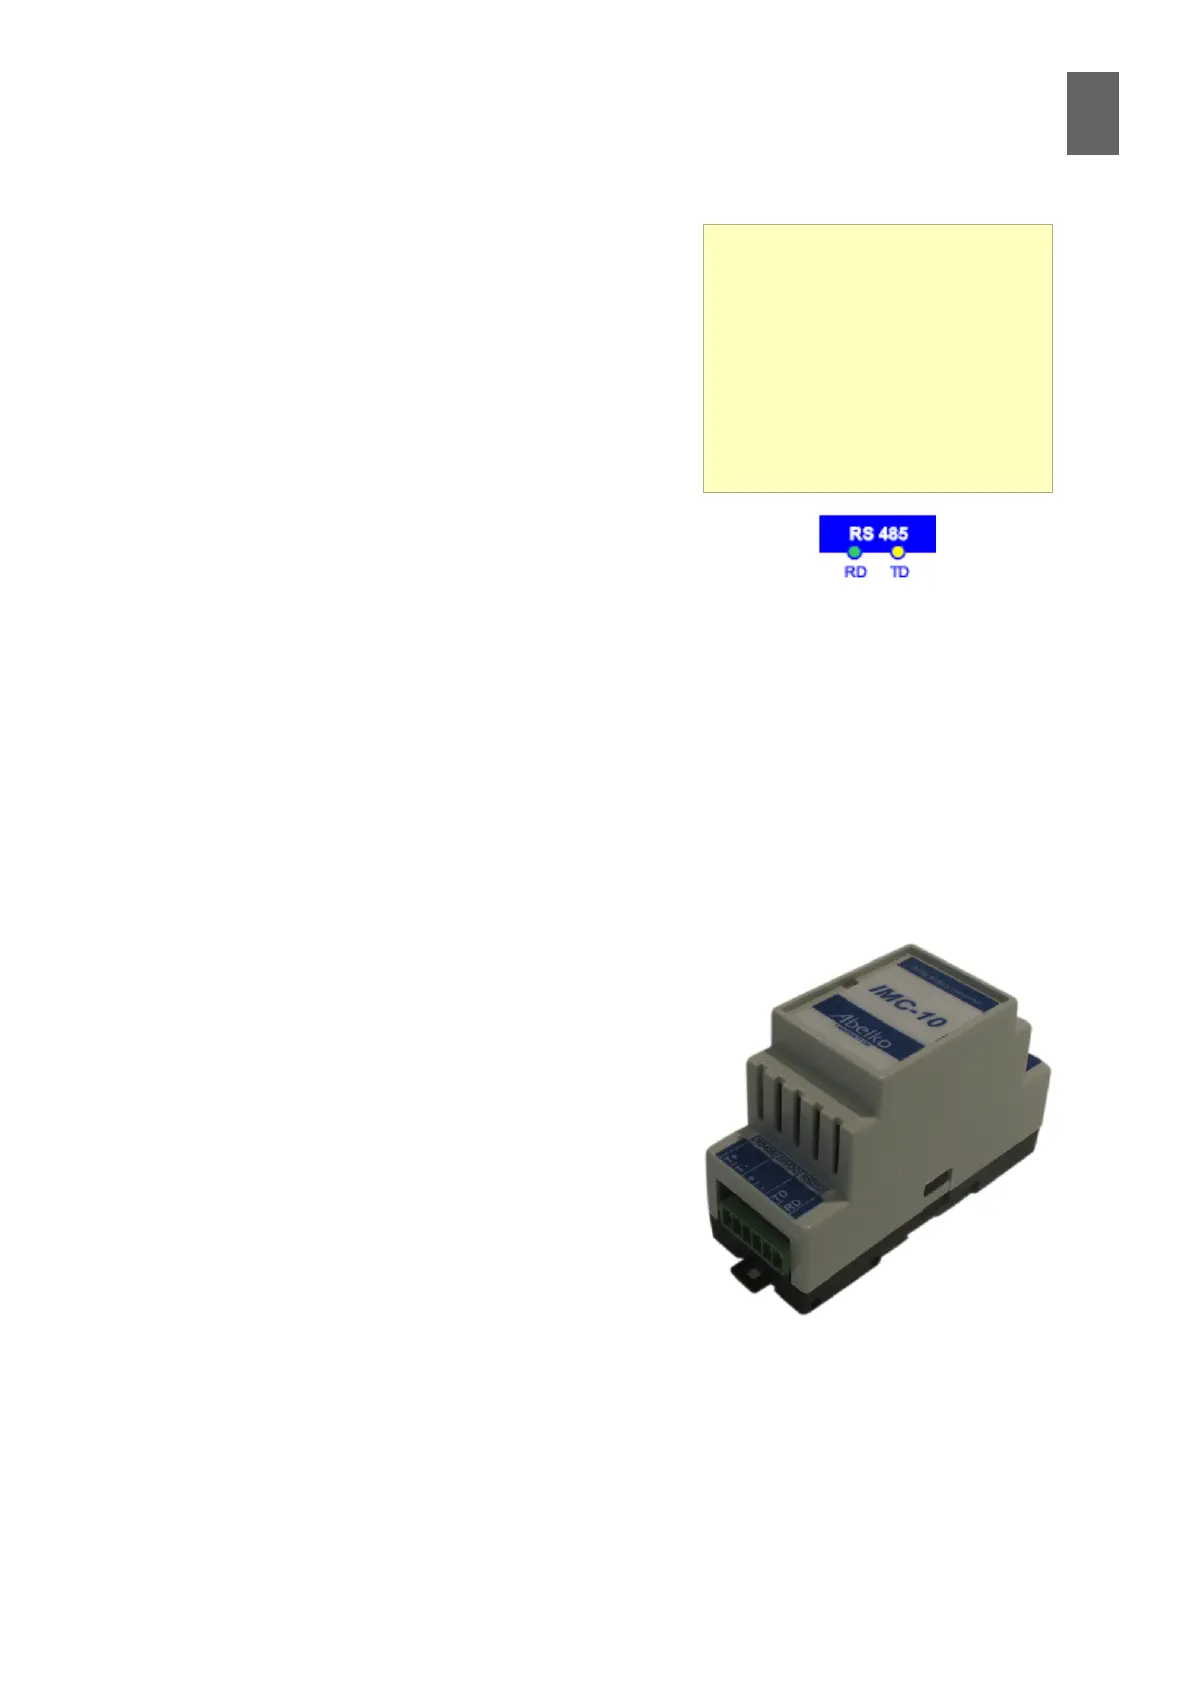
18�8 M-Bus units
M-Bus (Meter Bus) is a protocol that was designed primar-
ily for various kinds of meter, such as water meters, elec-
tricity meters and heat meters. The power supply and the
communication signals are carried on two wires. You will
need a level converter in order to connect M-Bus meters
to a WMPro. Level converters are designed for a maximum
number of units. The level converter on the left is designed
for 10 M-Bus slaves.
You can generate type denitions for M-Bus using a small
program that is available for download from the Abelko
web site. The program is called M-Bus Device Creator. It
has its own user guide, but we will describe the process in
general terms here.
LEDs
The WMPro has two LEDs for the
RS485 port. The yellow LED ashes
when the WMPro is sending data,
and the green LED ashes when
it is receiving data. If an external
unit is working properly, every yel-
low ash should be followed by a
green ash.