13
85
13 - Overviews
13 Overviews
13�1 Overviews
Overviews containing measurements and readings, are a
great way to nd out the current status of a system. There
is space for ve overviews in the WMPro. For example
you could have one general system image with the most
important measurements, and four other images showing
more detailed information. Each image can display up to
50 measuring points. You should nish conguring inputs
and outputs, controllers, etc. before you start working on
overviews. A special tool is built into the WMPro to help
you add the measuring points.
This is how you create an overview.
Start by loading an image. This could be a drawing, a photograph, a map or anything else in ma-
chine-readable form.
Save the image in one of the formats that the browser can read, for example GIF or JPG. The size
should not exceed the screen size – 700*400 pixels is probably a good size. The le size may not
exceed 64 kB.
Upload the le to the WMPro. You can create your own overviews in the WMPro by uploading an im-
age le and then adding values and texts to the image.
Add the measuring points to the image, then save the settings.
13�2 Example
In this example you will create an overview of a heating central in
which WMPro is used to control a radiator circuit and a hot water cir-
cuit. There is a controller for the hot water as well as the controller we
congured in section 6. The image will be based on a drawing saved
as UC.GIF.
13�2�1 Upload the image
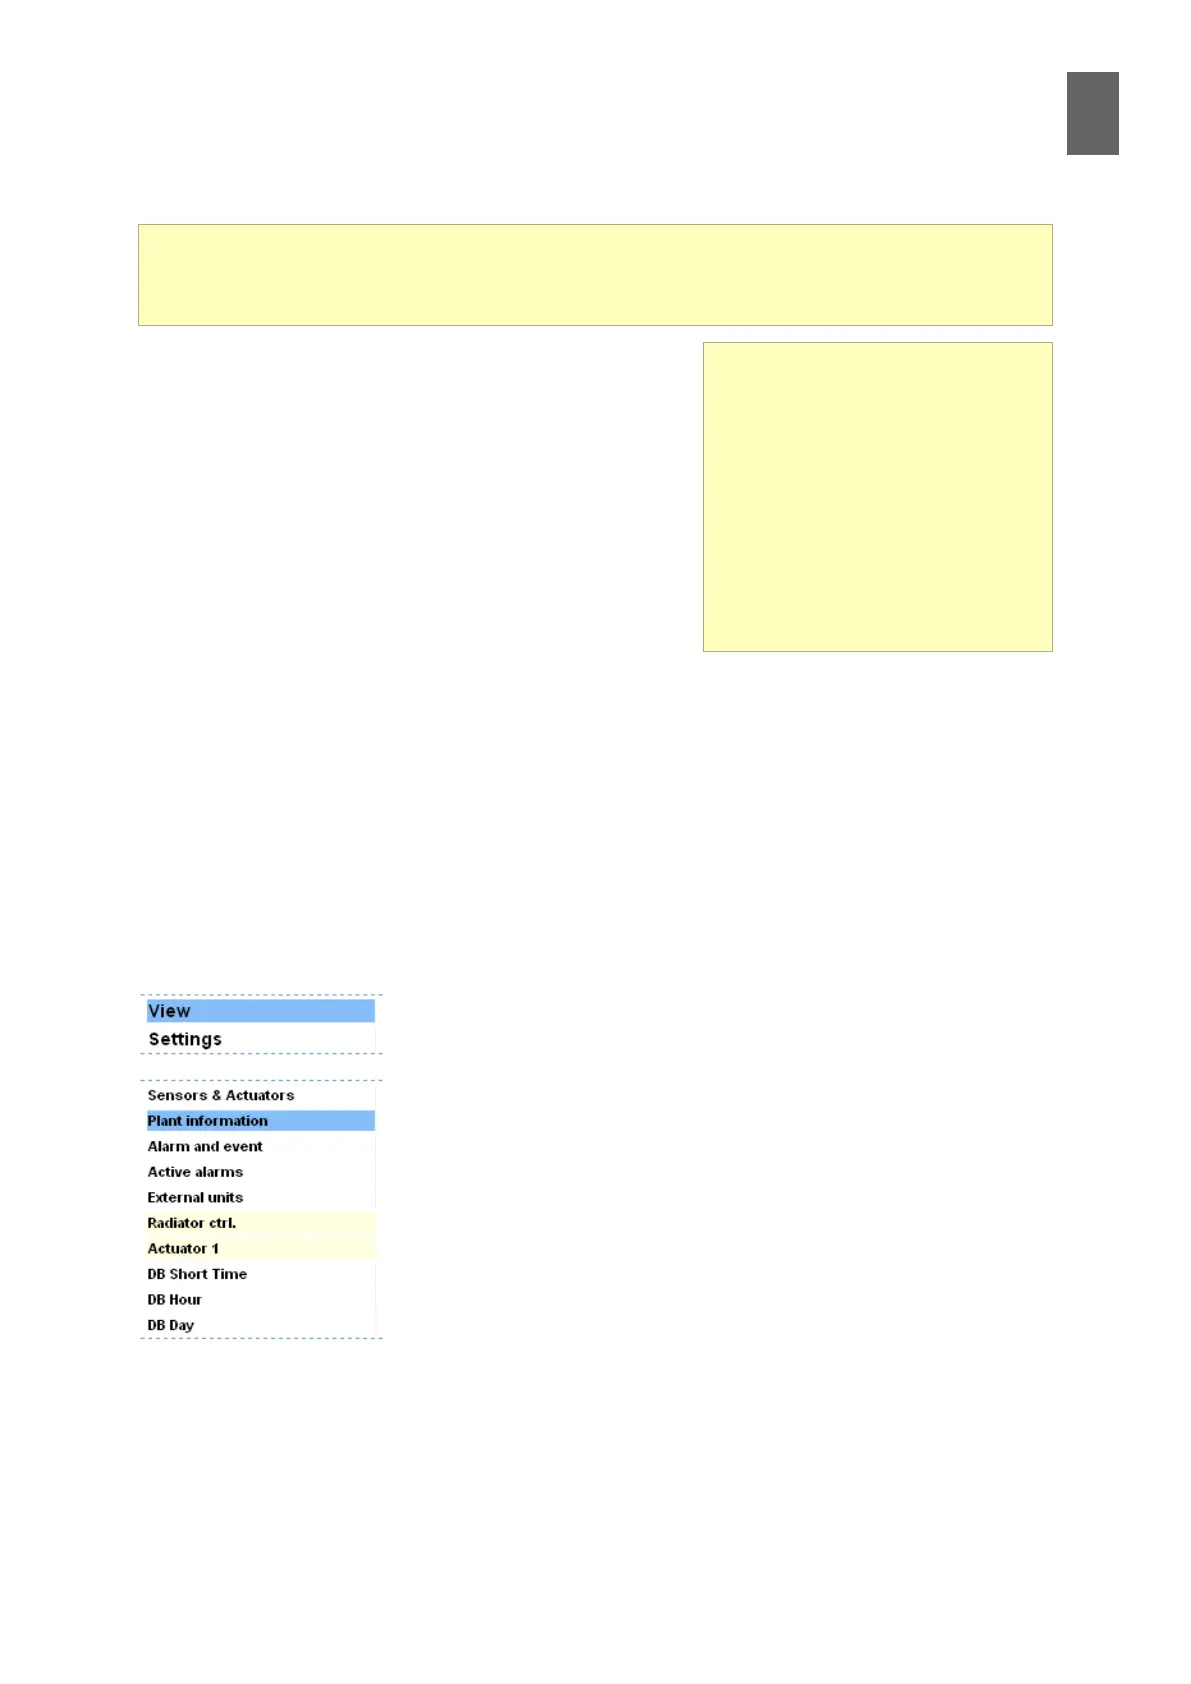
Open Settings/System and click File manager
Overviews
You can create your own over-
views in the WMPro by uploading
an image le and then adding
values and texts to the image.
There are ve overviews, which
means you can show ve dierent
functions in this way. A special tool
is built into the WMPro to help you
add the measuring points.
Overviews are a good way of seeing your installation as a whole. The images can display live
measurements, alarms, etc. This section explains how to create an overview and how to add
measurements to the image.