E18C Door Phone Administrator Guide
AKUVOX SMART INTERCOM www.akuvox.com
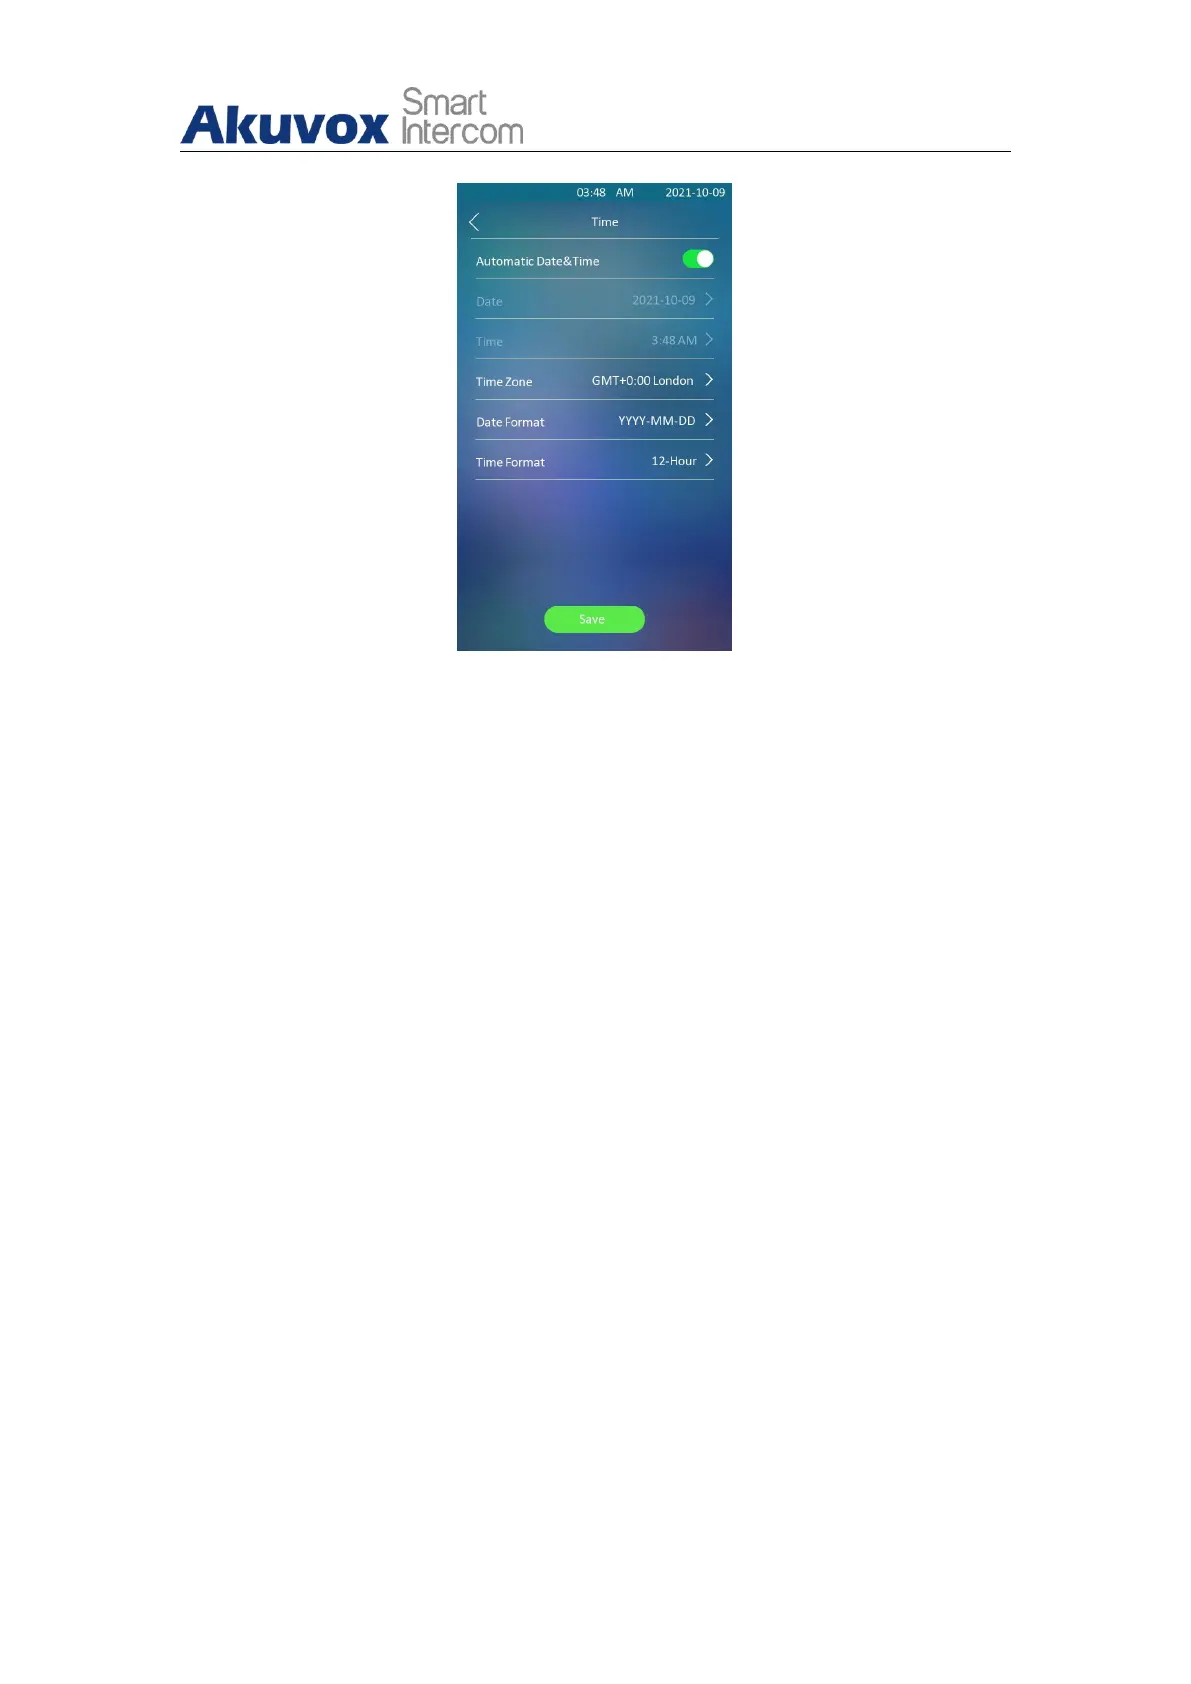
Parameter Set-up:
Automatic Date&Time: Automatic Date&Time is toggled on by default,
which allows the date& time to be automatically set up and synchronized
with the default time zone and the NTP server (Network Time Protocol).
You can also set it up manually by toggling off the switch first then enter
the time and date you want before pressing the Save tab for the
validation.
Date: click on Date to set the date.
Time: click on Time to set the time.
Time Zone: select the specific time zone depending on where the device
is used and then press Confirm tab for the confirmation. The default time
zone is GMT GMT+0.00.
Date Format: select the date format as you like among three format
options: “M-D-Y”; “D-M-Y”; “Y-M-D” and then press the Confirm tab for
the confirmation.
Time Format: you can either select 12 hour or 24-hour time format as
you like, and then press the Confirm tab for the confirmation.