Do you have a question about the Allen-Bradley 1756-RM2 and is the answer not in the manual?
Covers essential safety information, warnings, and symbols for safe operation of the equipment.
Describes the conditions and process for switching control between primary and secondary chassis.
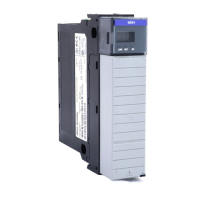
Details available components for building a redundant chassis pair.
Explains requirements for selecting and configuring redundant chassis.
Discusses controller placement, compatibility, and memory requirements.
Details requirements for ControlNet and EtherNet/IP modules in redundant systems.
Tasks to complete before installing the enhanced redundancy system.
Procedures for installing necessary software for system configuration.
Steps for installing the system's hardware components, including chassis and modules.
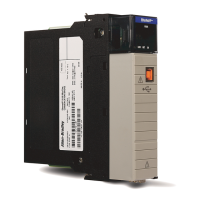
Instructions for installing the redundancy module into each chassis.
Procedure for connecting redundancy modules using fiber-optic communication cables.
Steps to upgrade firmware for modules in each chassis using ControlFLASH software.
Procedures for assigning primary and secondary roles to the redundant chassis.
Describes the IP address swapping feature for EtherNet/IP modules during switchovers.
Procedures for configuring EtherNet/IP modules in redundant chassis.
Introduces the RMCT and its uses for configuring and monitoring redundancy modules.
Steps to configure controllers for operation within a redundant system.
Explains crossloads, synchronization, and their impact on program execution after switchovers.
Methods to improve program efficiency and minimize scan times for faster switchovers.
Instructions and techniques to prevent data loss or corruption.
Procedures for downloading the project to the primary controller.
Verifying that the redundant system switches over as expected.
Executing tasks to determine the cause of errors or events in the redundancy system.
Examining module status indicators to identify the cause of errors or events.
Viewing redundancy status and errors using RSLogix 5000 software.
Accessing the RMCT Event Log to determine causes of events, errors, or faults.
Steps to upgrade the firmware of the primary chassis redundancy module.
Upgrading firmware for modules in the secondary chassis.
Locking the system and initiating a switchover to update the primary chassis.
Upgrading firmware for modules in the new secondary chassis after a switchover.
Synchronizing redundant chassis after firmware upgrades.
| Brand | Allen-Bradley |
|---|---|
| Model | 1756-RM2 |
| Category | Control Systems |
| Language | English |