Rockwell Automation Publication 1756-UM535D-EN-P - November 2012 71
Install the Enhanced Redundancy System Chapter 3
11. Click OK.
12. Verify that the redundancy module status displays PRIM, indicating a
successful upgrade.
13. Complete steps 4
…12 for each module in the chassis.
Upgrade the Firmware in the Second Chassis
Complete these steps to update the firmware for the modules in the second
chassis.
1. Apply power to the second chassis.
2. Complete steps 3
…12 in section Upgrade the Firmware in the First Chassis
beginning on page 68
for the modules in the second chassis.
3. Power off the second chassis after you have verified the successful upgrade
of each module.
Step 5: Designate the
Primary and Secondary
Chassis
Power on the chassis you want to designate as the primary chassis first. After you
have applied power, qualify the system so that all module pairs are at compatible
firmware-revision levels.
This can take a few minutes. The system can look like it is not doing anything,
but it is.
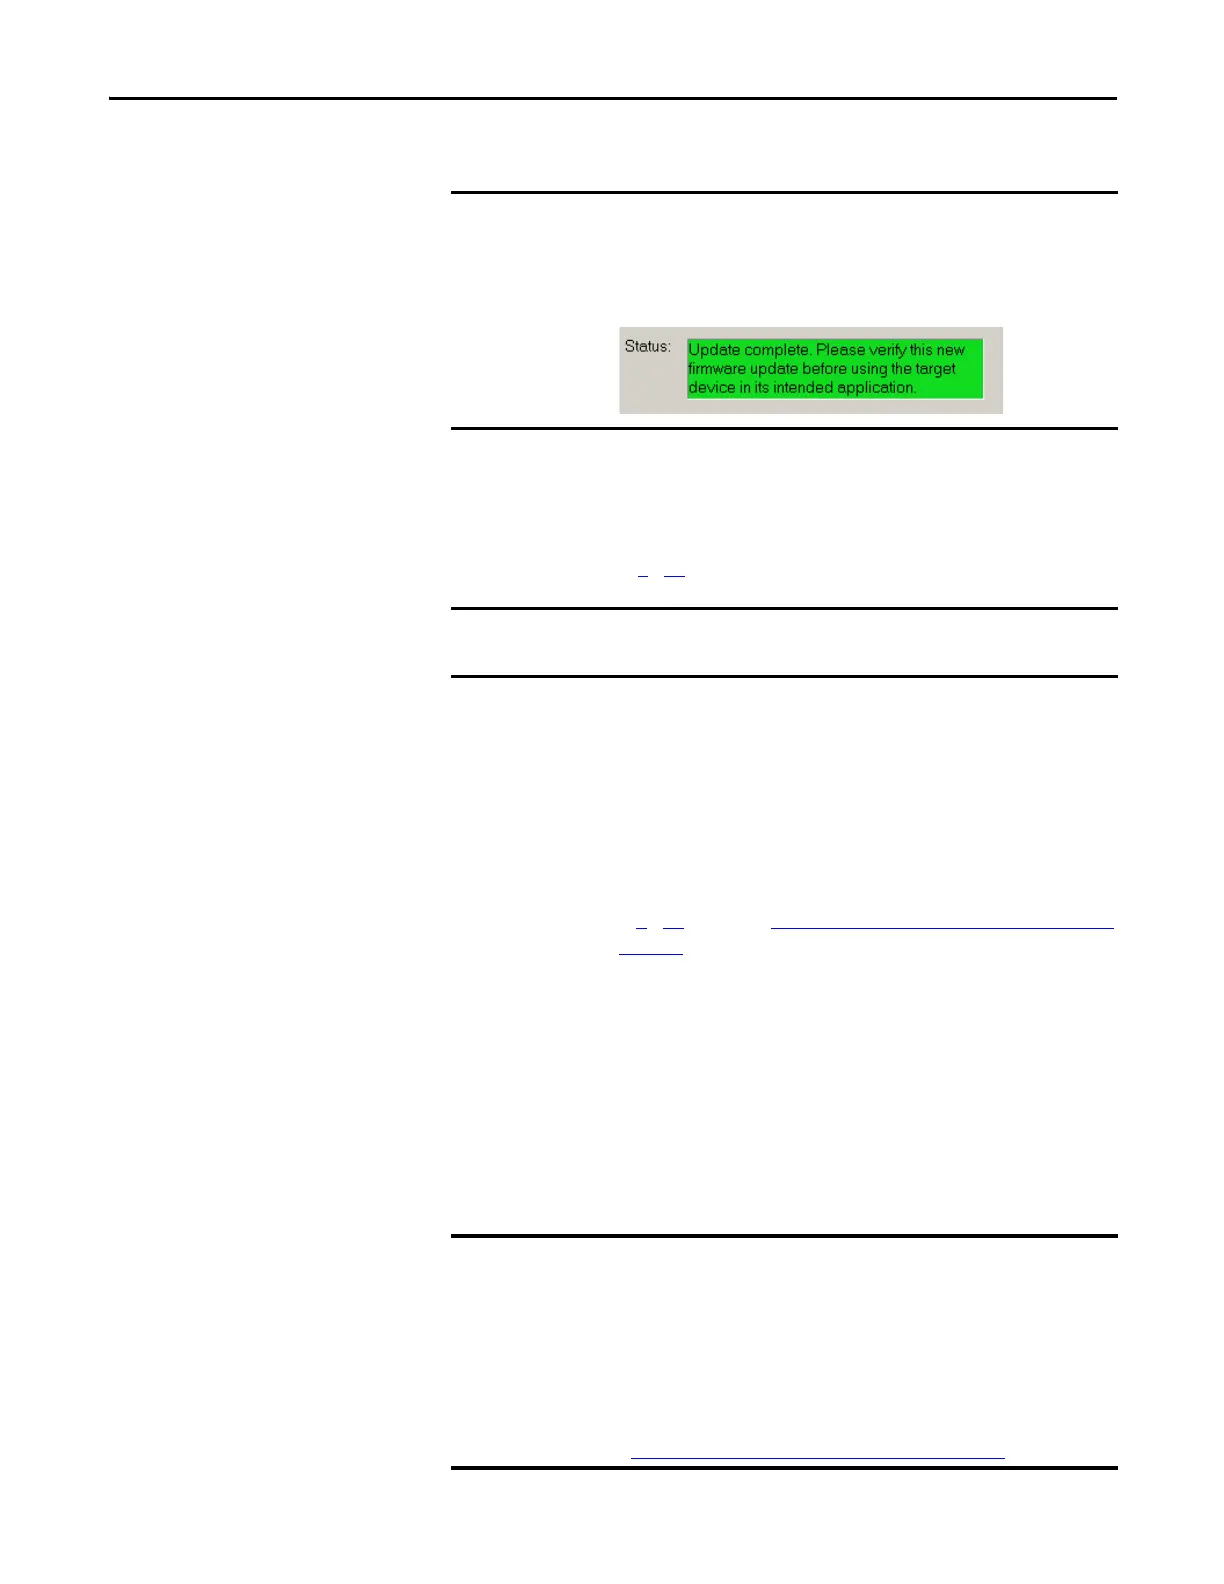
When the update is complete, the Update Status dialog box appears and
indicates that the update has successfully completed.
Power off the first chassis after you have verified a successful
update of each module.
Do not apply power to the chassis until you have read the instructions for
designating the primary chassis. Applying power to the chassis is crucial to
designating the primary and secondary chassis.
Do not attempt to designate a primary chassis before loading in an
application image.
Before you designate the primary chassis and qualify the system, make sure
you have the latest firmware installed.
See Step 4: Update Redundant Chassis Firmware on page 67
.
 Loading...