To pan / zoom the view:
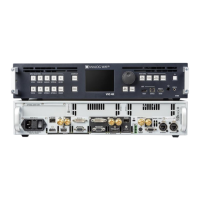
Front Panel
1. Enter the INPUTS menu on the Front Panel interface.
2. Scroll down and select an input to access the selected input setup menu.
TIP: Double-click on an INPUT SELECTION button to shortcut to the input setup menu directly.
3. Select "View" Settings to access the input's view settings menu.
4. Select Units to choose the units used to pan and zoom the view:
• Select PERCENT to set up the view using relative (percent) units
• Select PIXELS to set up the view using absolute (pixel) units
NOTE: These units will also be used to mask the view.
5. Scroll down and edit the Pan H and Pan V parameters to position the input in the screen (from the
center of the screen).
6. Scroll down and edit the Zoom H and Zoom V parameters to resize the input in the screen.
TIP:
• Select Zoom H/V to zoom the view while keeping the current aspect ratio.
• Select Pan/Zoom Template to automatically adjust the view size and position to the screen (SEE: Screen fill
templates for more information).
• At any time, you can select Reset Pan/Zoom to reset all pan and zoom settings.
Web RCS
1. Go to the Edit menu on the Web RCS interface.
2. Select the SCREEN tab to access the screen edit page.
3. In the left side toolbar, select an INPUT to load the input view settings.
4. In the right side toolbar, select the View tab to access the input's view settings.
5. Under Pan/Zoom, select the units used to pan and zoom the view:
• Select PERCENT to set up the view using relative (percent) units.
• Select PIXELS to set up the view using absolute (pixel) units.
6. Edit the Pan H and Pan V parameters to position the input in the screen (from the center of the
screen).
7. Edit the Zoom H and Zoom V parameters to resize the input in the screen.
TIP: Use the Keep aspect ratio button to zoom the view while keeping the current aspect ratio.

 Loading...