The LAN connection is used by the Web RCS interface to connect to the VIO 4K unit from a PC or tablet via
LAN (SEE: Connecting to the Web RCS (LAN) for more information).
By default, the LAN connection is set up automatically using DHCP. However, if your computer is not set to
DHCP (automatic IP detection) mode, you will need to setup LAN manually to be able to connect.
To set up LAN automatically (using DHCP):
Front Panel
1. Enter the CONTROL menu on the Front Panel interface.
2. Select Connection and then LAN Setup to access the device LAN interface settings menu.
3. Check the Obtain IP via DHCP check-box to enable DHCP (automatic IP detection mode).
4. Select Apply to save and apply the new settings (upon prompt, select YES to confirm or NO to cancel
and restore the last saved settings).
TIP: Select Restore to Default Setup whenever required to restore the LAN settings default values.
Web RCS
Not recommended: All currently connected Web RCS clients will be disconnected.
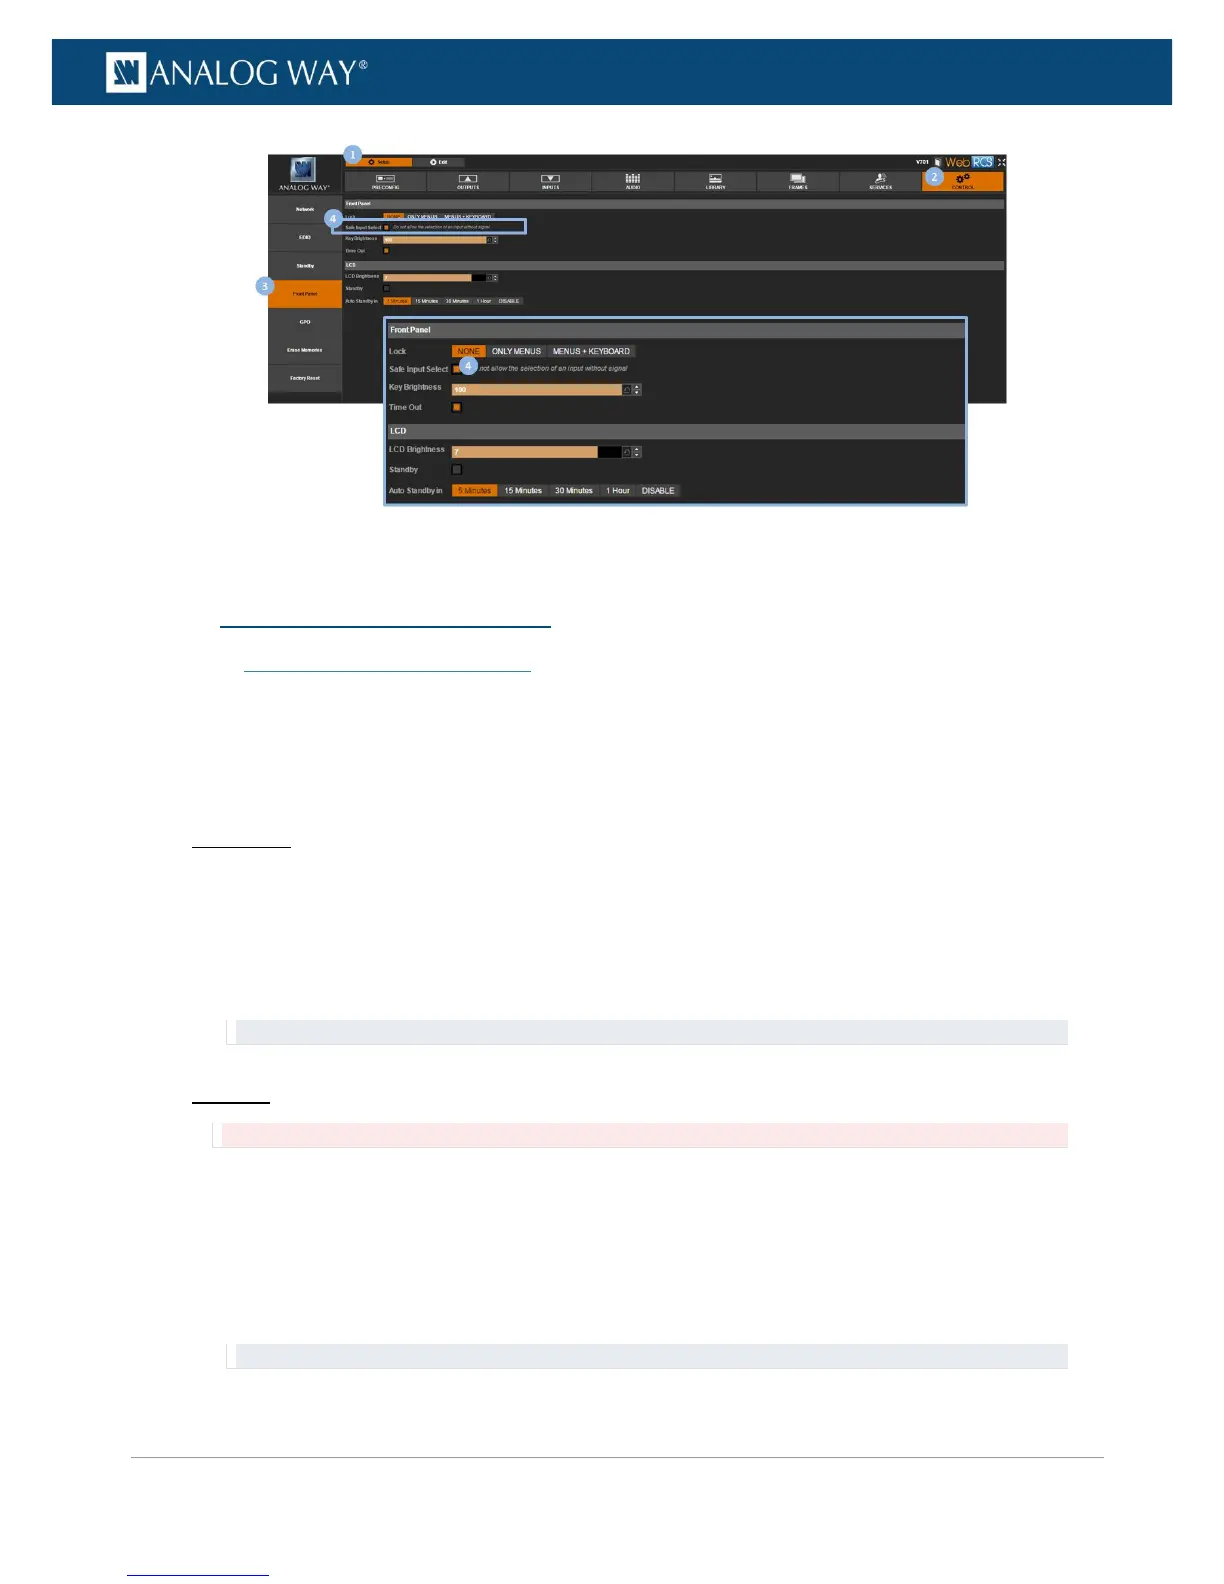
1. Go to the Setup menu on the Web RCS interface.
2. Click on the CONTROL tab to access the device settings and control functions.
3. In the left side toolbar, select Network to access the device network settings page.
4. Under DHCP, select ON to enable DHCP (automatic IP detection mode).
5. Click on Apply to save and apply the new settings (click again to confirm or click elsewhere to restore
the last saved settings).
TIP: Use the Reset button whenever required to restore the LAN settings default values.
 Loading...
