Rubber Track Loader
11. Engine Components Disassembly and Assembly
11-3
Figure 11-5 11-003
2. From underneath the machine, install the four
muffler mounting bolts, making sure all, if any,
shims are in place.
Figure 11-6 11-002
3. Carefully slide the flex pipe over the muffler
extension.
NOTICE
Do not kink or twist the exhaust pipe. One end of the ex-
haust pipe is attached to the muffler, which is fixed to the
frame. The other end is attached to the engine, which vi-
brates during operation. Kinks or twists in the exhaust pipe
could cause premature failure.
Figure 11-7 11-001
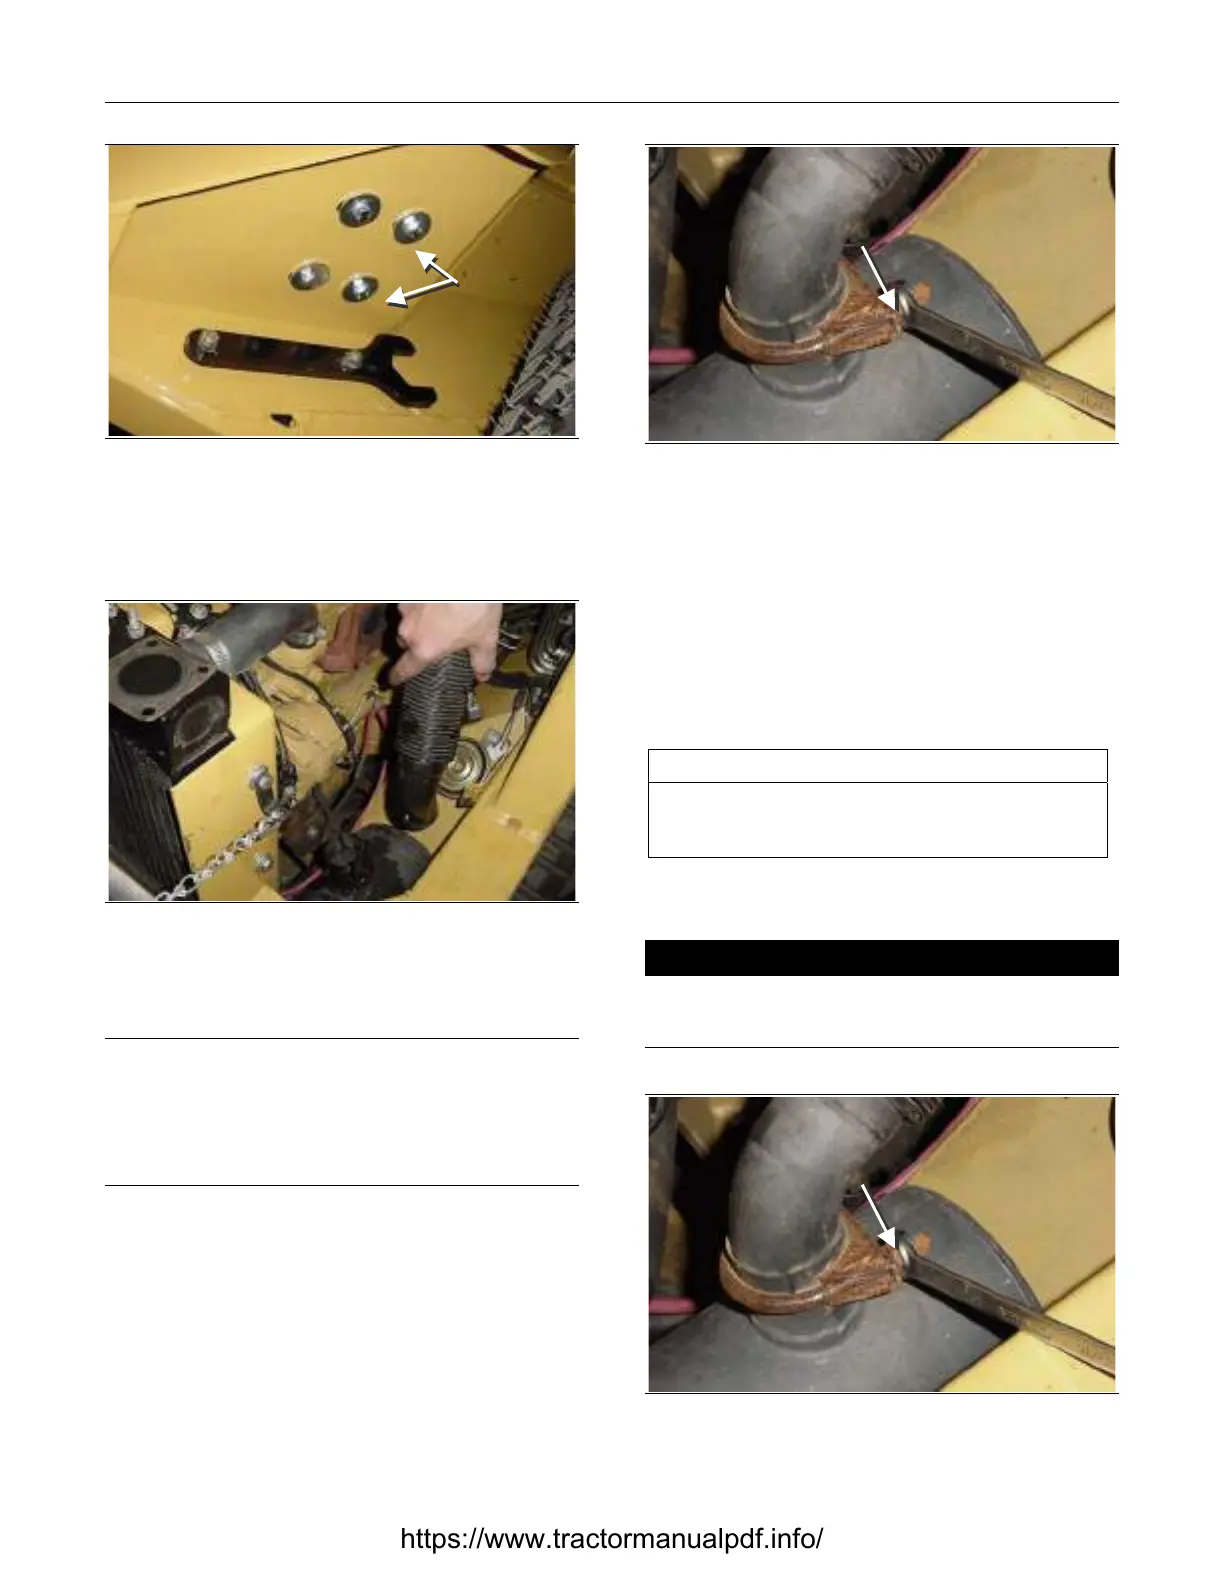
4. Tighten the bolts on the muffler clamp.
Exhaust Flex Pipe Removal
and Installation
The tools required for exhaust flex pipe removal and
installation are listed in Table 11-2. Use manufac-
turer-recommended tools whenever possible.
Table 11-2
Required Tools
Socket Wrench
Combination Wrench
Channel Lock Pliers
Exhaust Flex Pipe Removal
! CAUTION !
The exhaust pipe gets very hot during operation. Do
not service the exhaust pipe until it is cool enough to
touch.
Figure 11-8 11-001
1. Loosen the bolts on the muffler clamp
Install
Bolts
Tighten
Bolts
Loosen
Bolts
https://www.tractormanualpdf.info/