66 Aviat Networks
Chapter4. Eclipse Edge Configuration and Diagnostics
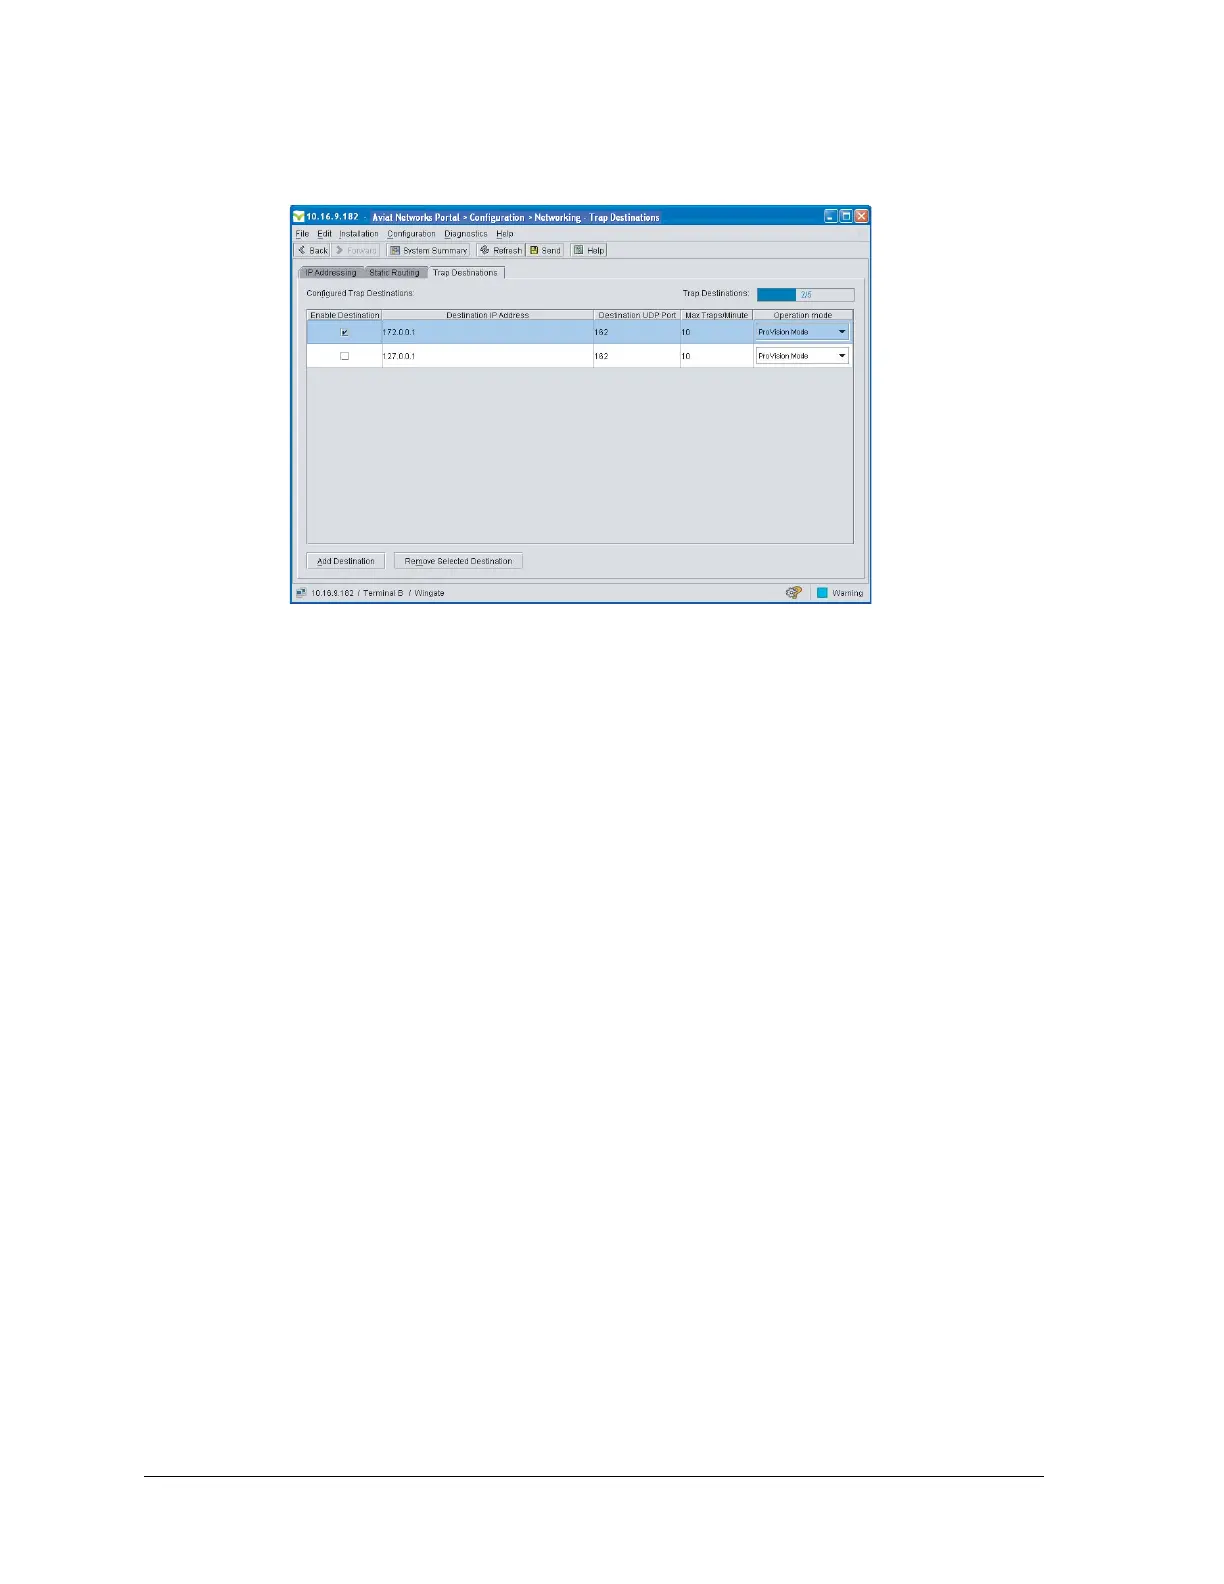
Figure 4-19. Trap Destinations Screen
Procedure
1. Click Add Destination to open a destination line.
2. In Destination IP Address enter the address of the network management
server.
3. In Destination UDP Port, enter the UDP port number of the server. For a
ProVision server, the port is 162.
4. In Max Traps/Min enter the maximum number of traps to be forwarded per
minute. This should be set at a level balancing the need to acknowledge events and
the requirement to continue to monitor the rest of the network. Default is 10,
maximum 120, minimum 1.
5. In Operation Mode, select Provision or Third Party.
6. Click Enable Destination.
7. Click Send to commit the configuration.
DHCP Server Function
The IP addressing screens include an option to enable or disable a DHCP server
(Dynamic Host Communications Protocol). For Eclipse Edge, the DHCP option is
default enabled.
The DHCP server function is used to support Ethernet NMS access for your Portal PC
whereby Eclipse-to-PC connection is established under DHCP; the DHCP server on
Eclipse assigns an IP address for your Portal PC, which is configured to obtain and IP
address automatically.
For information on the DHCP option and Portal PC laptop setup, refer to Portal to
Edge Connection Options on page 8.
Refer to:
• Rules, Hints and Tips for a DHCP Server
• Configuring The DHCP Server on page 68